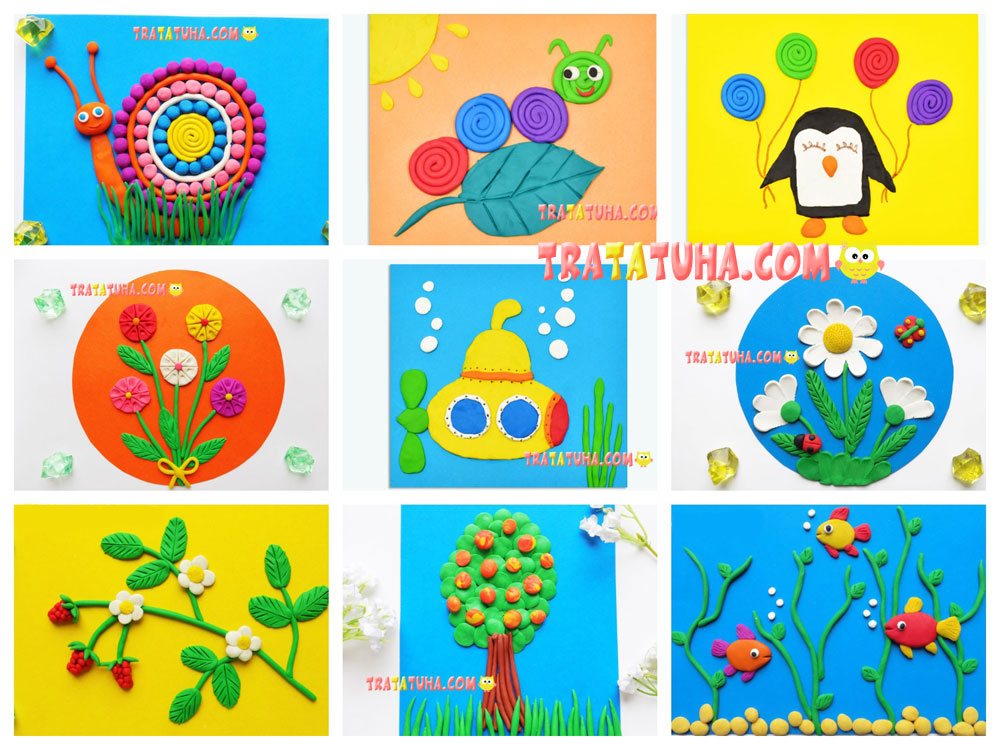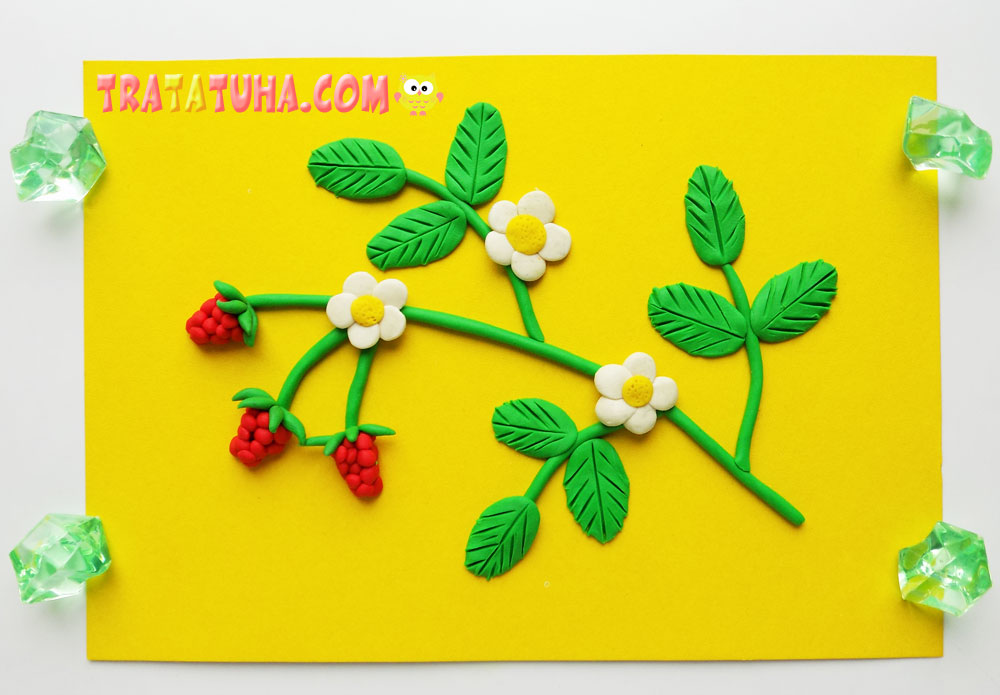
A simple clay strawberries step by step. A bright creative idea for kids, an interesting version of a clay painting.
You will need:
- yellow cardboard;
- clay set;
- plastic stack.
Clay Strawberries Step by Step
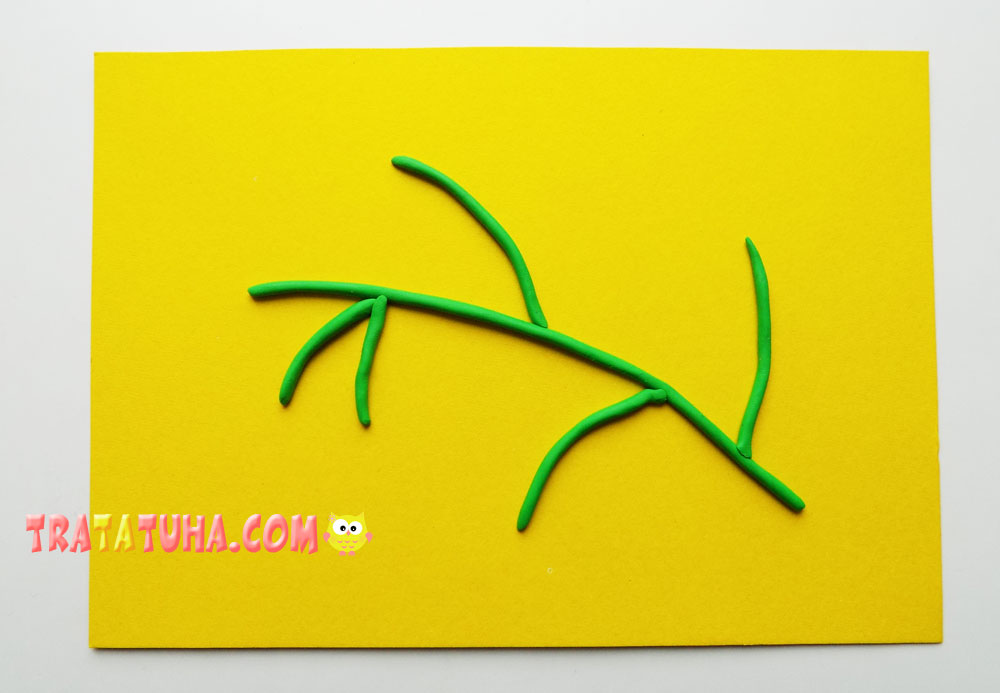
The background for our craft will be a sheet of yellow cardboard. On it we will lay out a sprig of strawberries with berries and flowers. But first, let’s make the base for the branch. And for this we need green clay. We roll thin flagella out of it and lay out a branch of them on cardboard.
Then take the red clay. From it we roll a large number of small balls. From them we form a berry, which will have the following shape.
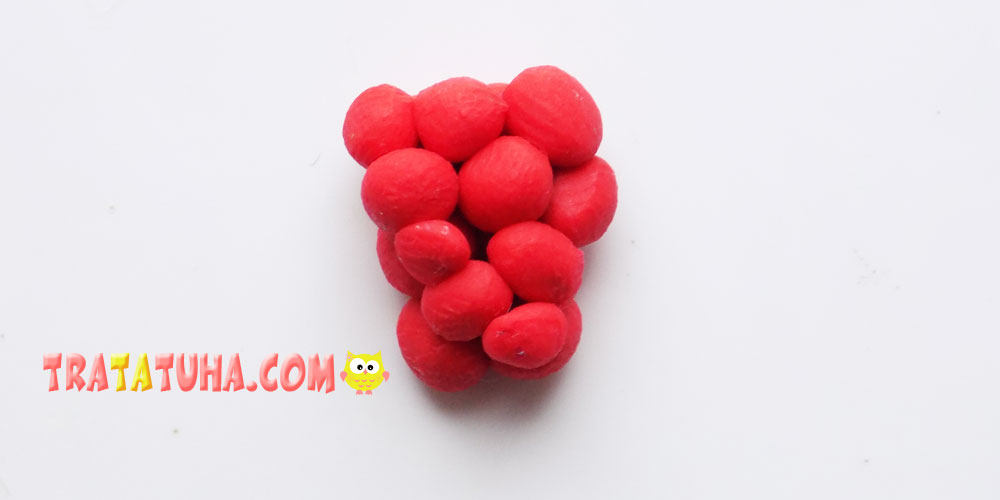
We attach the resulting berry to one of the branches.
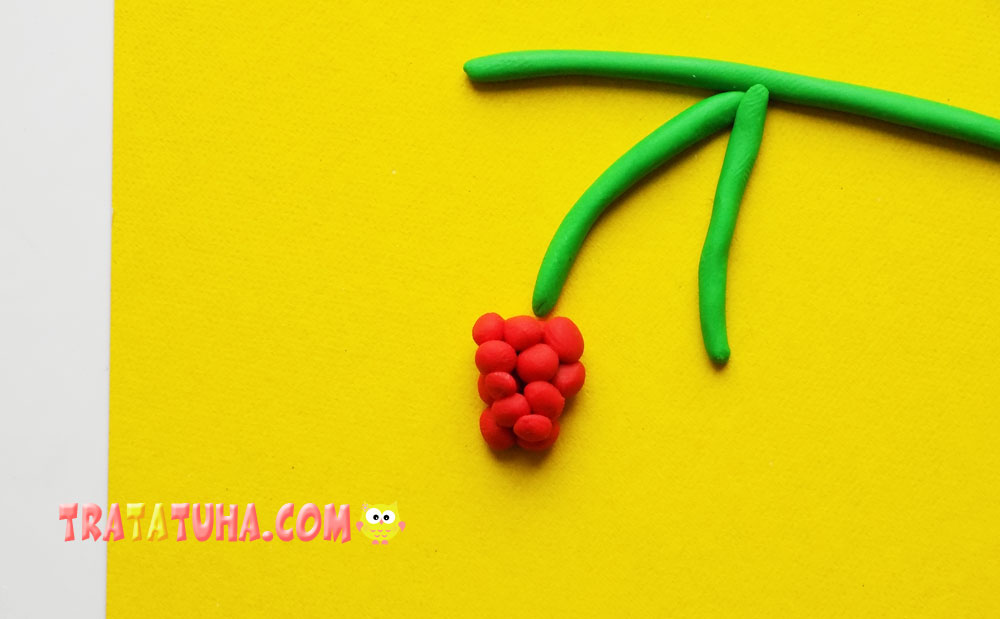
In a similar way, we make 2 more berries and fix them on cardboard.
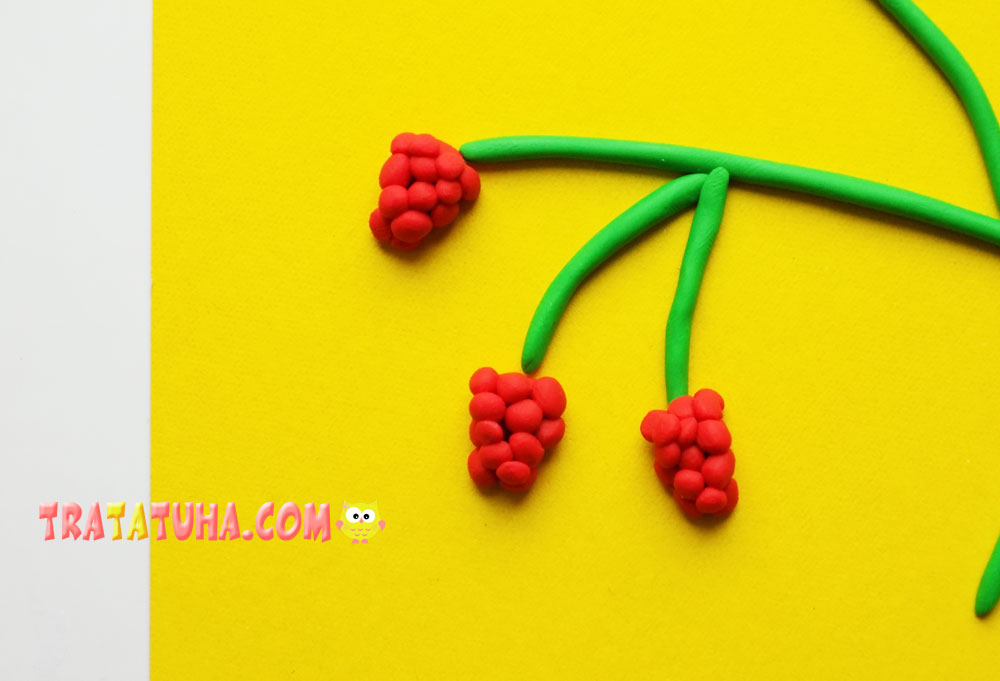
From green clay we make thin and short flagella, we need them to create the upper part of the berry.
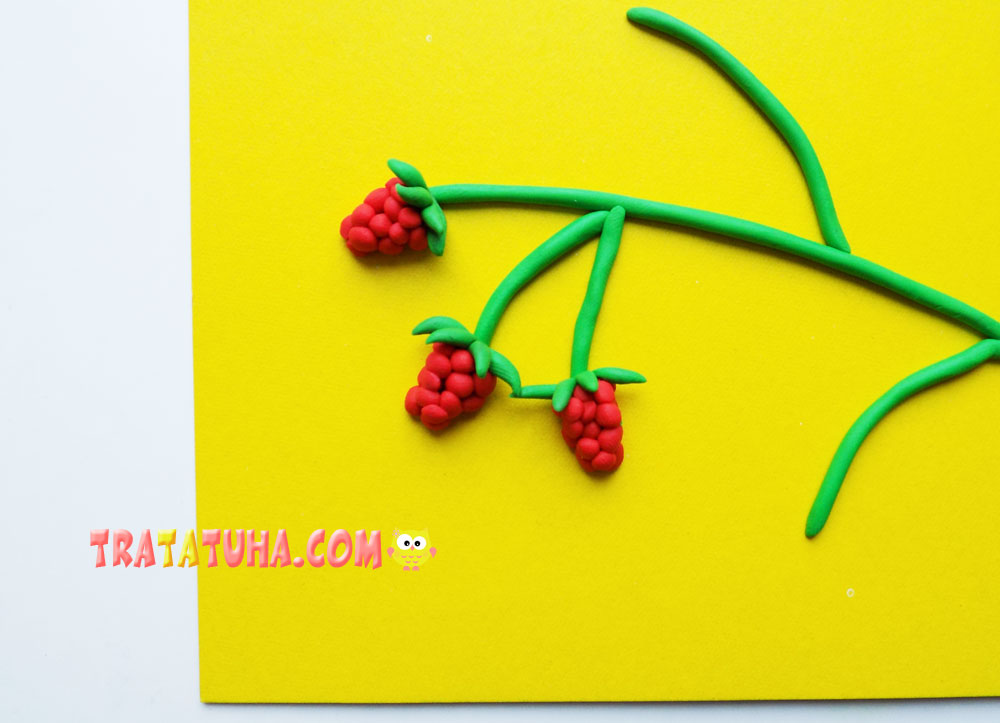
Next, let’s make the leaves. First, roll up the ball, give it a flat shape and sharpen it at both ends. We fix the finished leaf on a branch.
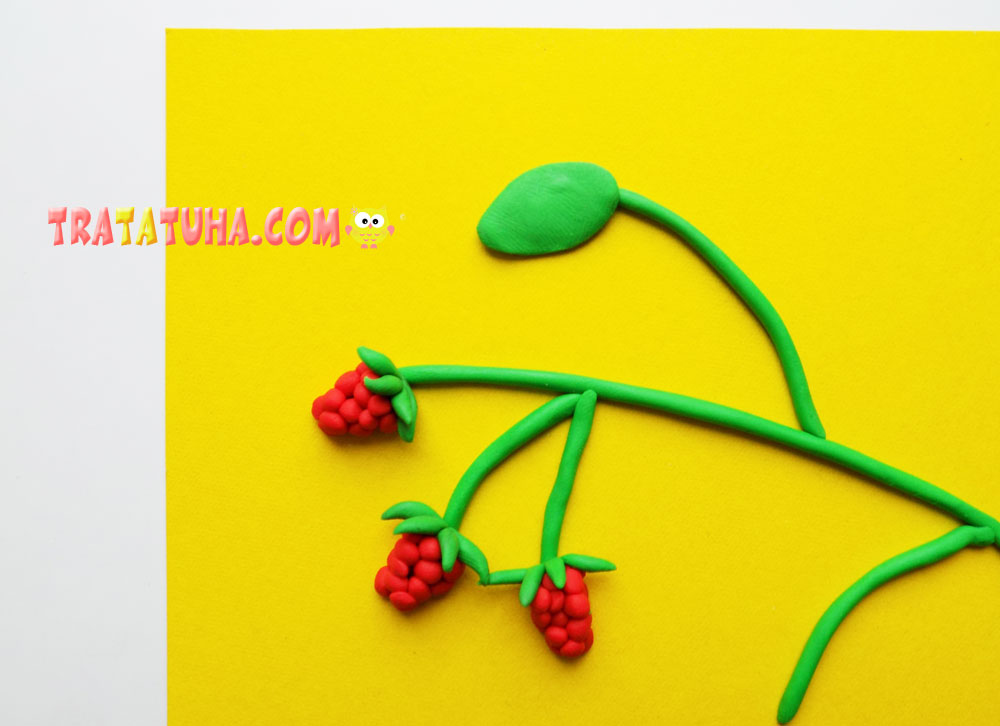
Next, add a couple more leaves, and then use a plastic stack to make veins on the leaves.
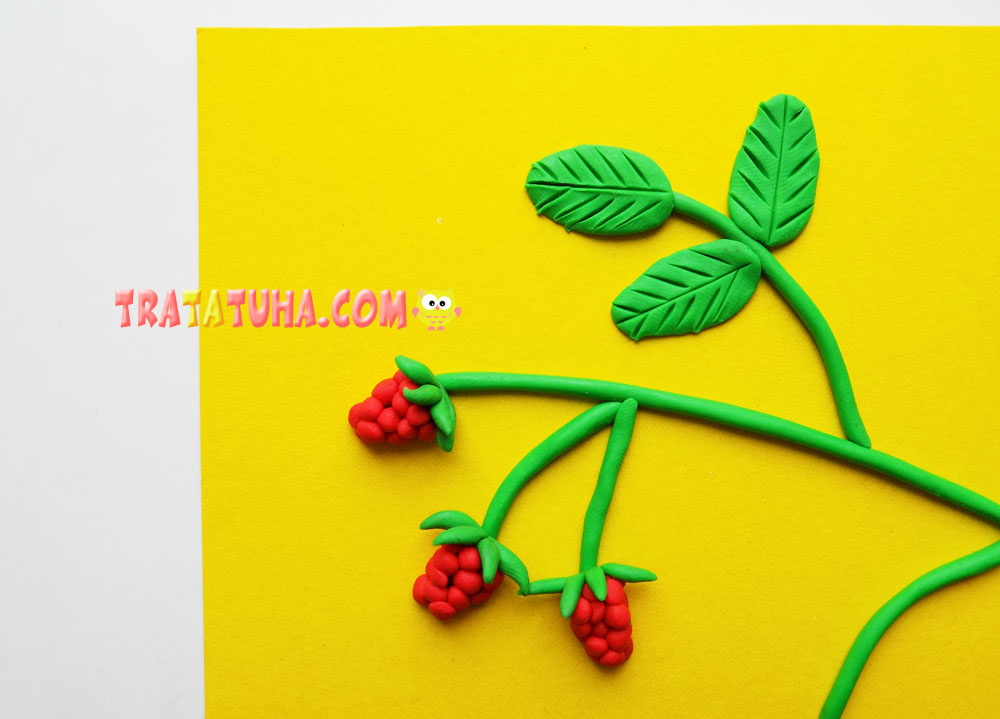
In a similar way, we make a couple more similar branches with leaves.
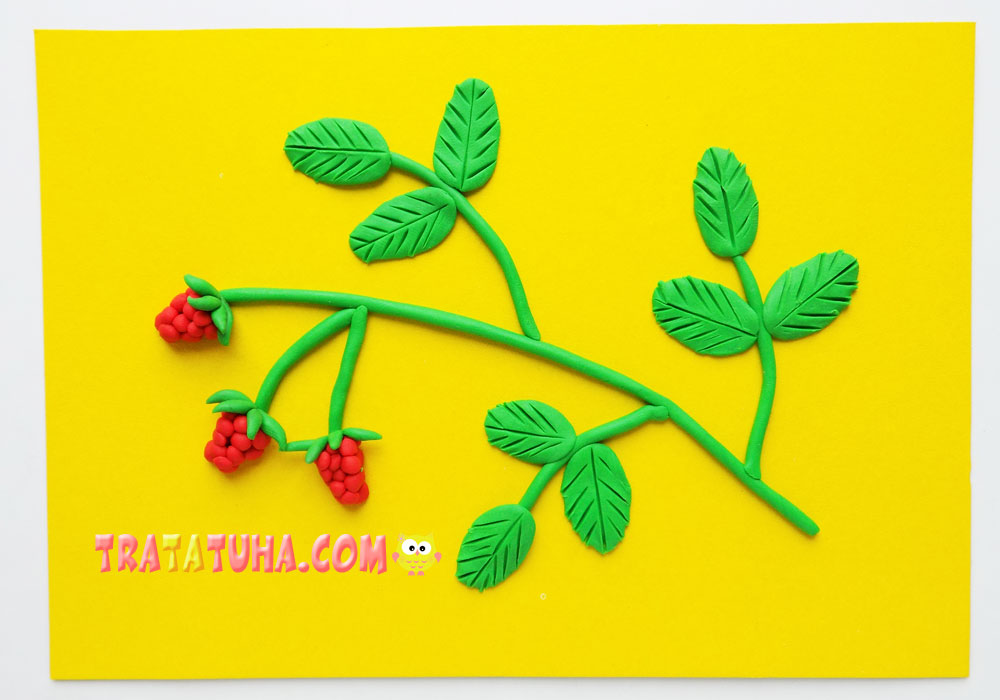
It remains to add strawberry flowers to our craft. For each flower, roll up 5 balls of white clay.
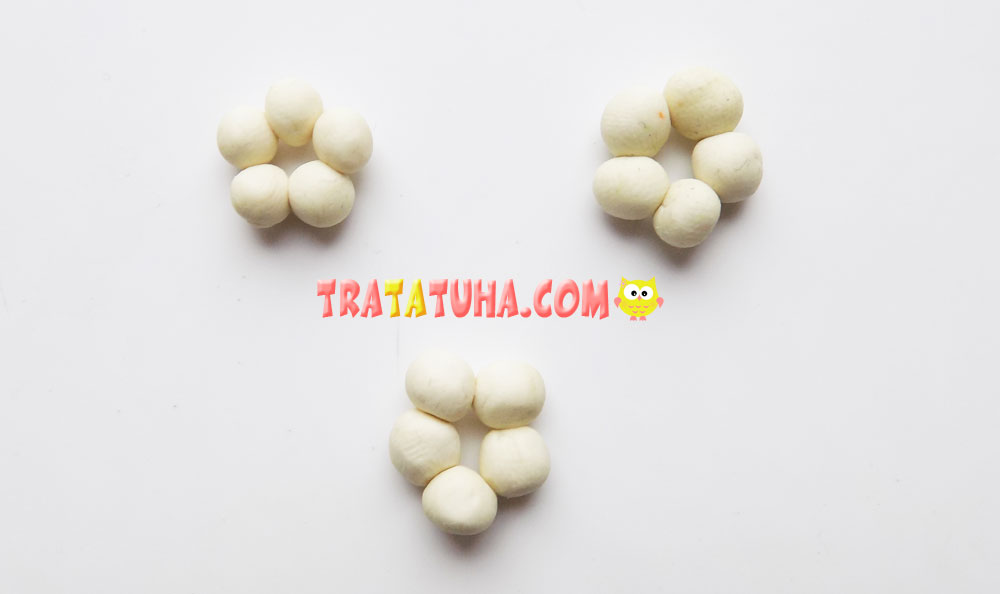
Gently flatten the balls, these will be flower petals. And from yellow clay we make the middle. Additionally, it can be decorated with small dots made with a toothpick.
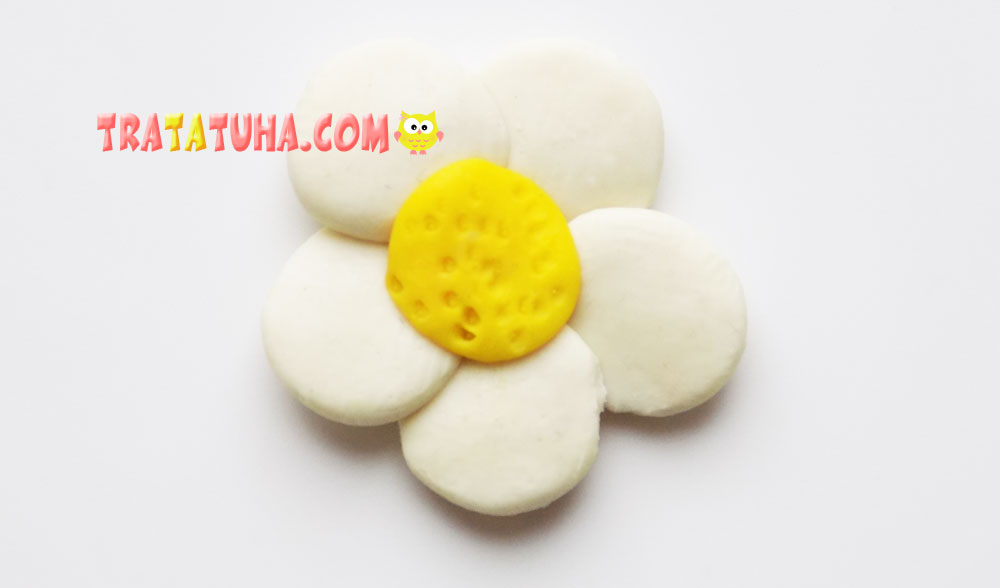
We fix such a flower on a branch.
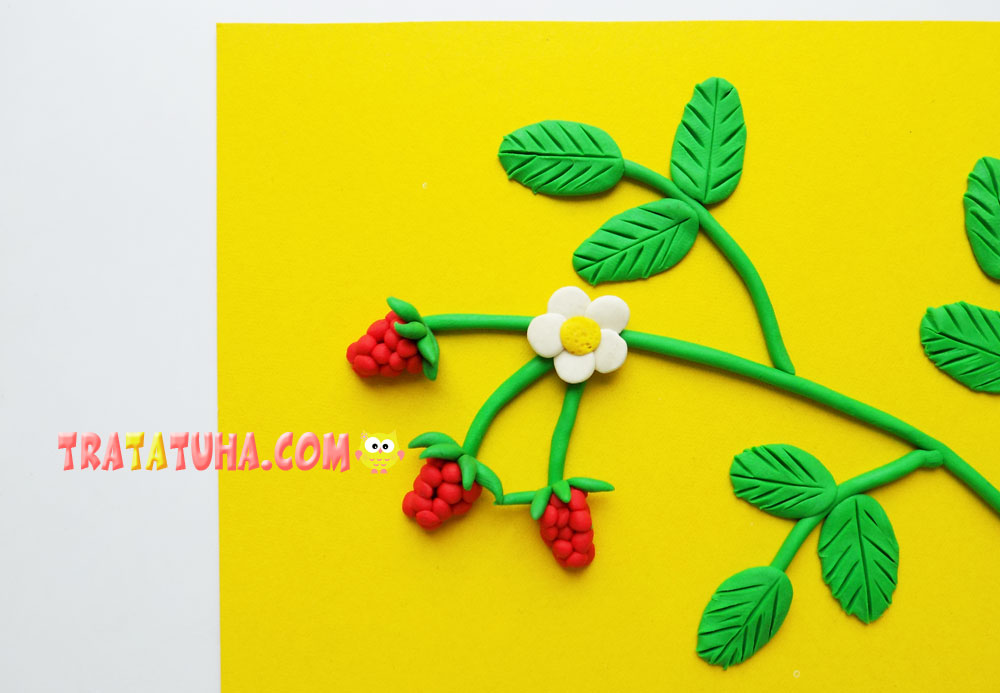
Add a couple more white flowers with a yellow center. Clay strawberries is ready.
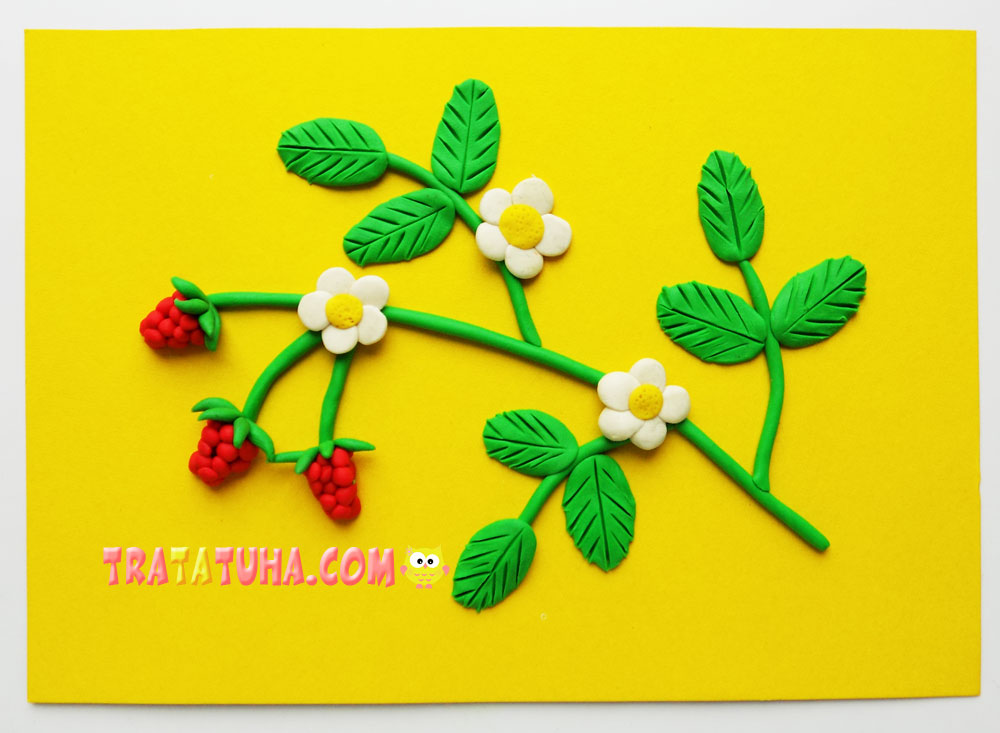
See more ideas about Clay Crafts.
Clay Painting – art ideas for all ages.
Crafts for Kids – learn how to make craft at home! Super cute crafts for all age groups!
