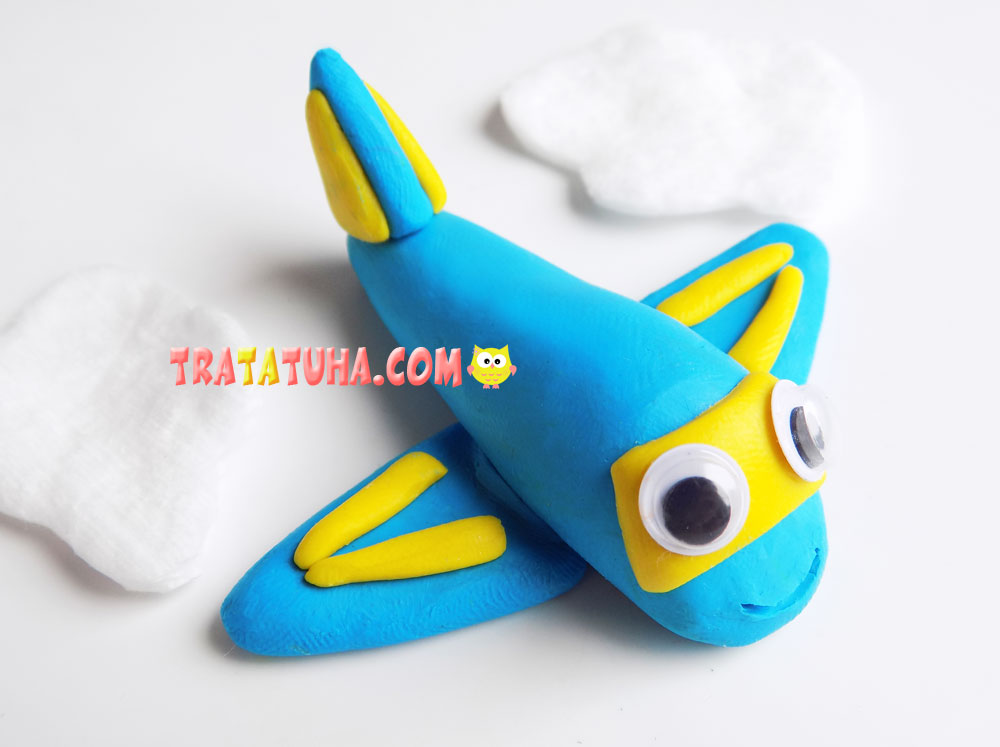
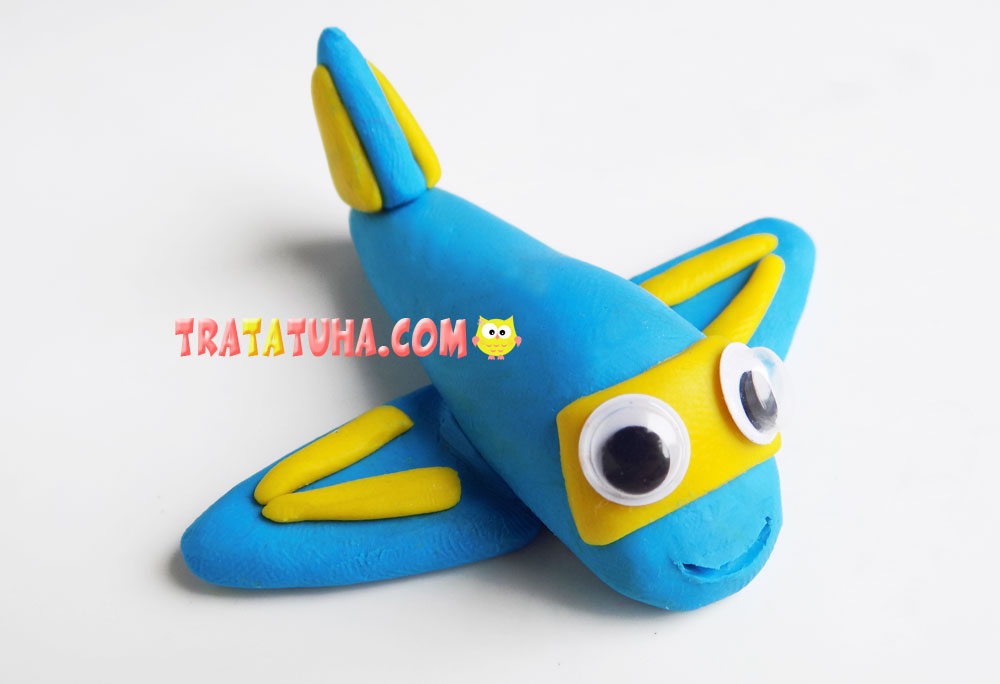
Boys may be interested in our today’s simple craft. After all, in this tutorial we are blinding a clay airplane.
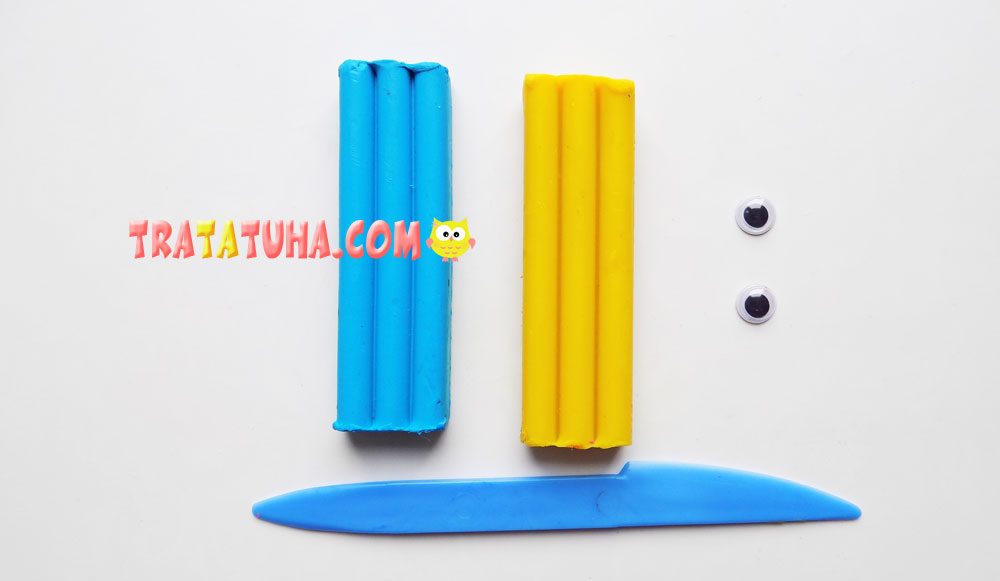
To sculpt such crafts, take:
- blue and yellow clay;
- plastic stack;
- decorative eyes.
Clay Airplane Step by Step
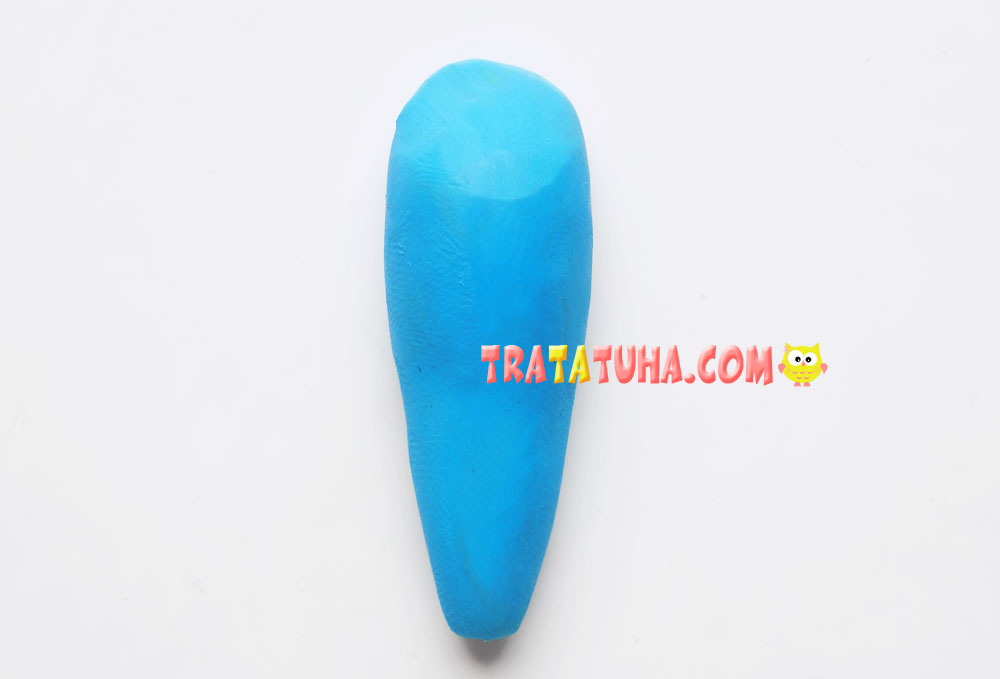
First, let’s prepare the main part for our aircraft. We sculpt it from blue clay. This will be the body of the future aircraft. We make it an elongated shape, with one end wider than the other.
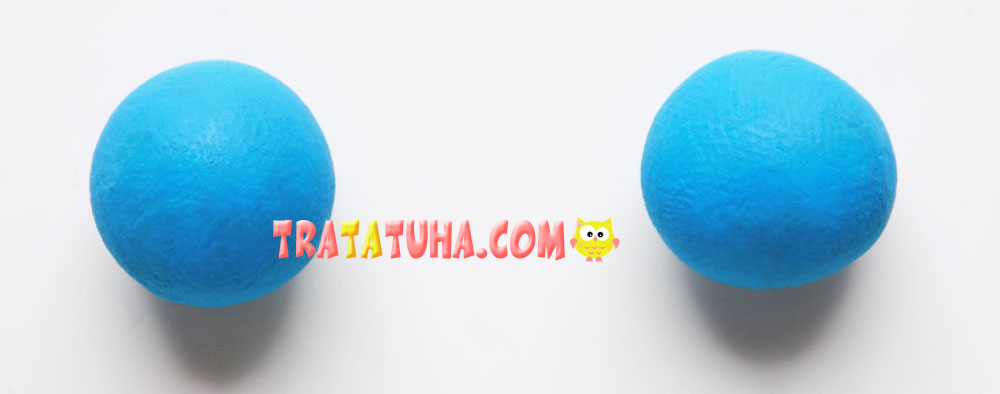
For the wings, first we will make blanks in the form of balls.
Then we sculpt wings from these balls, they will be triangular in shape. We have prepared such details for our crafts.
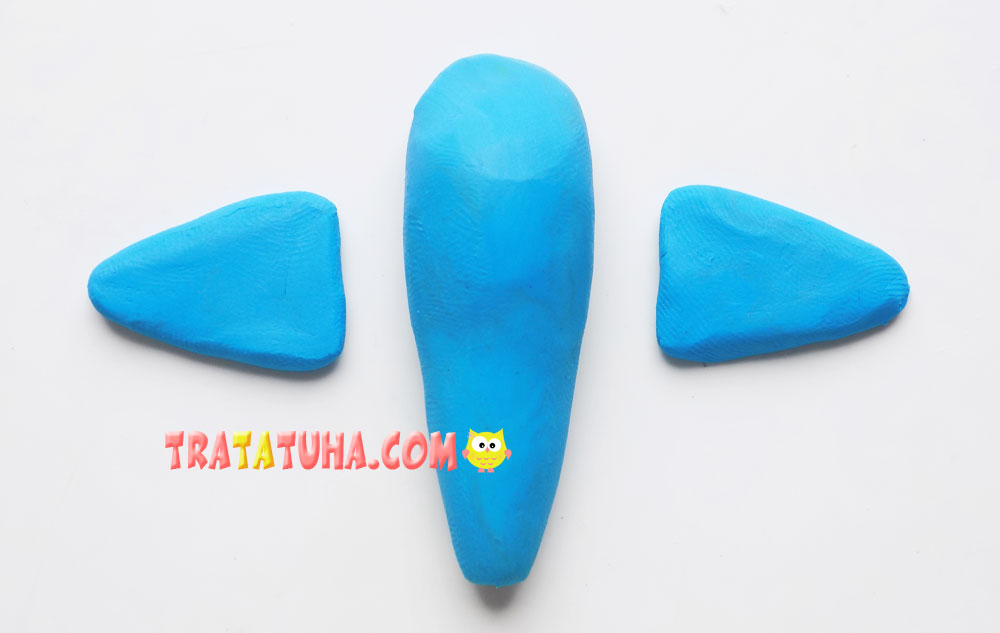
We attach the wings to the sides of the aircraft body.

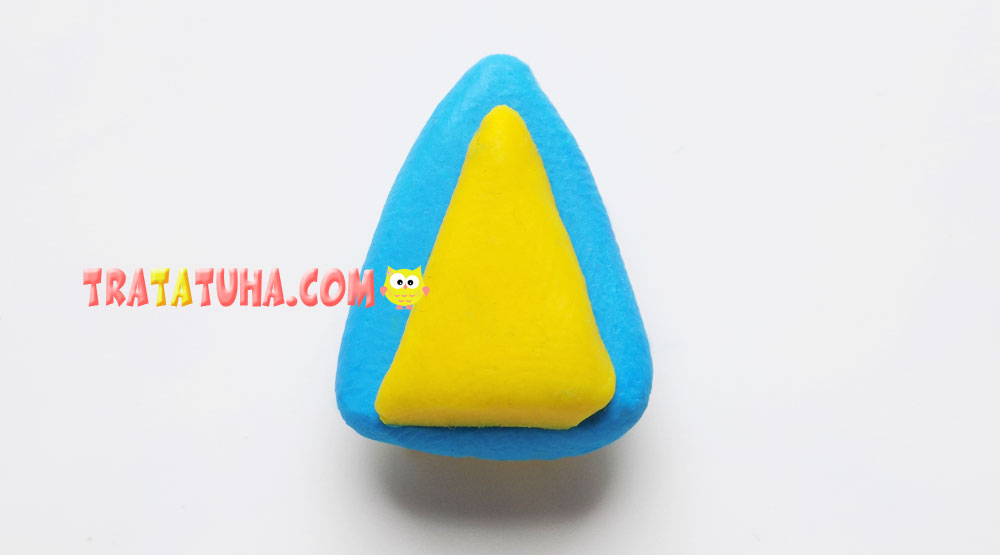
Now let’s make a tail for the plane. To do this, we sculpt one triangle from blue clay and a pair of the same smaller blanks from yellow clay.
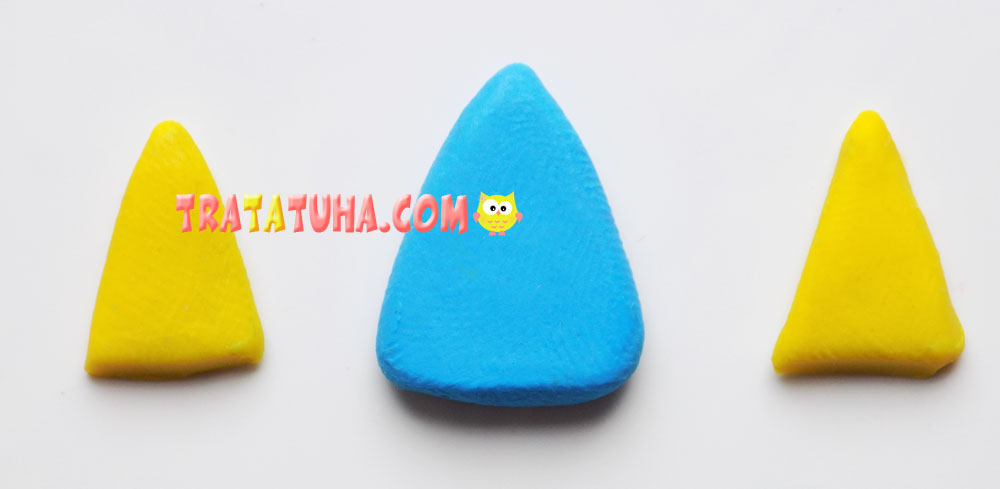
We connect these parts together by applying yellow triangles on the sides of the blue.
We attach this tail to the main part of the aircraft.
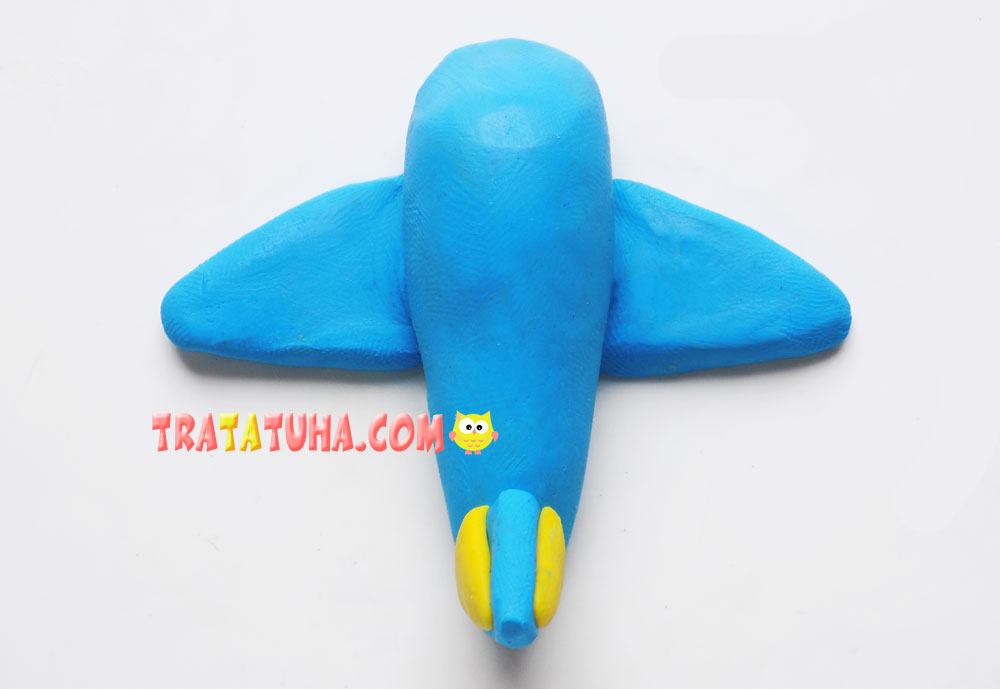
Again we use yellow clay, we sculpt a windshield from it. To do this, first roll out the clay into a cake, and then cut out the blank of the desired shape with a plastic stack. We attach it to the front of the aircraft.
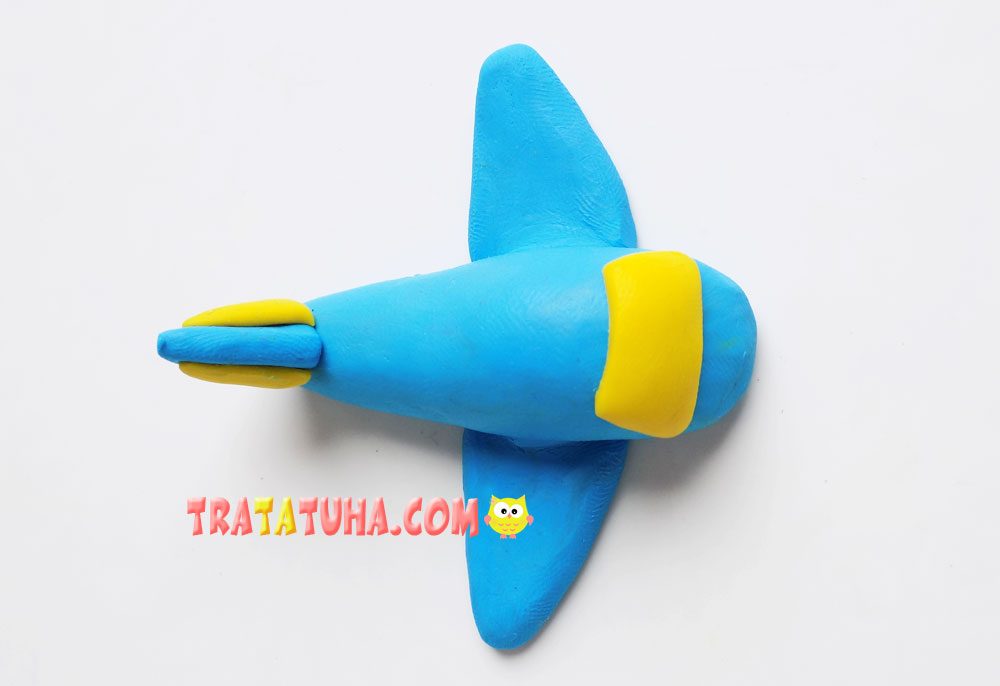
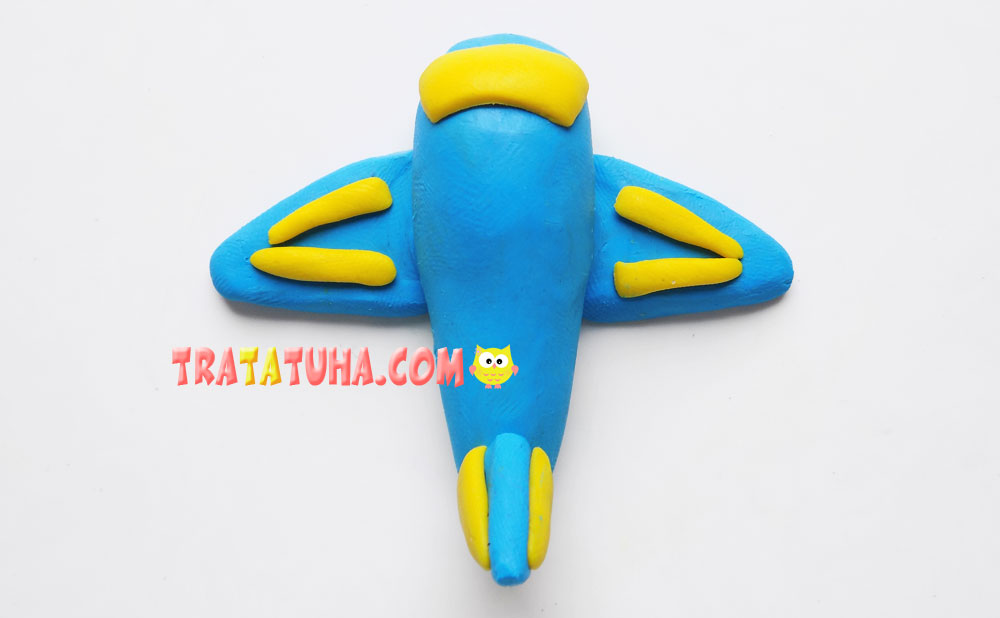
We make additional details on the wings of the aircraft. We perform them in the form of thin flagella rolled from yellow clay.
It remains to add plastic eyes to our craft. And with a plastic stack we will draw a smiling mouth. This is how we got a clay airplane.
See more ideas about Clay Crafts.
Crafts for Kids – learn how to make craft at home! Super cute crafts for all age groups!
Related Post: