A simple clay pike in stages. Detailed description of the work with visual photos. Modeling lessons on the marine theme.
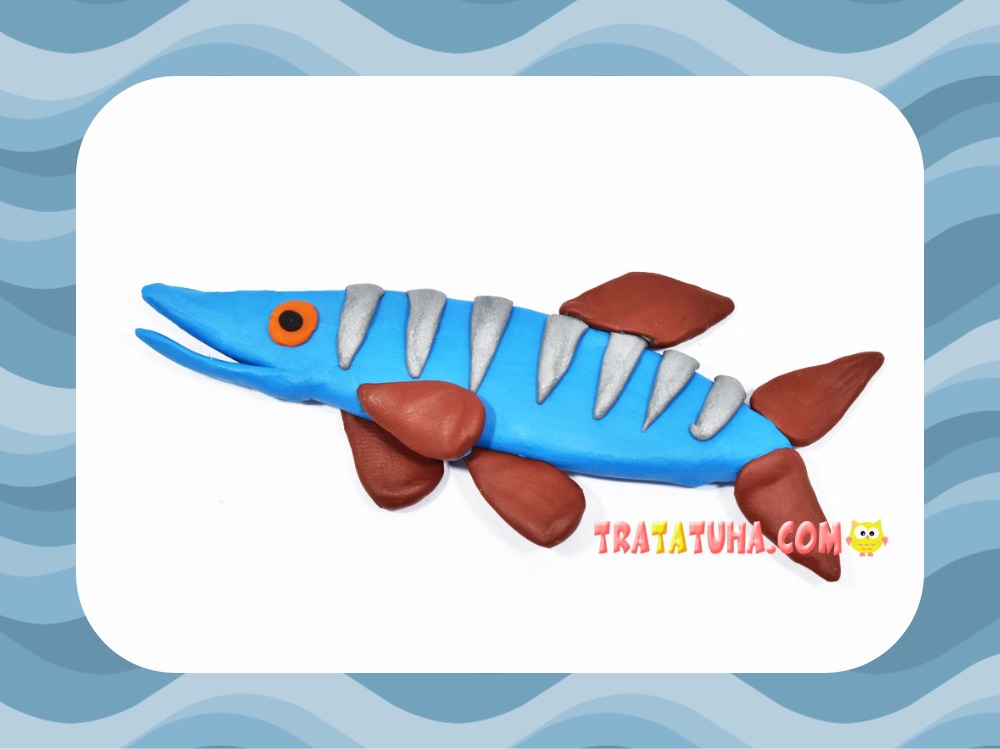
Previously, we have already sculpted a bright clay fish, but this time we have a predatory variety — a pike.
What materials will be needed:
- Clay blue, gray, brown, orange and a little black;
- Stack, mat for modeling.
Clay Pike step by Step
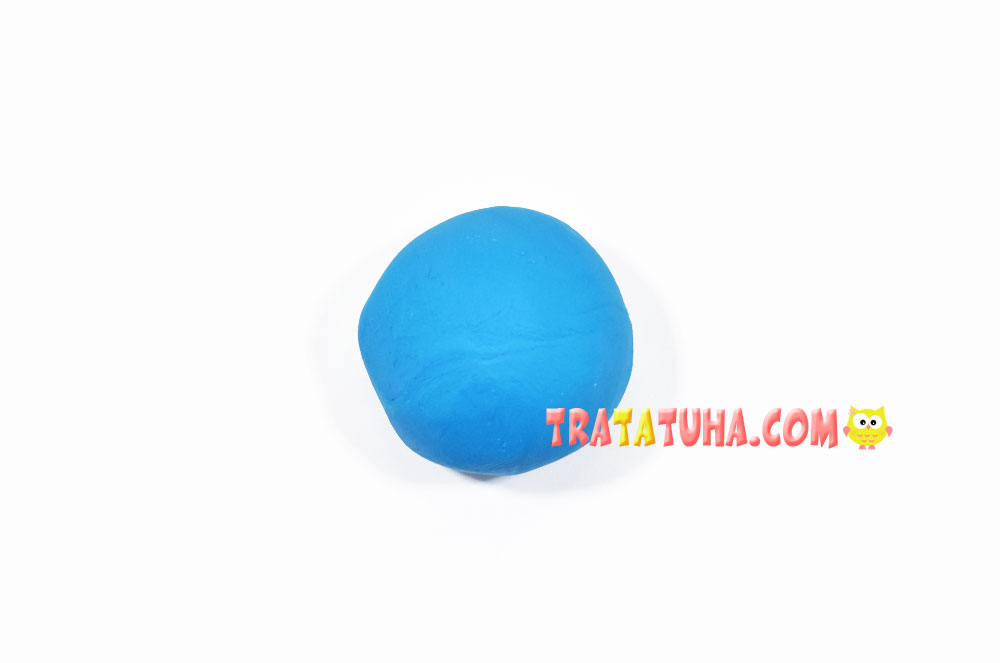
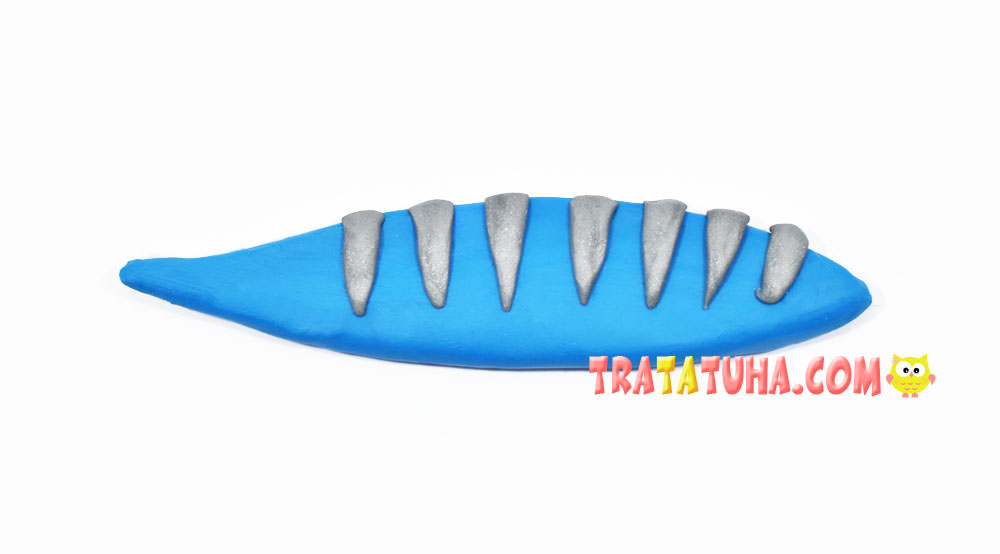
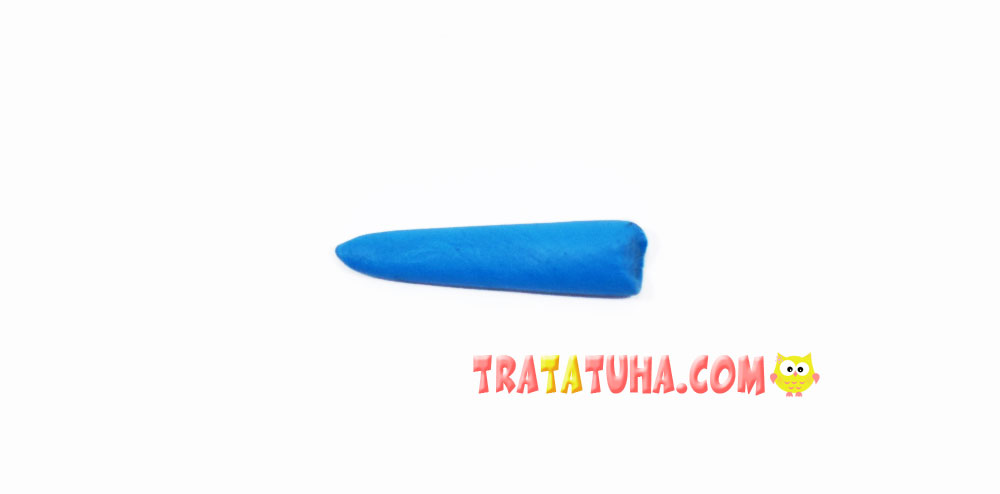
Prepare blue clay, roll a ball out of it.
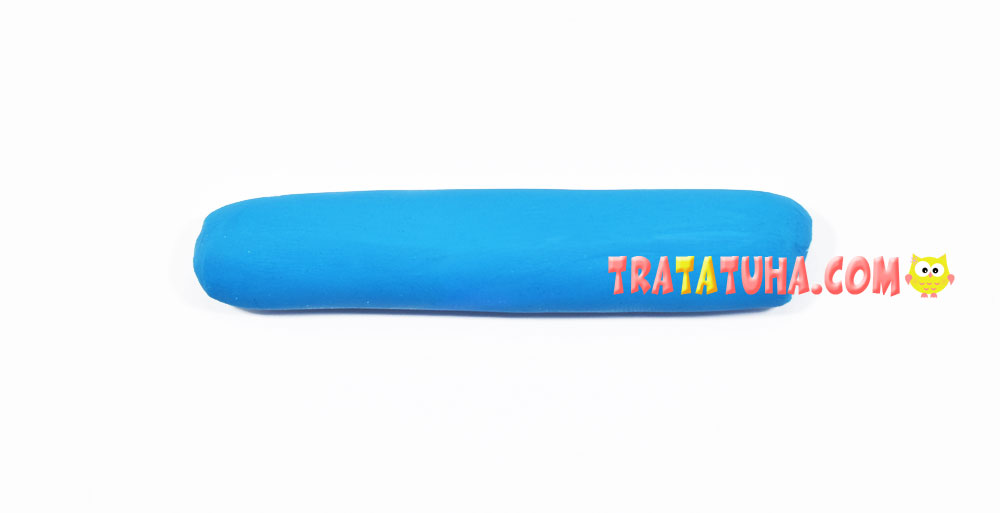
Roll out into a thick cylinder.
Roll out the sides, making them thinner.
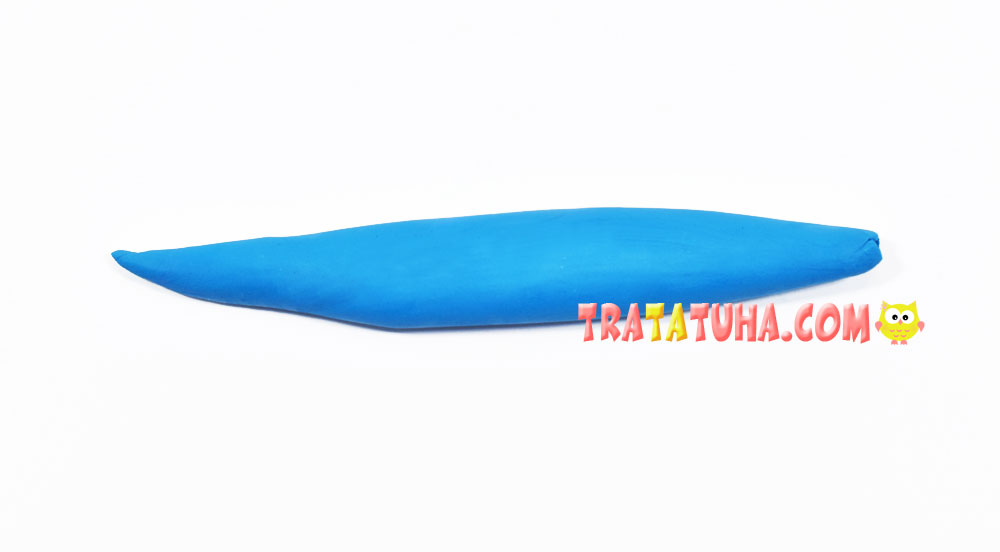
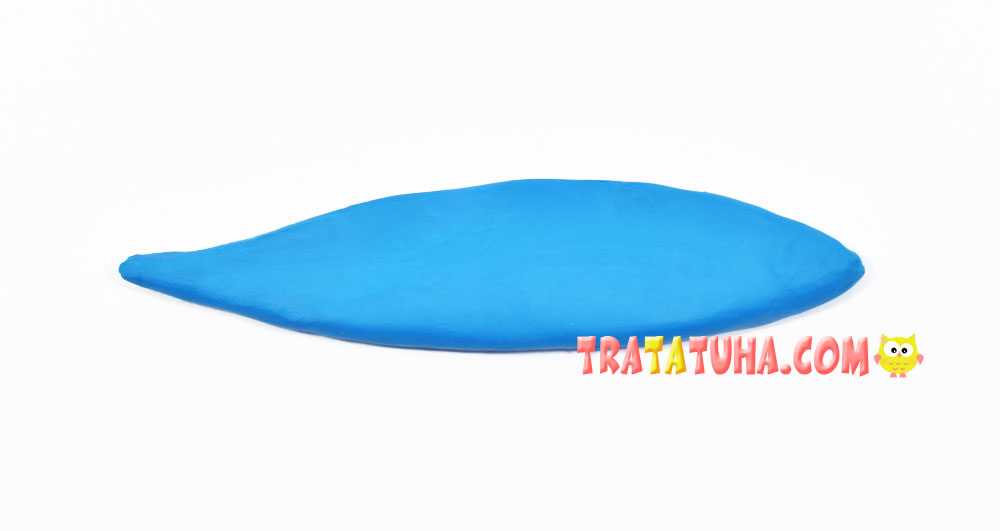
Flatten to get a detail, as in the photo. It turned out the body of a pike.
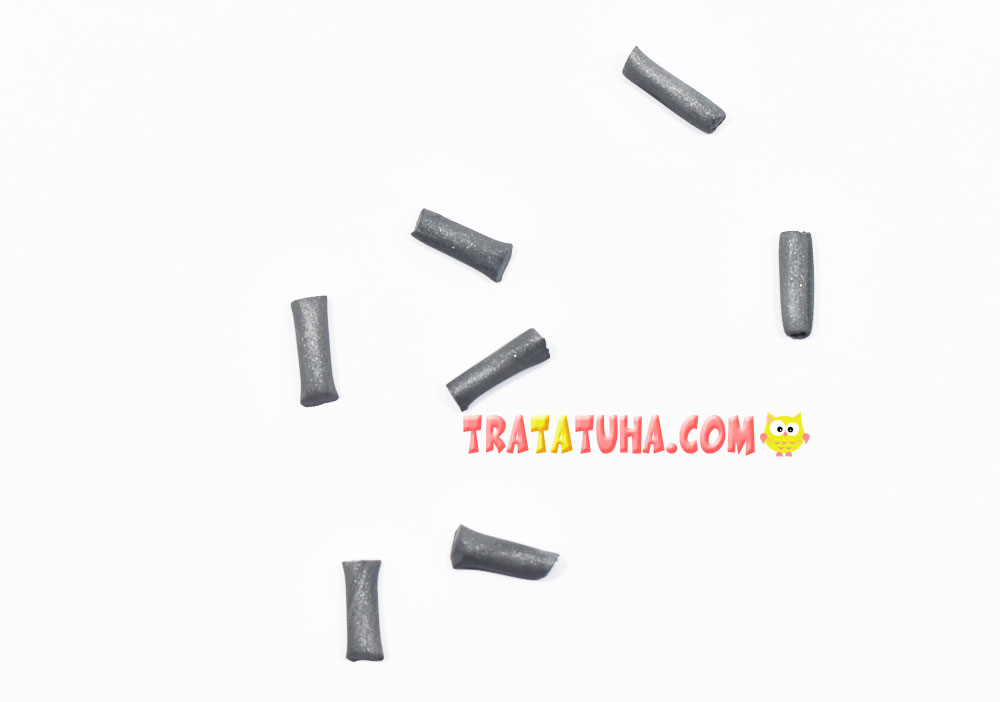
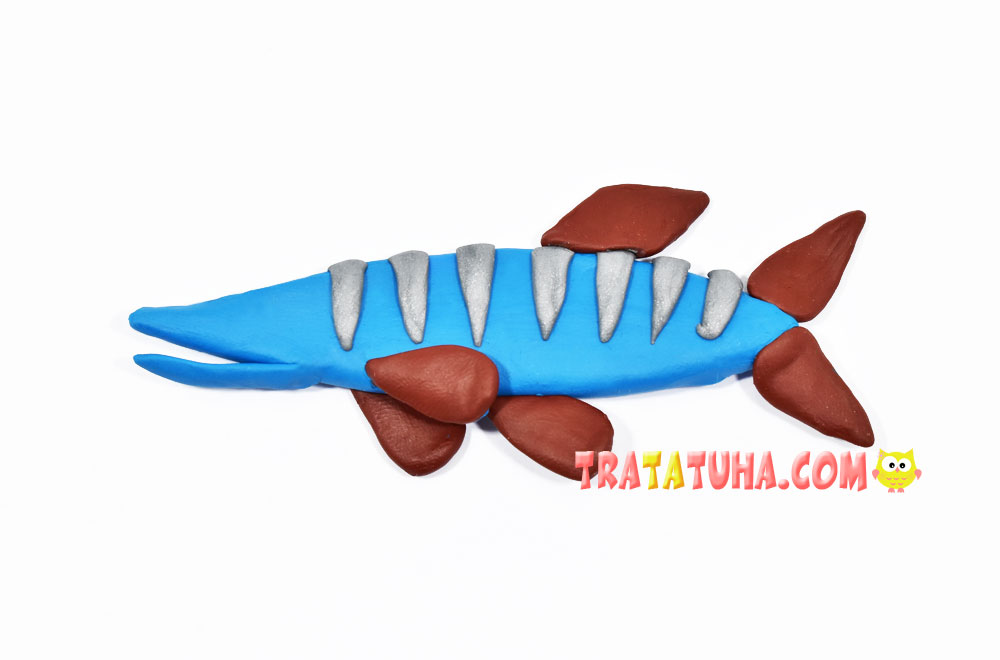
Take gray clay, roll it into a thin bundle, and then divide the bundle into 7 pieces with a stack.
Give the pieces a cone shape and flatten each one.
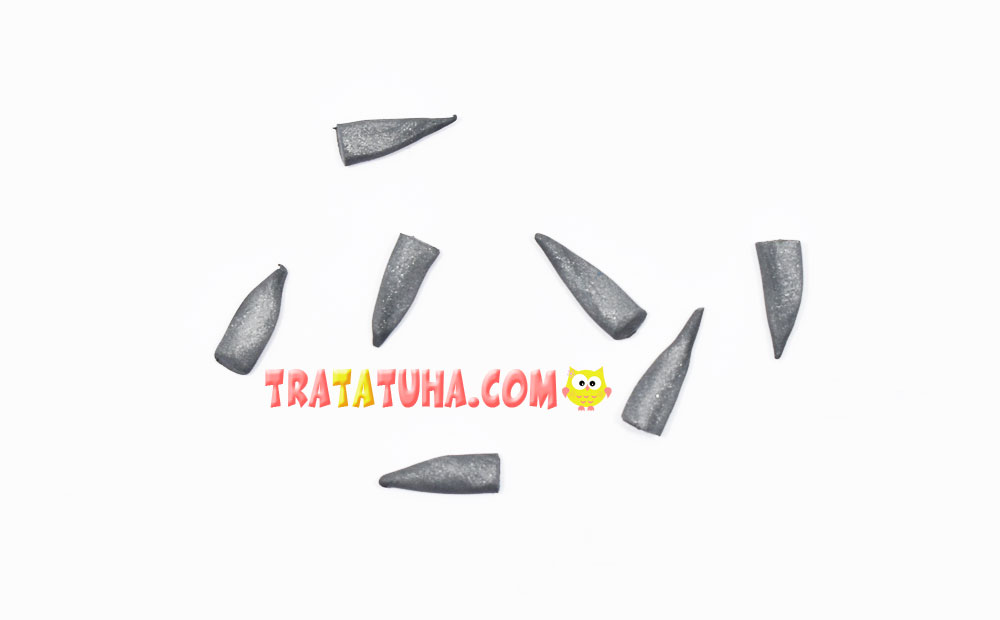
Stick the cones to the body, creating a kind of decoration for the pike.
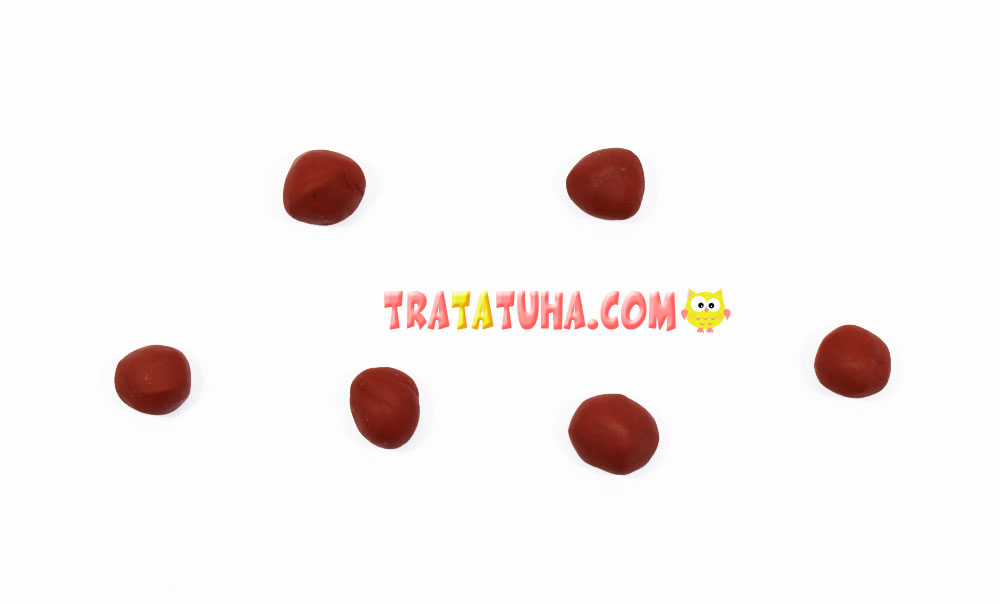
Now let’s move on to sculpting the fins. We will have 6 of them. Two caudal, one dorsal, and 3 abdominal. Roll up 6 balls.
Give one the shape of a diamond, and the rest — a triangle.
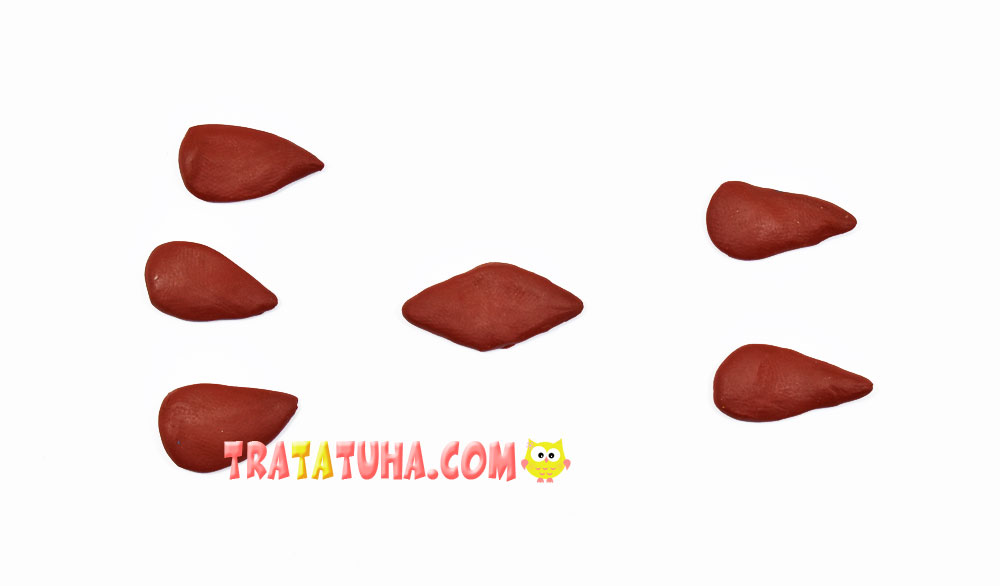
Attach the tail triangular fins to the back of the body, stick the diamond-shaped dorsal on top. And attach the remaining three to the lower body.
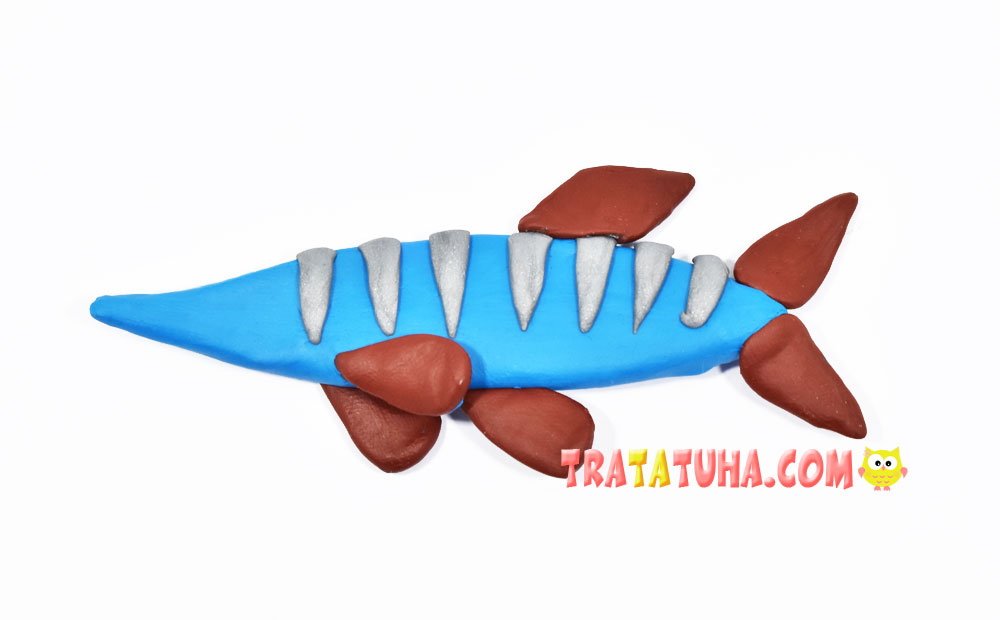
Blind a thin tourniquet of blue clay, one side of which is slightly thinner than the other. This is the lower part of the pike’s mouth.
Attach the part to the head, as shown in the photo.
Roll small balls from orange clay, add even less black on top to make eyes. Stick on both sides.
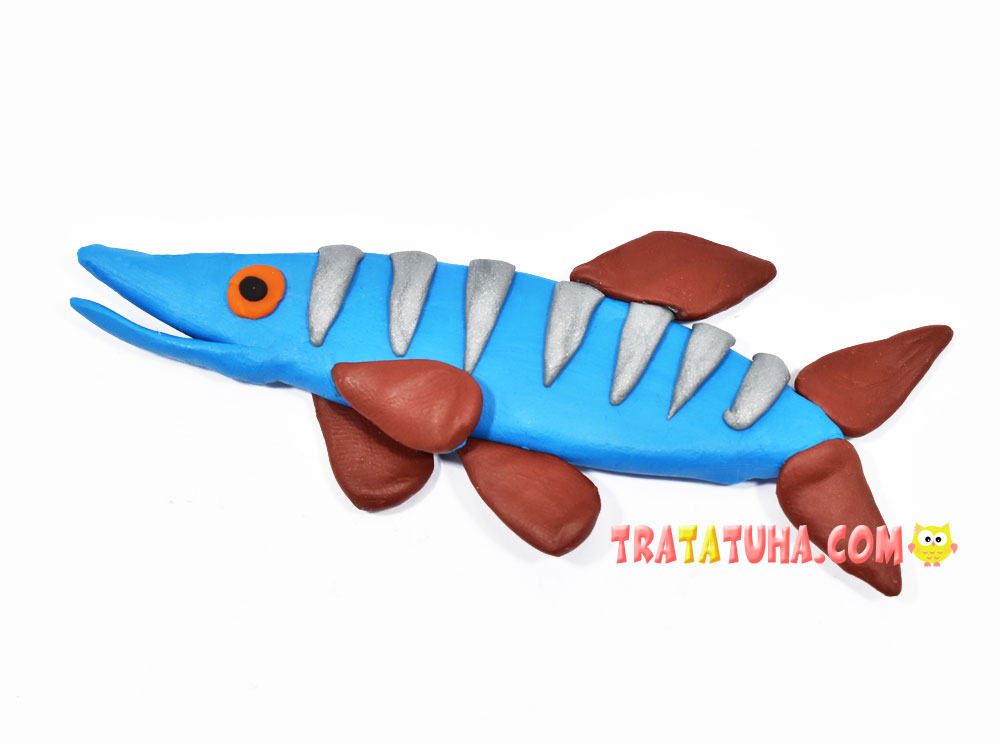
Clay pike is ready.
Is this topic interesting? Here are a few more selections for you:
Related Post: