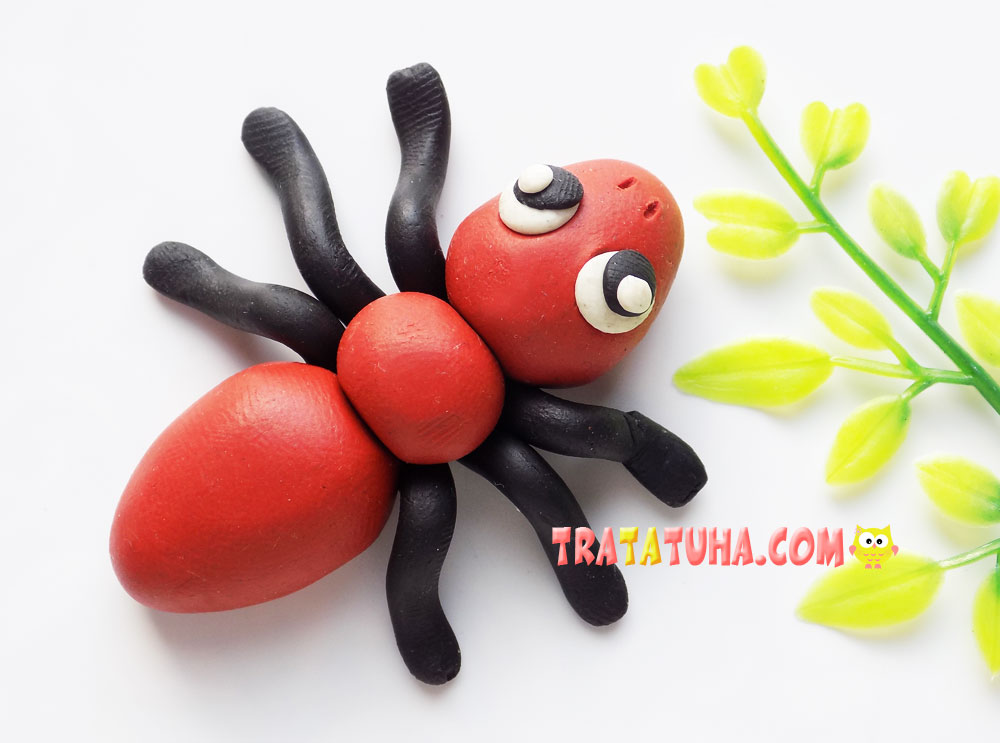
A simple clay ant. During the creation of such crafts, the child will roll up balls and thin flagella, from which he will then make an ant.
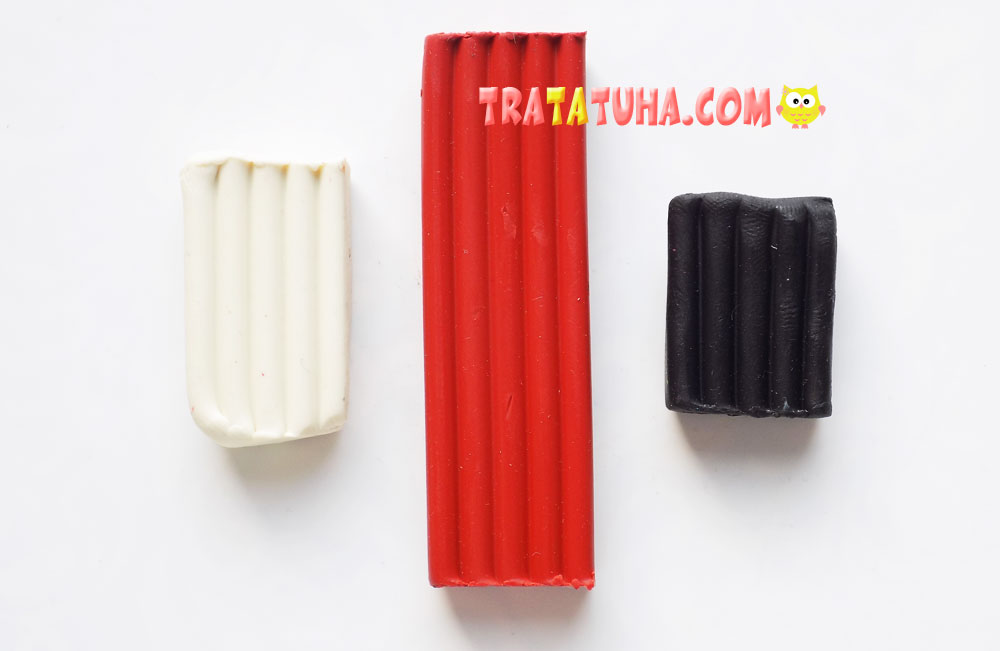
To sculpt an ant, we will prepare:
- brown, black and white clay;
- stack;
- modeling board.
Clay Ant Step by Step
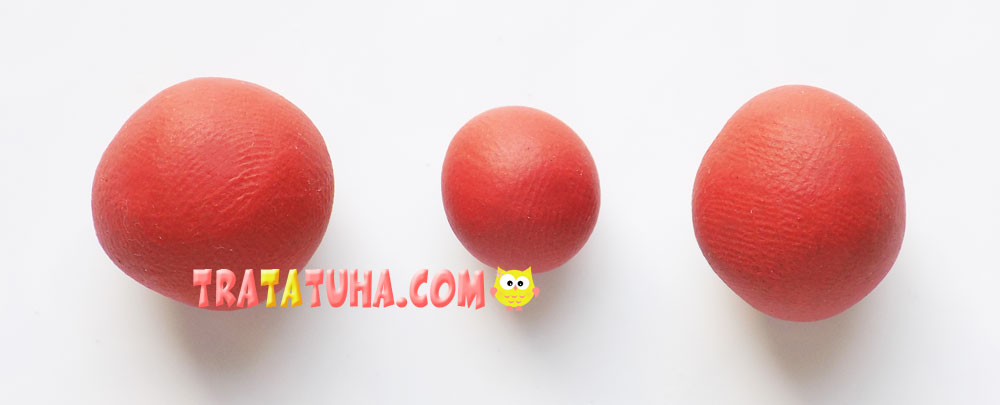
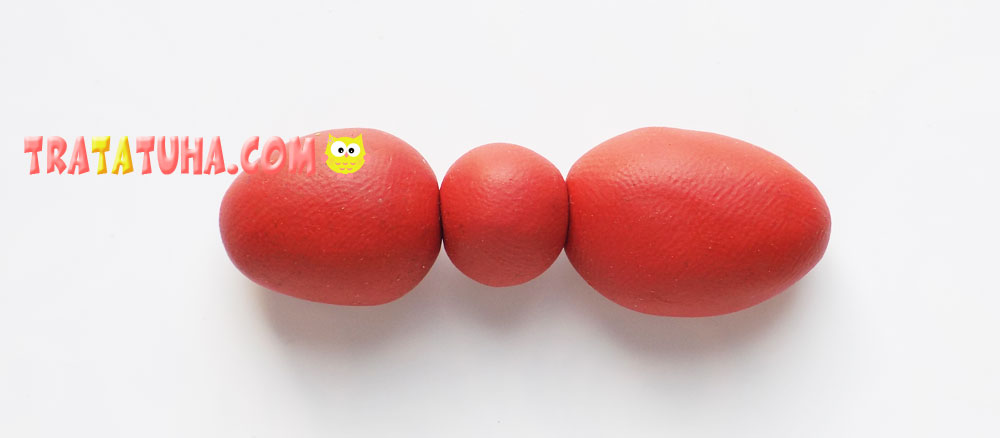
First, we blind the blanks for the body of the ant. To do this, roll 3 balls of different sizes from brown clay.
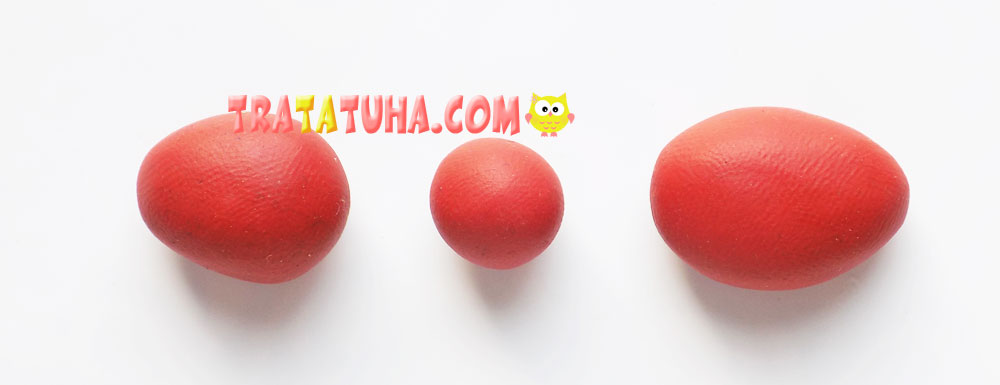
Now we slightly modify a couple of balls, make the head more oval and slightly stretch the body. The small ball is left unchanged.
We connect all the elements together. For reliability, you can fasten them together with a small piece of a toothpick.
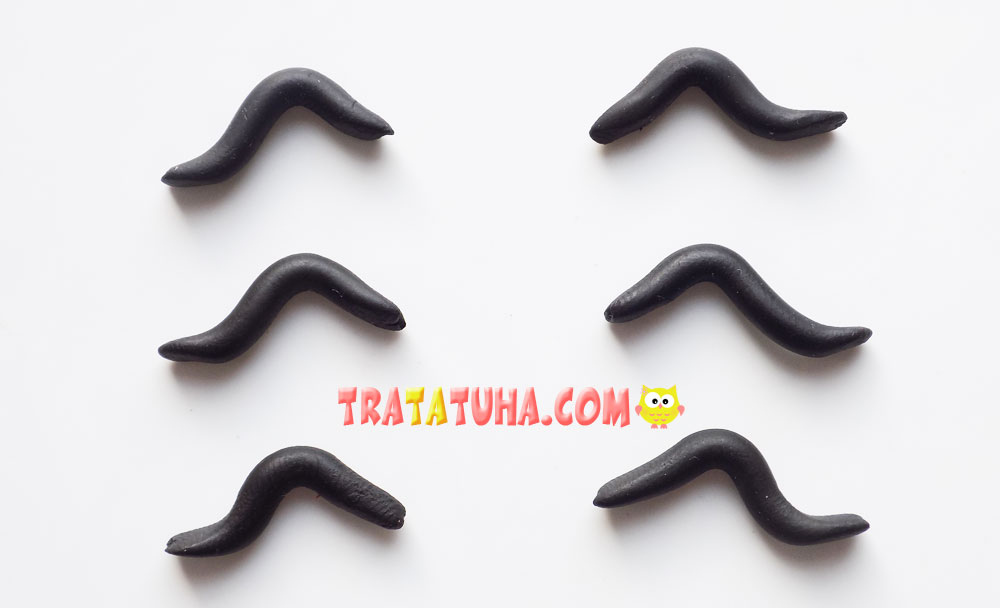
Next, we will make paws for our ant. From black clay, first we prepare 6 identical balls, and then we roll flagella out of them. The thickness of the flagella may depend on the age of the child. The older the children, the thinner the flagella can roll.

We make bends, forming paws in this way.
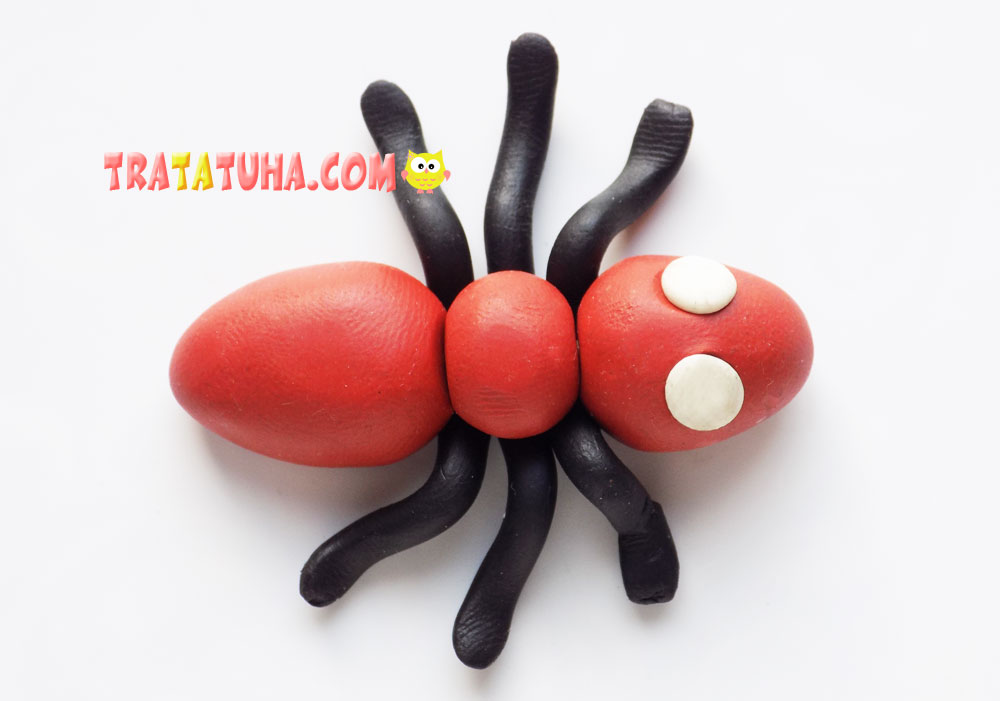
We attach the finished paws to the body from below.
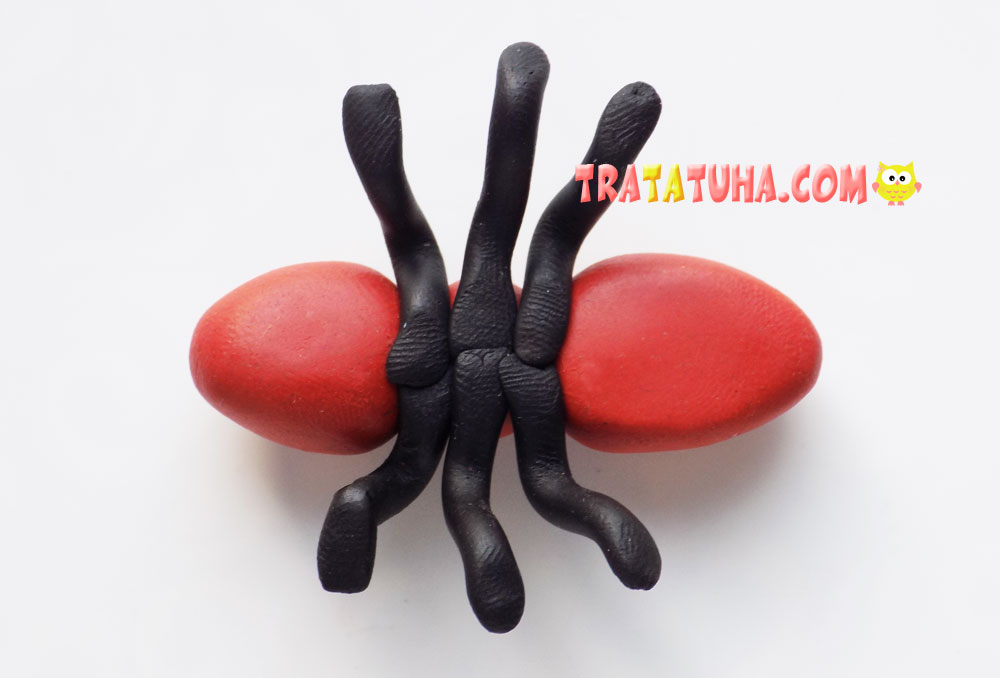
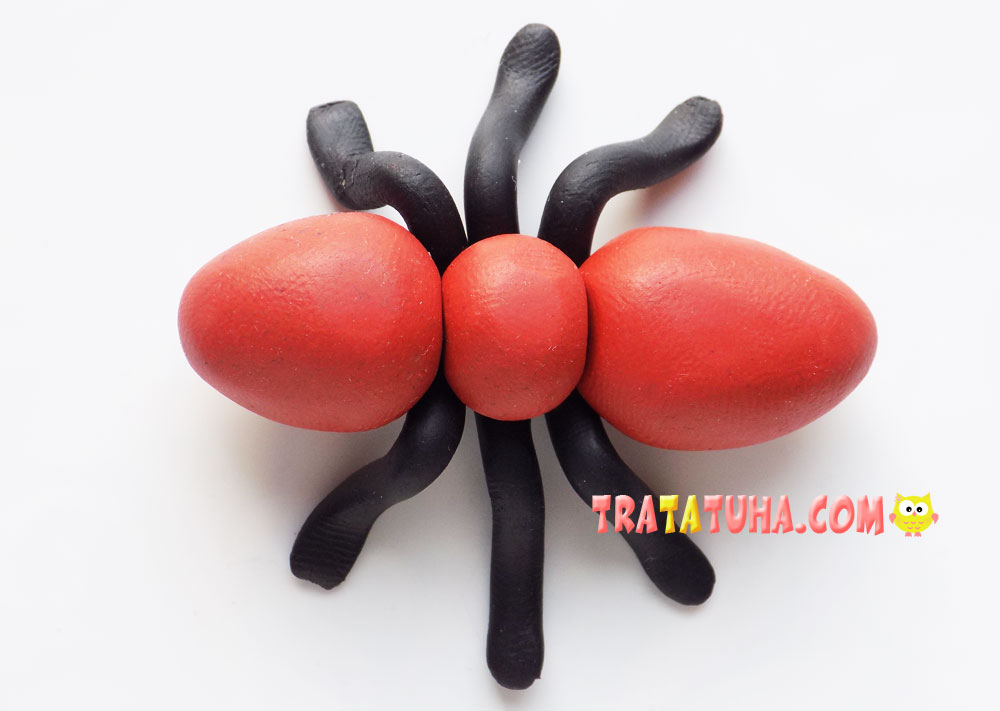
And this is what our ant looks like from above.
It remains to make eyes. First, we will make a couple of small indentations on the head, it is convenient to make them using a match head. Then we place small balls of white clay in these places.
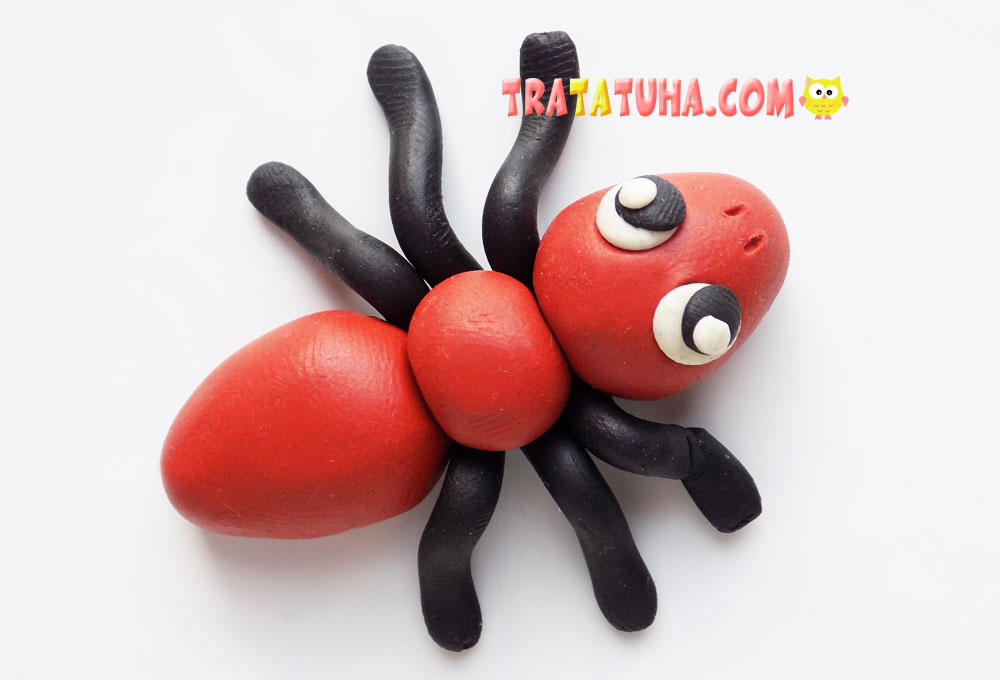
To fully decorate the eyes, you need to add balls of black clay and tiny blanks of white. The clay ant is ready.
See more ideas about Clay Crafts.
Many other Insects Crafts for kids.
Crafts for Kids – learn how to make craft at home! Super cute crafts for all age groups!
Related Post: