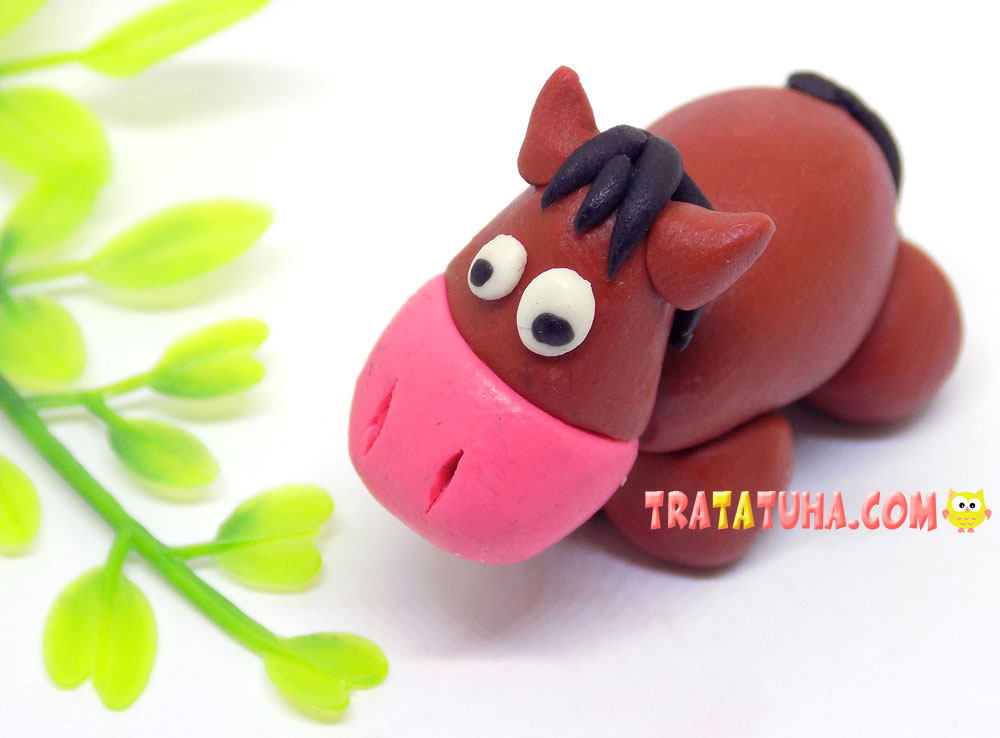
Modeling tutorial – a brown horse made of clay. The basic forms are not complicated at all, small details can cause some difficulties.
You can choose the color, as well as the size of the craft, to your taste.
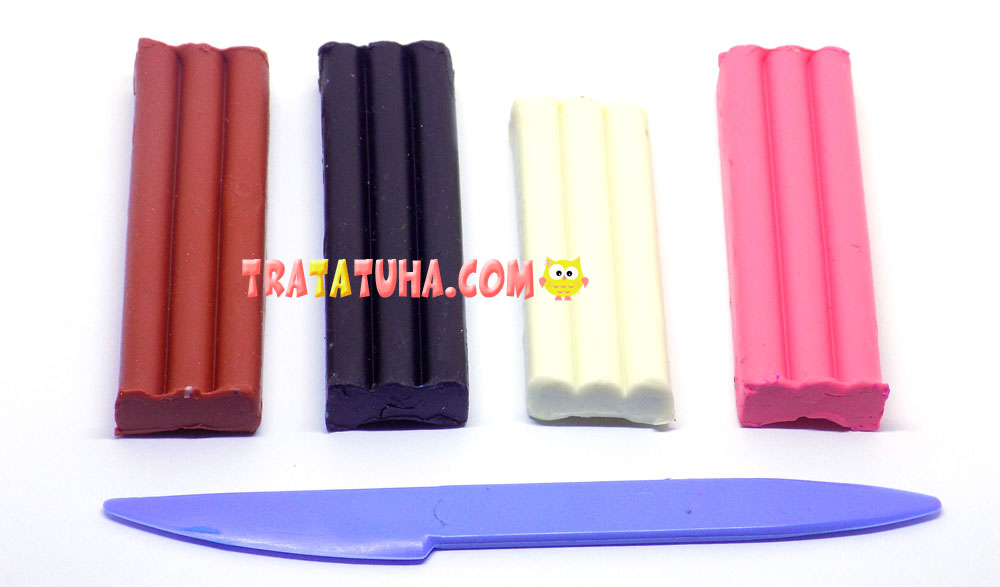
To modeling such a horse, we will prepare:
- clay brown, pink, black, white;
- plastic stack;
- molding mat.
Clay Horse Step by Step
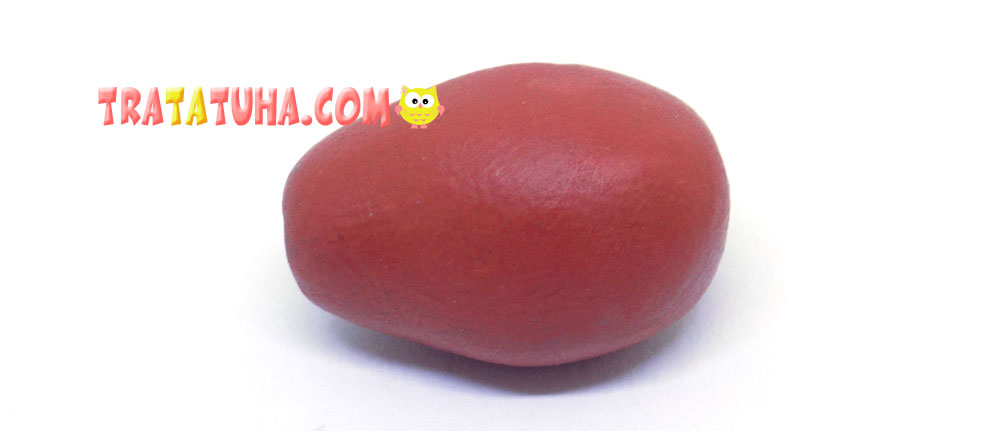
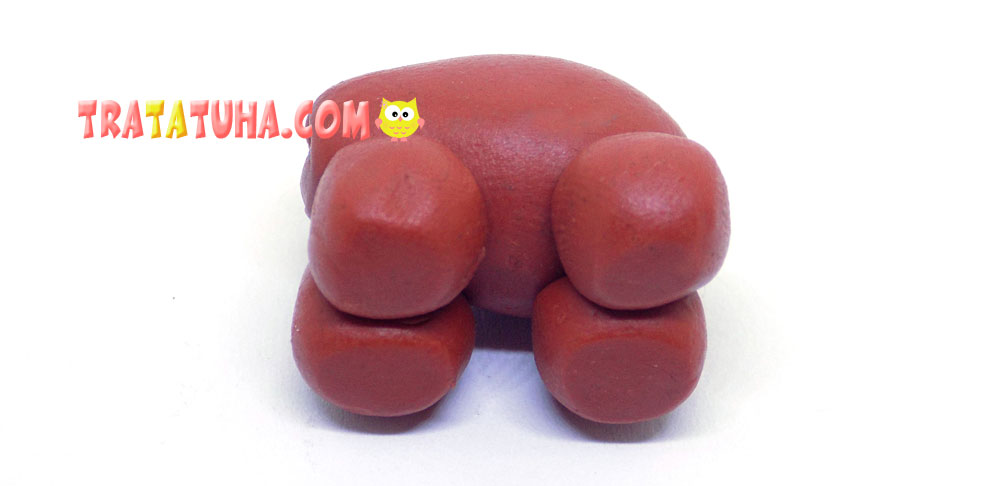
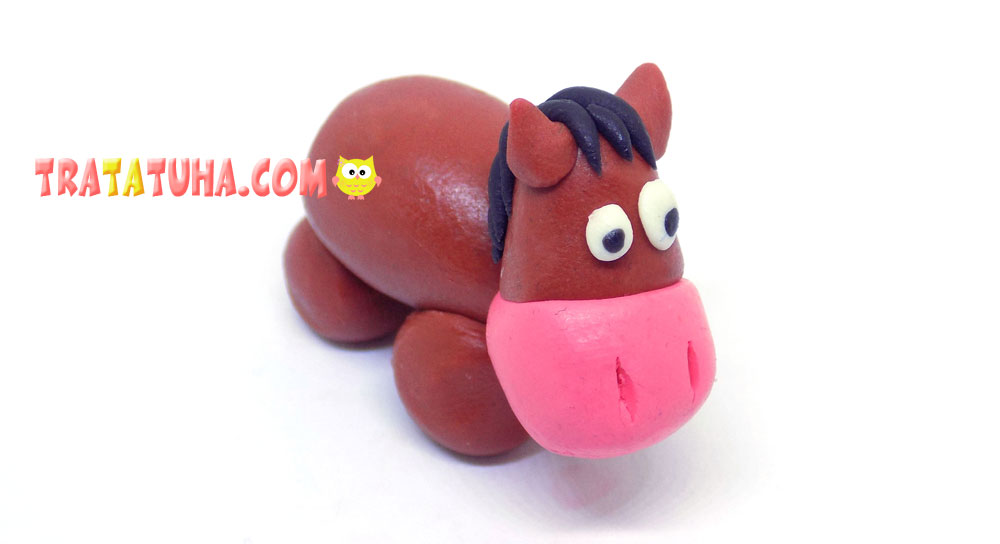
First, we blind the body of the future horse. To do this, roll up a ball of brown clay, and then stretch it out a little, giving it a pear-shaped shape.
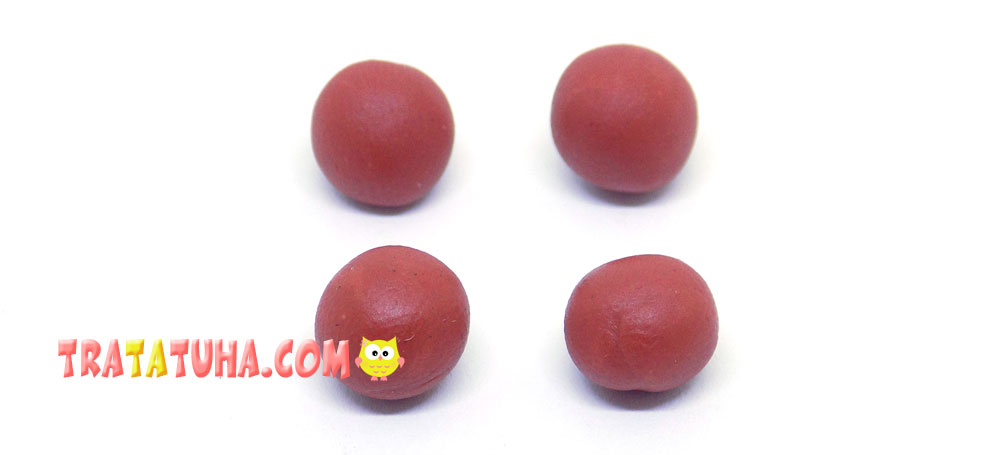
For the legs of the horse, we form 4 identical balls from the same brown clay.
We attach these balls to the main workpiece, that is, the body.
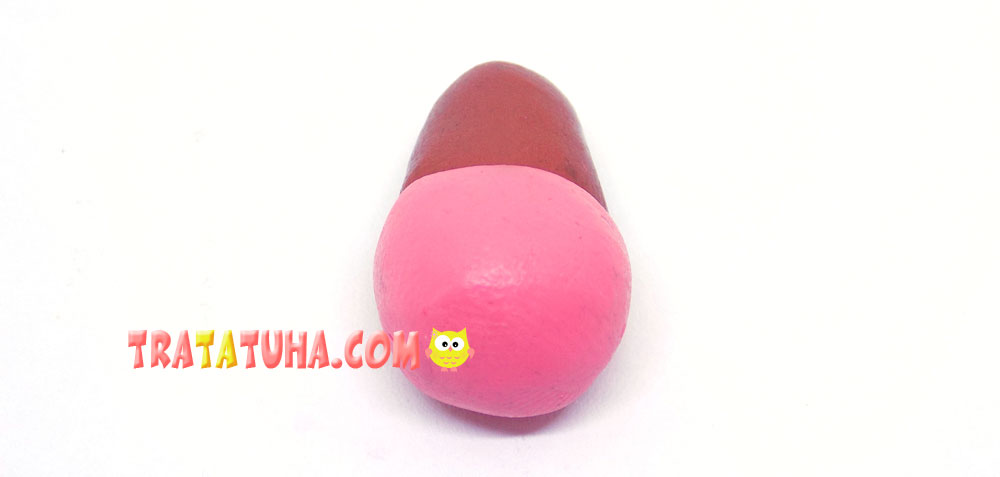
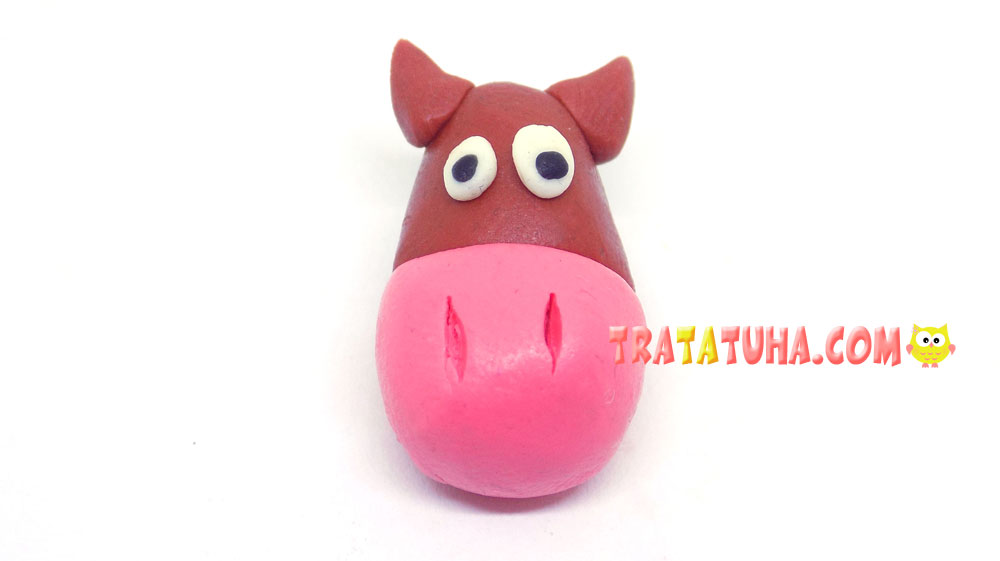
Now we are preparing a blank for the horse’s head. Roll up a brown ball.

Add a ball of pink clay to it and form a muzzle.
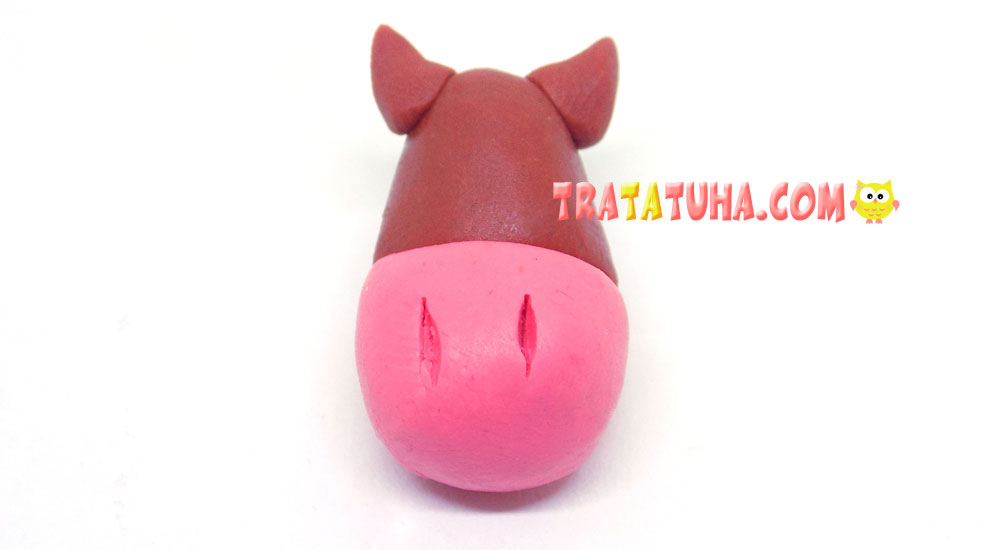
From small pieces of brown clay we sculpt small carrot-ears and fasten them on the head. We make nostrils on the muzzle with a stack.
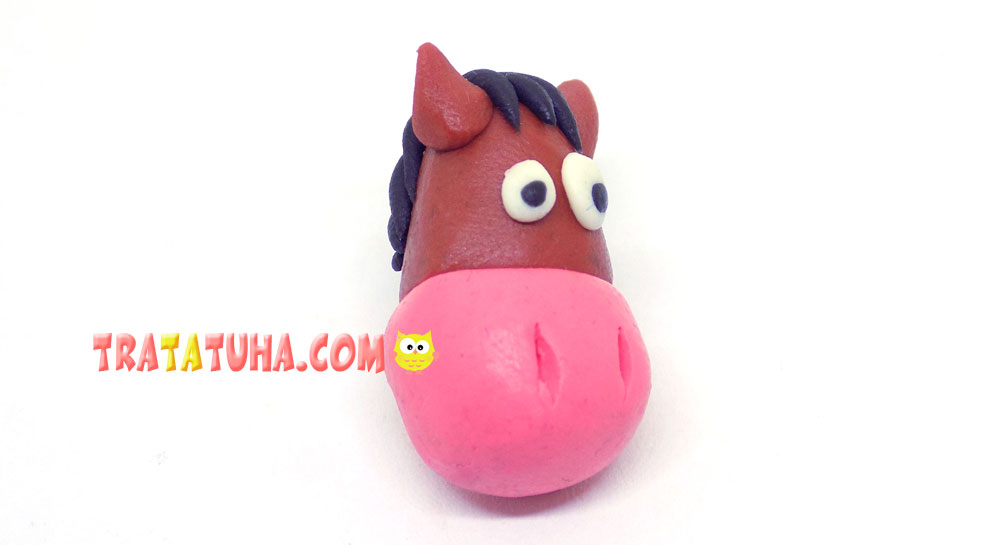
We sculpt eyes from small pieces of white and black clay.
Now we blind the mane, for this we roll up thin flagella from black clay, and then we fix them on the head.
We connect the head with the body.
It remains to form the tail. It will consist of thin flagella of black clay.
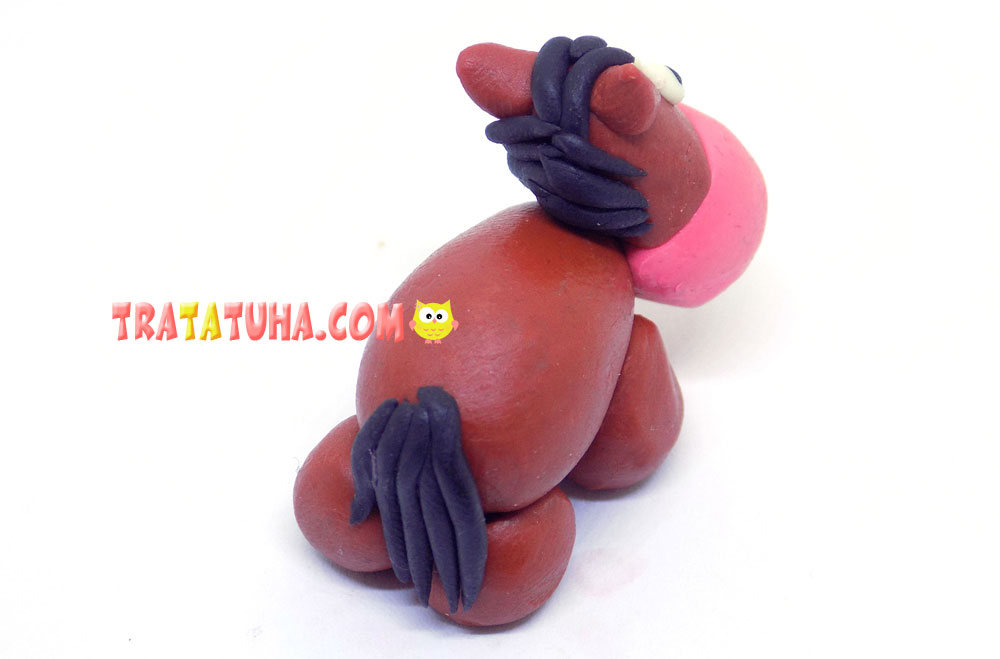
The clay horse is ready. When creating it, children can show their own imagination in choosing colors. For example, a horse can be white with a black mane and tail, beige with a mane of both light and dark colors, motley, gray, with tan marks on the body and head.

See more ideas about Clay Crafts.
Clay Animals – art and craft ideas for all ages.
Crafts for Kids – learn how to make craft at home! Super cute crafts for all age groups!
Related Post: