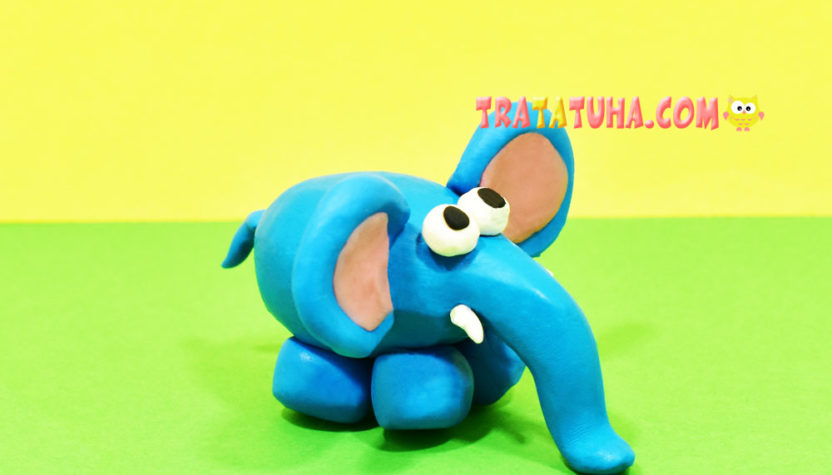
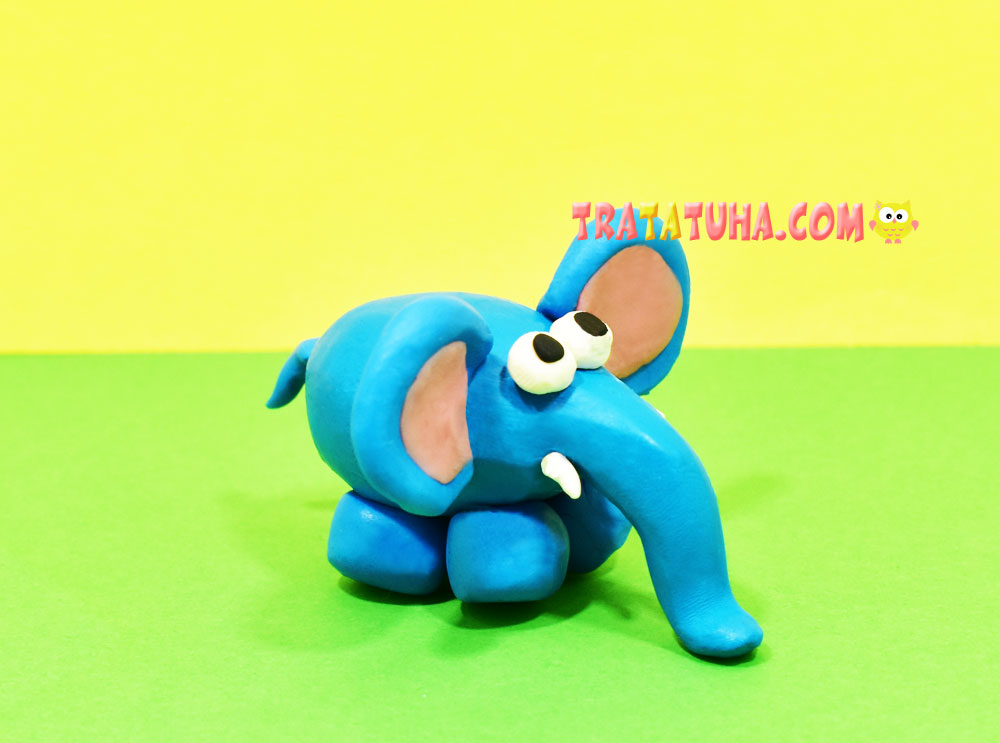
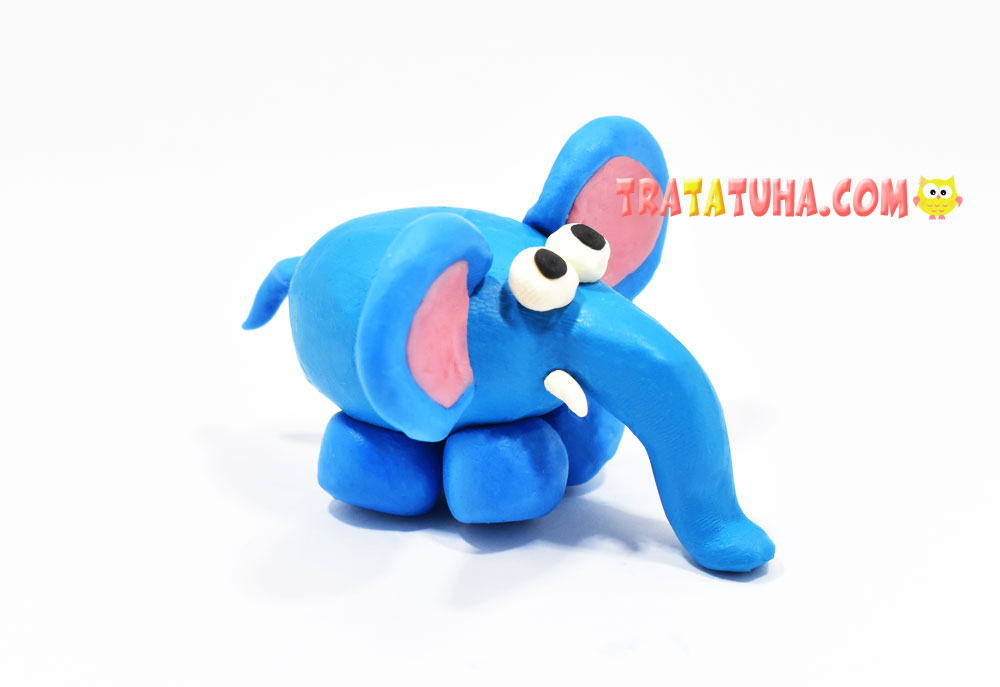
A step-by-step review with a photo — an clay elephant for kids. Detailed instructions for simple animal modeling. Cheerful, funny elephant.
What you need from the materials:
- Clay blue, pink, black and white;
- Stack, mat for work.
Clay Elephant Step by Step
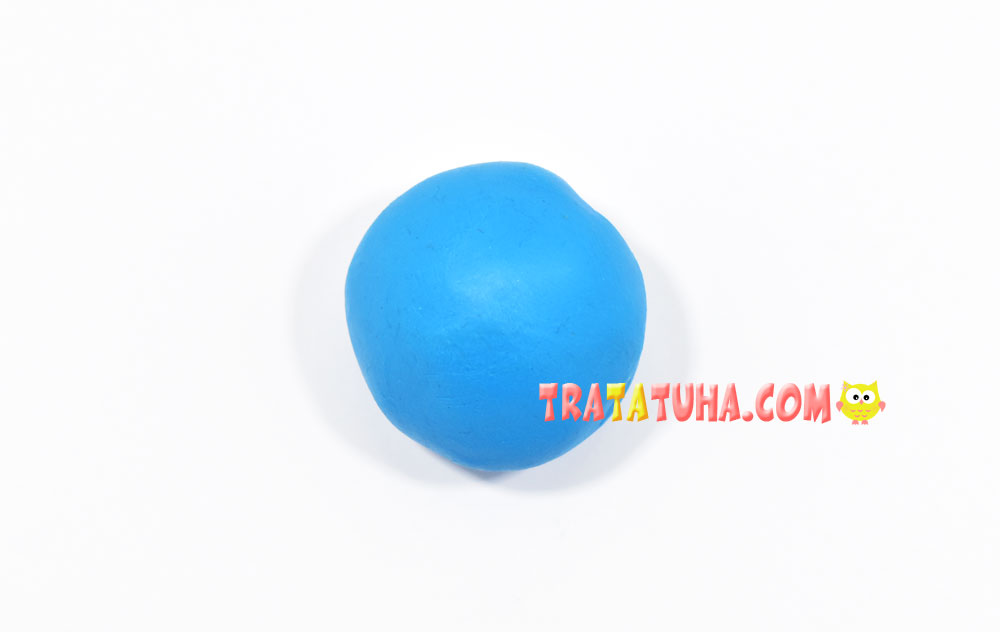
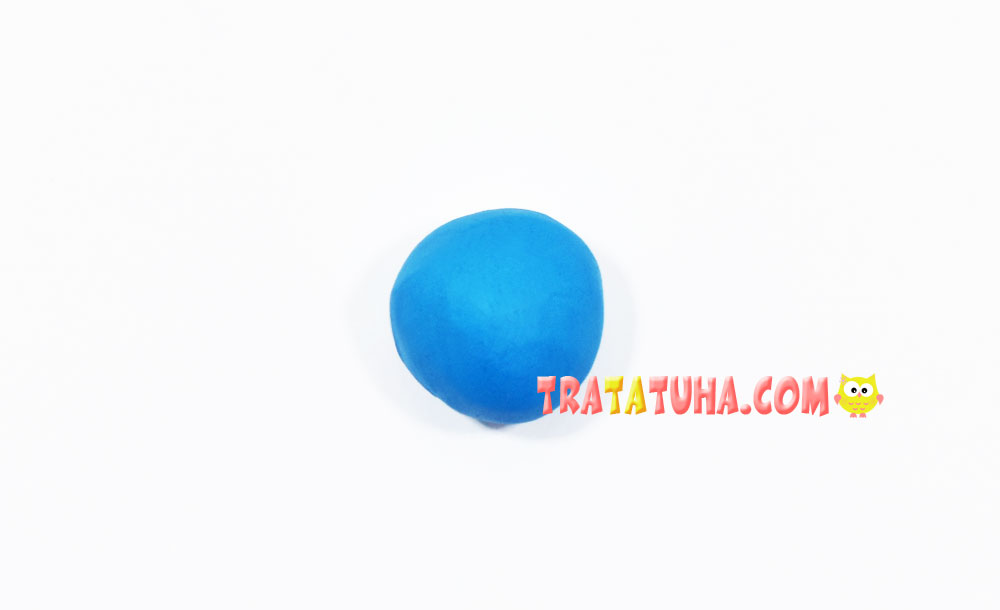
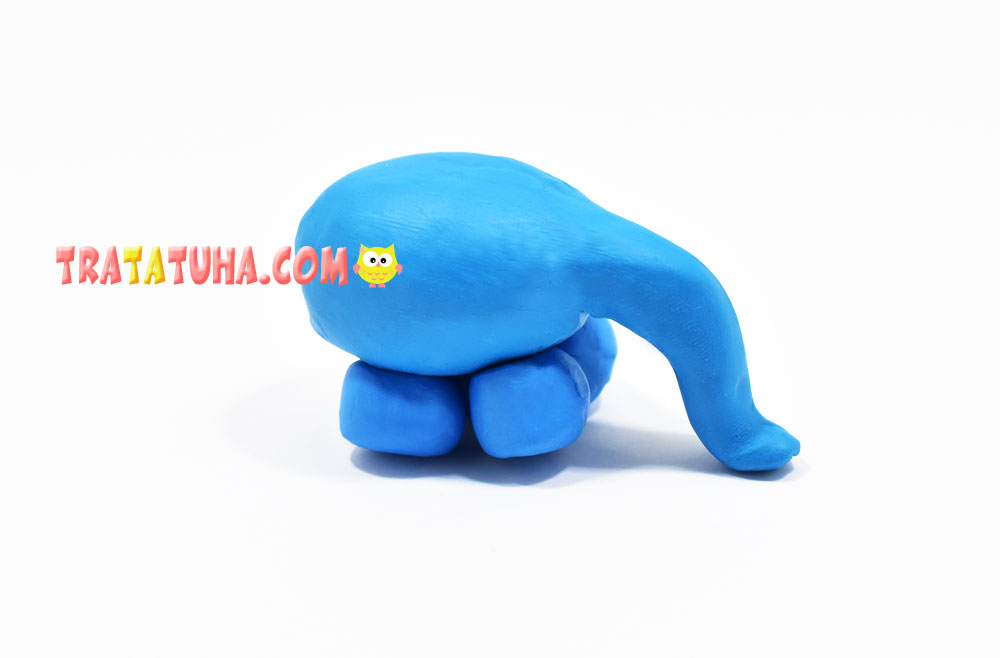
Knead a piece of blue clay and roll it into a ball.
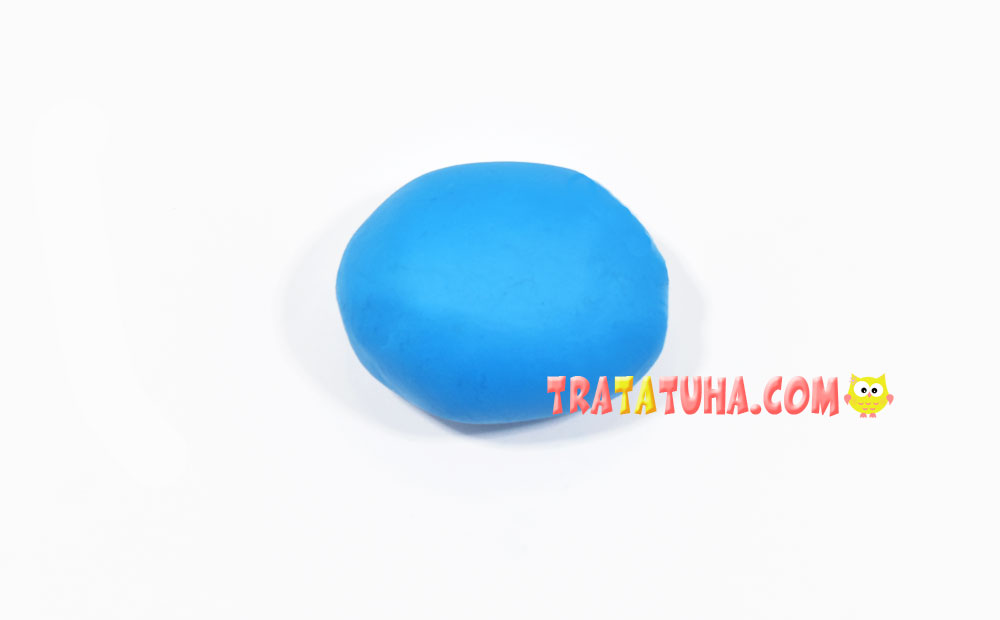
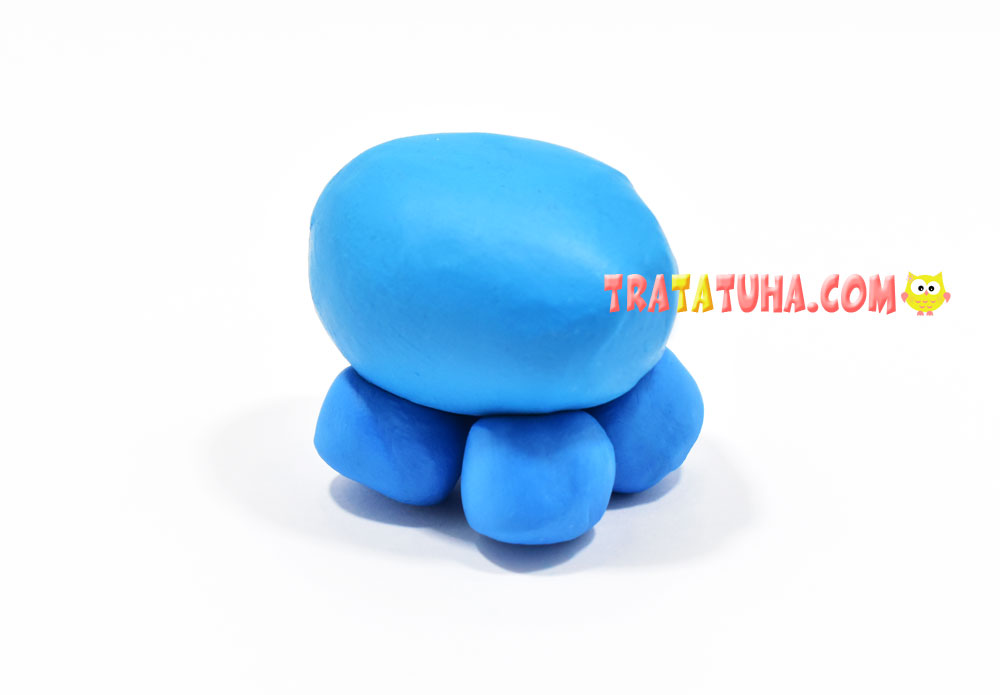
Turn the ball into an oval, which will be the body of the elephant.
Let’s move on to sculpting the legs. The animal has 4 of them, so roll 4 small balls. Compare the dimensions with the body so that all legs fit under the oval created earlier.

Press the balls a little and stick them to the oval.
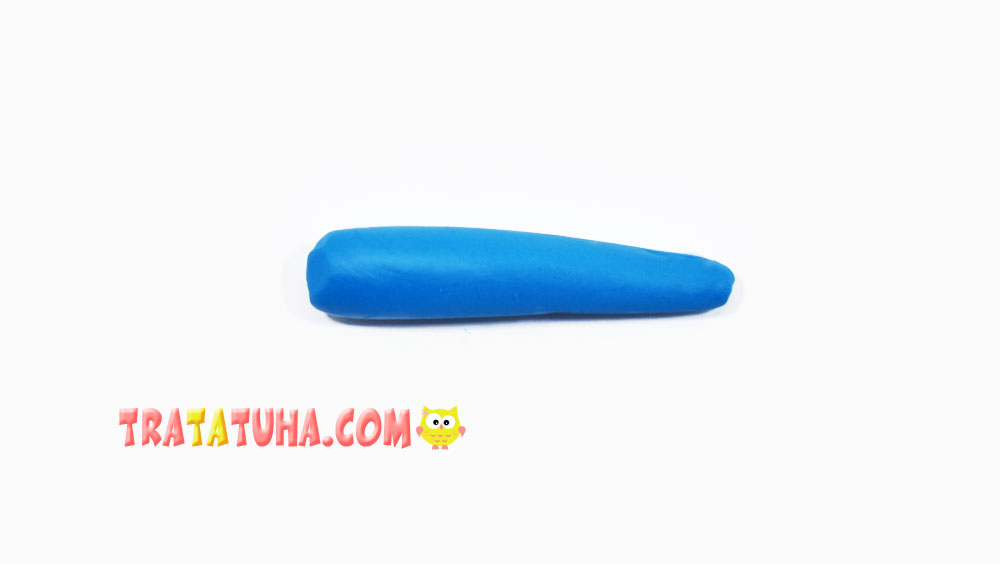
Now we are working on the trunk. Knead a small piece of clay and roll into a ball. It’s not scary if you take a little more clay, later, after rolling, if the trunk is too long, the excess can be completely removed with a stack.
Roll the ball into a sausage, one side of which should be a little thinner.
Give the sausage a wave shape.
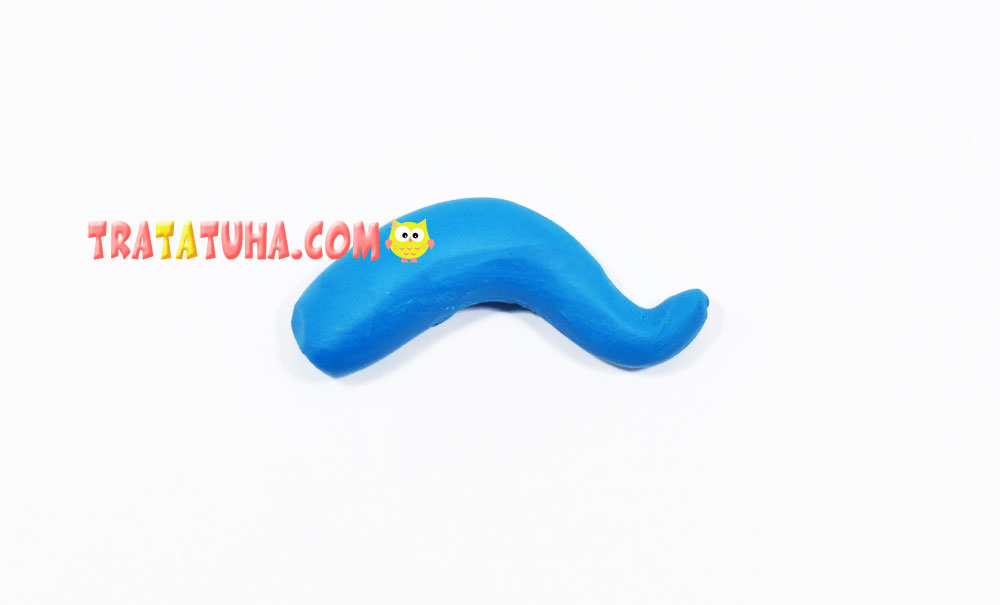
Stick the resulting trunk to the oval body, carefully smooth out the junction.
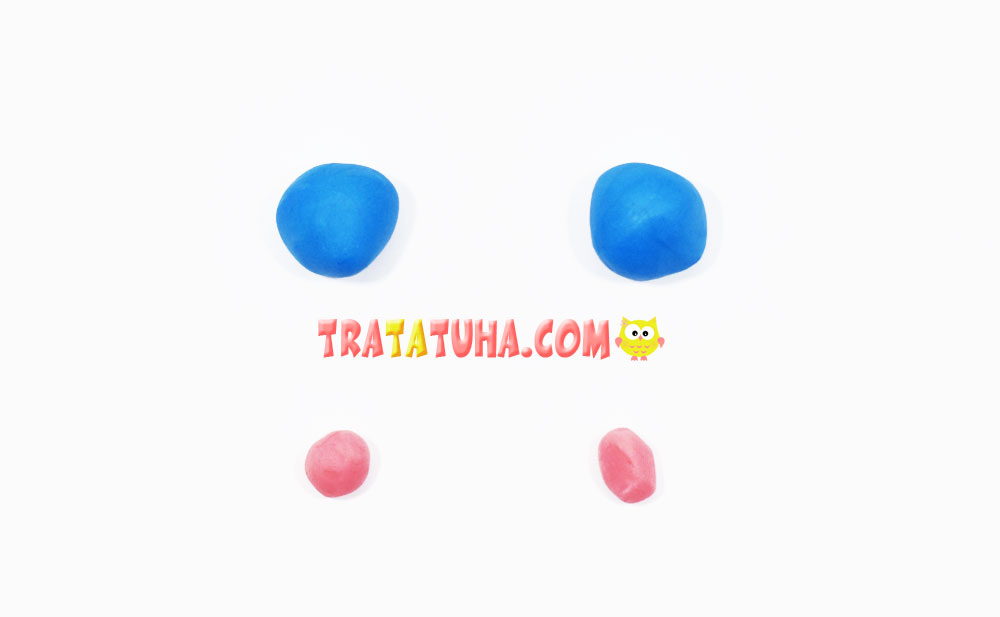
Now we blind the ears of the elephant. Roll up two small blue balls, and two very small ones – pink.
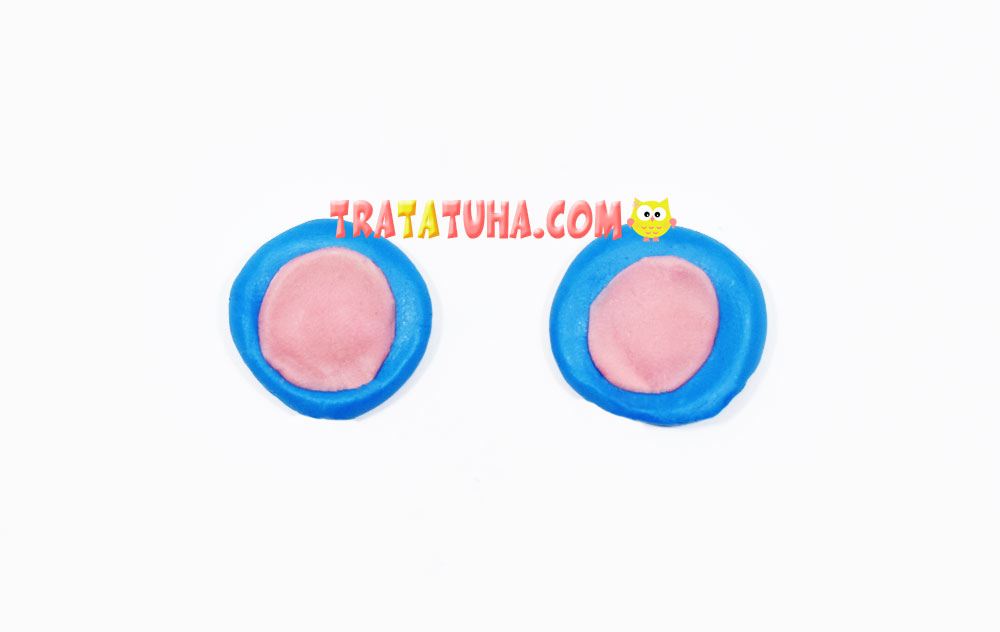
Press the balls and turn them into a pancake. Stick pink pancakes on blue ones.
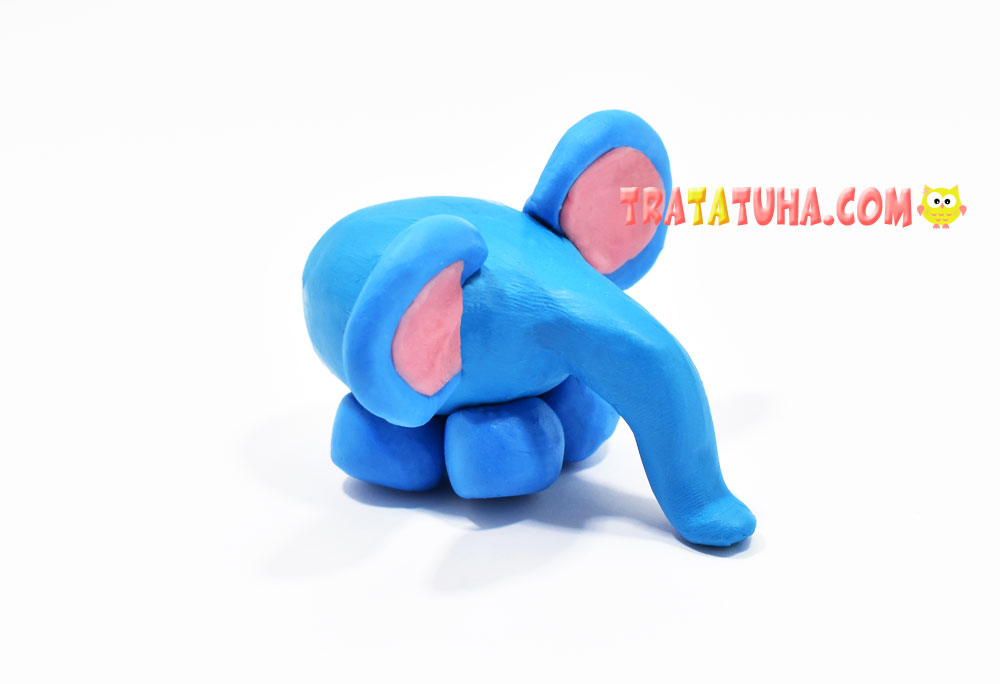
Glue the finished ears to the body.
The craft is almost ready, it remains only to supplement it with small details:
- From white and black clay to blind round eyes;
- Make small tusks from white clay;
- Roll a thin flagellum from blue clay, bend it a little, and you get a tail.
Glue all the clay blanks and the clay elephant is ready.
Is this topic interesting? Here are a few more selections for you:
Related Post: