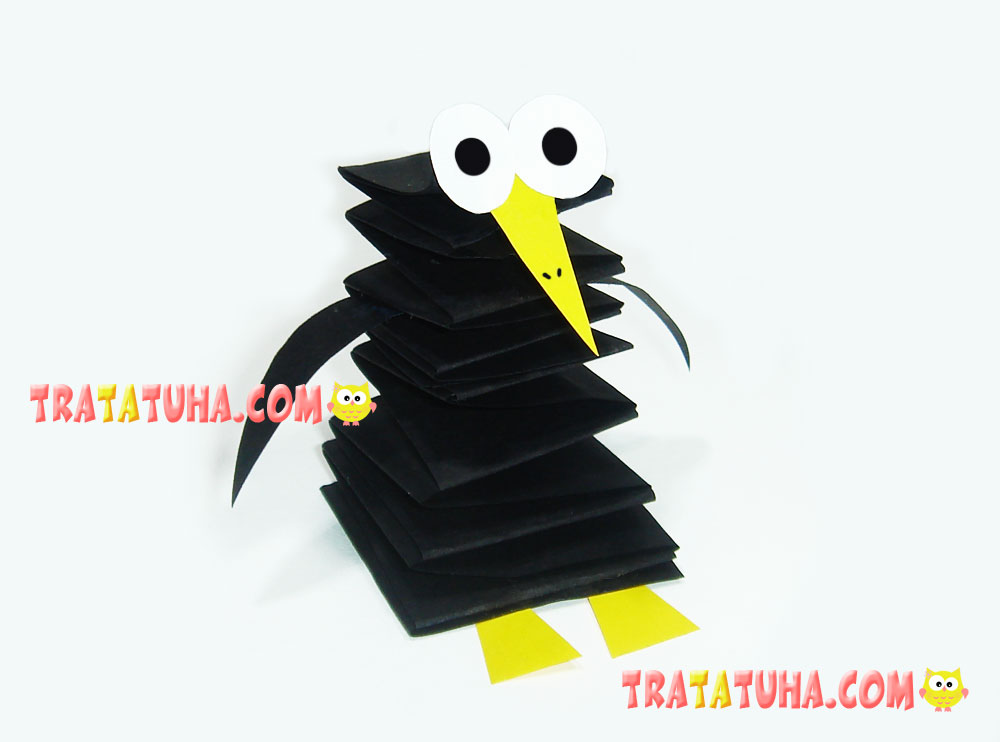
We offer a simple modeling lesson, the theme of which is a clay crow. The proposed tutorial shows simple steps for creating this clay bird.
To sculpt such a crow we will use:
- clay black, gray, white;
- stack of plastic.

Clay Crow Step by Step
First, roll a couple of large balls of black clay. This will be the head and body of the future crow.

Additionally, you need to prepare 2 more smaller pieces, from which we will make wings. The size ratio of these balls can be seen in the photo.

Connect 2 large balls together.

We form wings from small blanks. They will have the shape of curved droplets.

Additionally, we work on these details using a plastic stack, making feathers on the wings.

We attach these black wings to the sides of the body. For the eyes on the head we make small indentations using the round end of the stack.

Add clay eyes made from white and black balls.

We sculpt the beak in the shape of a three-dimensional triangle from gray clay. We fix it on the head, and using the tip of a match we make a couple of marks at the base.
We make a small tuft on the head from three thin flagella of black clay.

All that remains is to mold the paws. To do this, we again use gray clay. We connect 3 short flagella to form one leg.

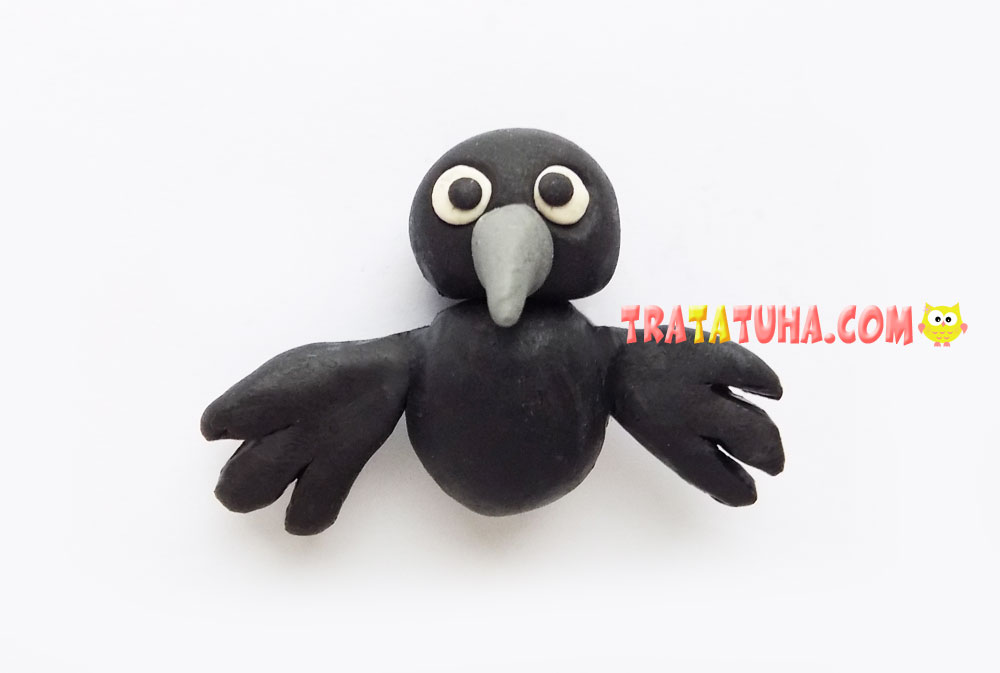
And we attach them to the bottom of the body. We got such a clay crow.

More collection ideas:
Related Post: