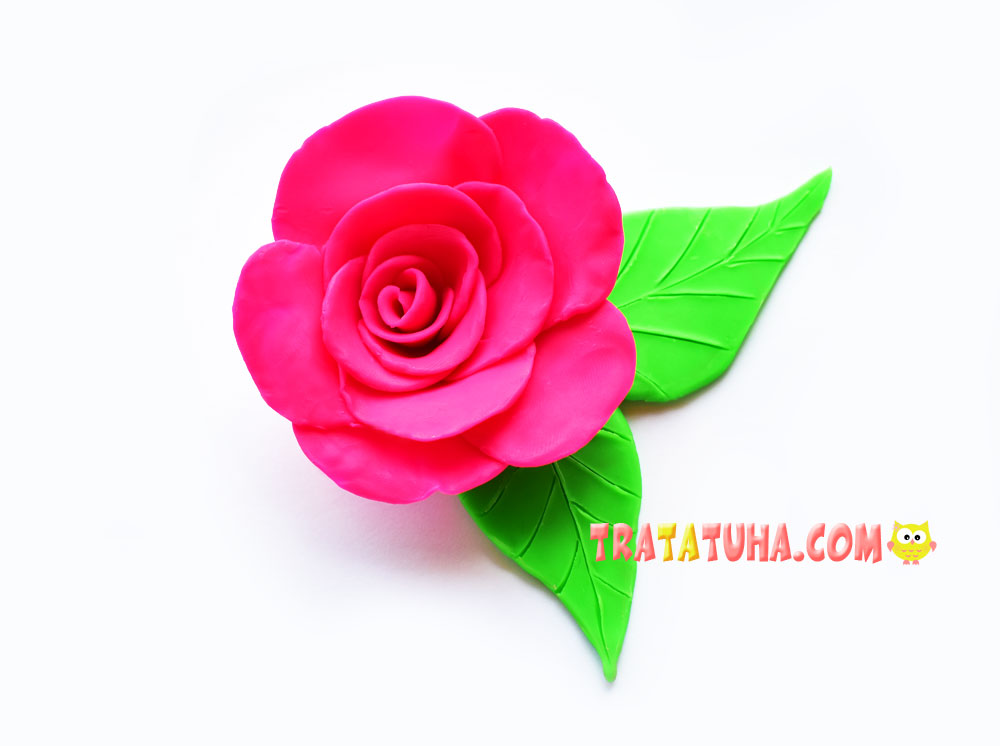
A beautiful clay rose that kids can mold. Sculpting a flower with your own hands in a step-by-step execution.
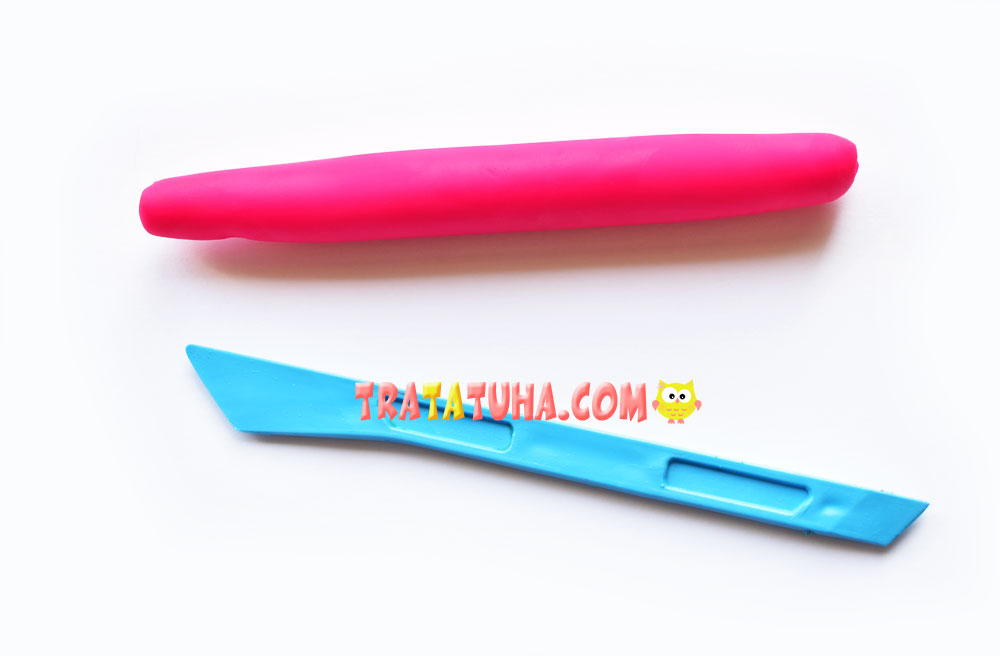
For modeling, prepare:
- Green and red clay;
- Stack;
- Substrate for working with clay.
Clay Rose Flower Step by Step
To mold a rose, we need red clay and half the amount of green.
Roll the pieces of prepared clay into balls.

Roll out the red ball into a thick sausage.
Using a stack, cut the clay into pieces. They can be 10-15 pieces. In addition, it is advisable to make the sizes of the pieces in increments, since it is appropriate to use small petals inside the rosette.
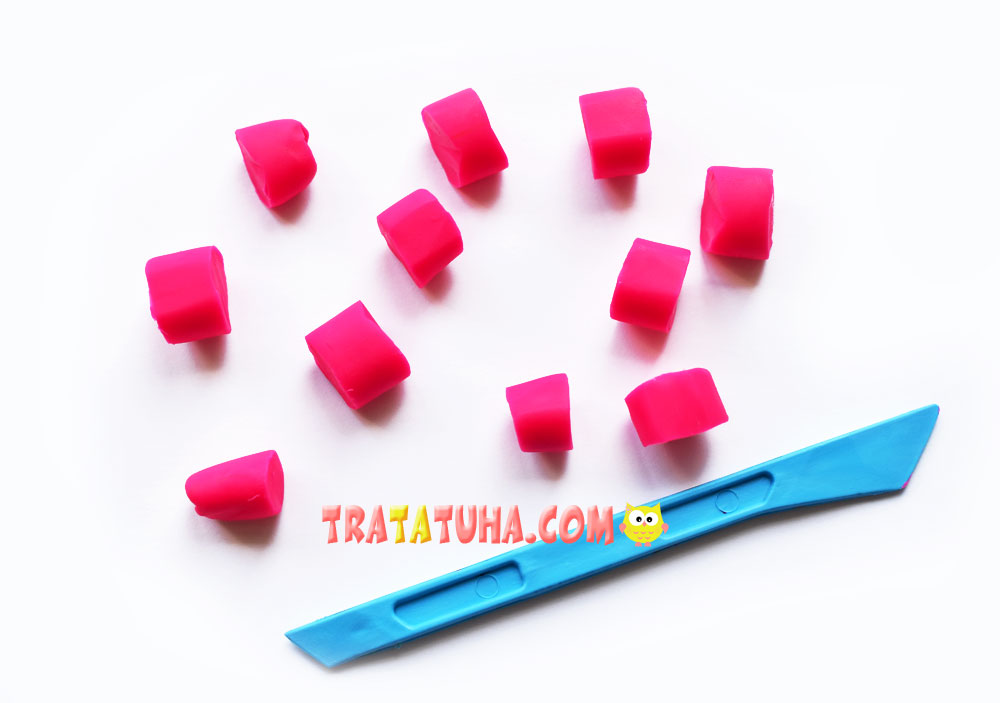
Roll each piece into a ball.

Roll each ball into a flat cake, you can flatten them with your fingers.
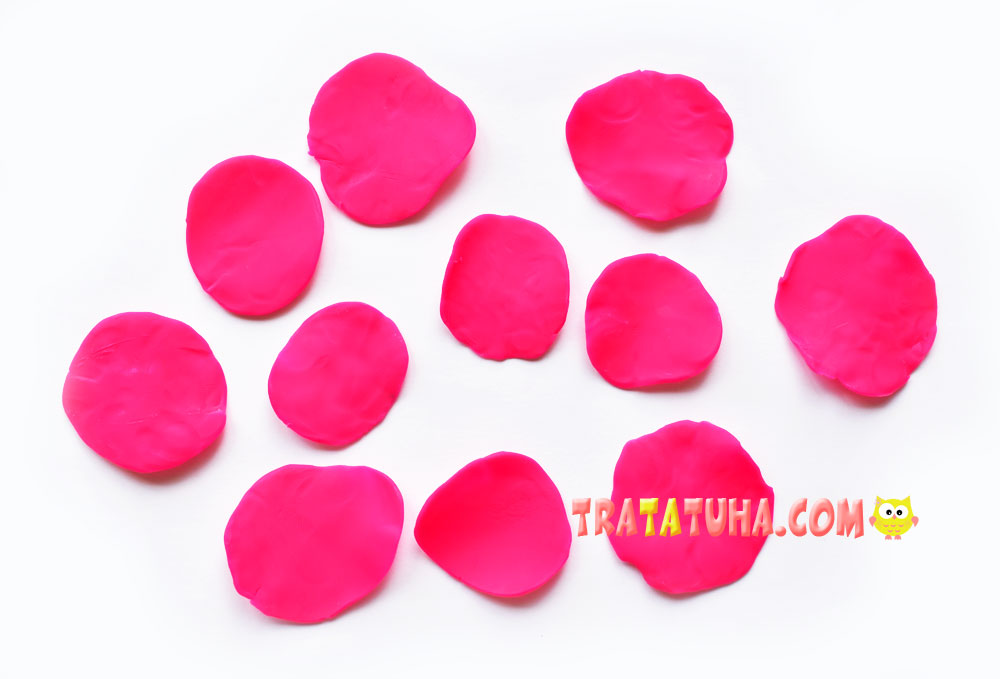
The petals of the future clay rose are ready, let’s start forming a flower from them.
To do this, roll the first small petal into a roll.
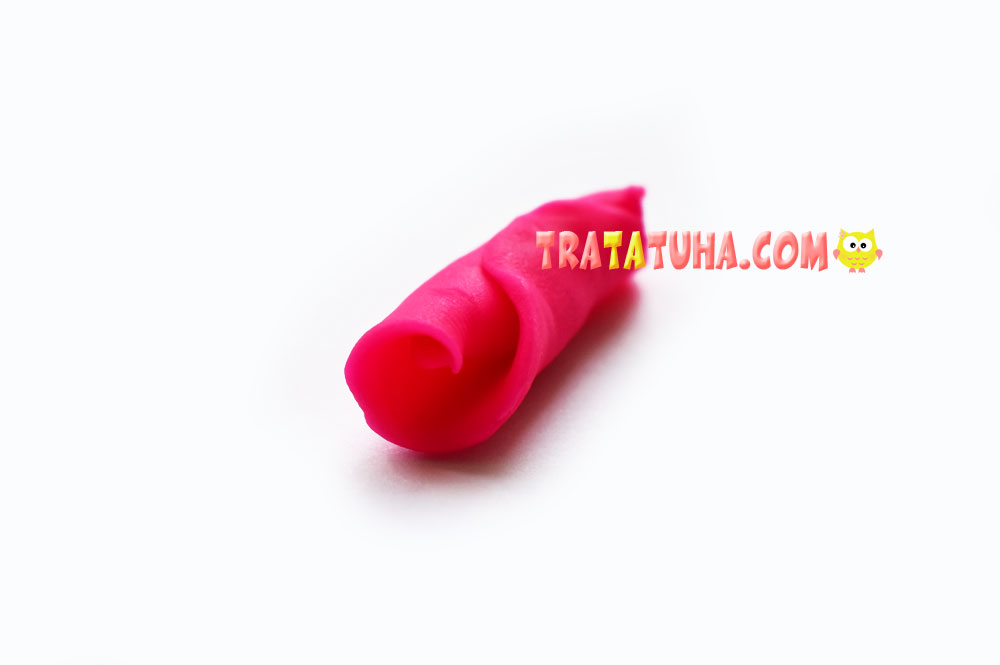
Wrap the second petal on top, and be a little looser than the first.
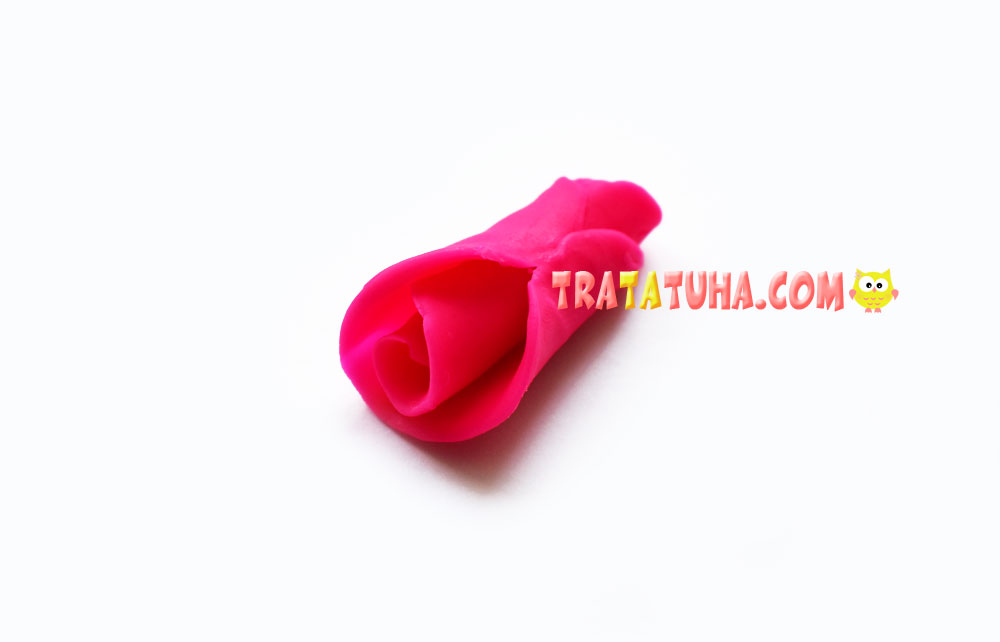
Next, add a third petal, placing it slightly above the first two.
Add two more, also a little higher, and use your fingers to tilt back the top of the petals a little.
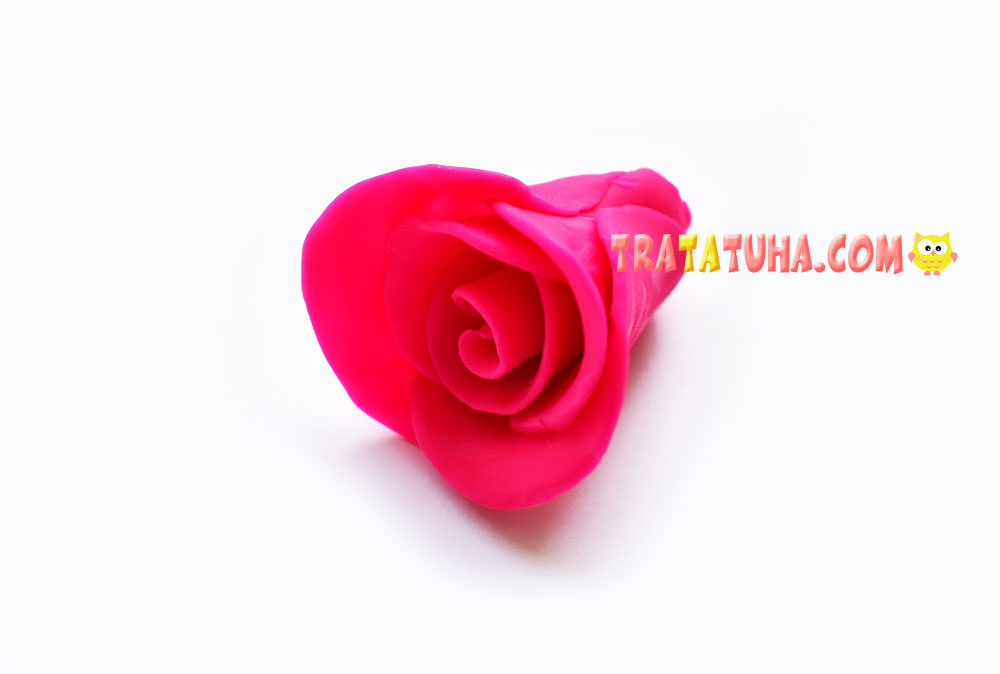
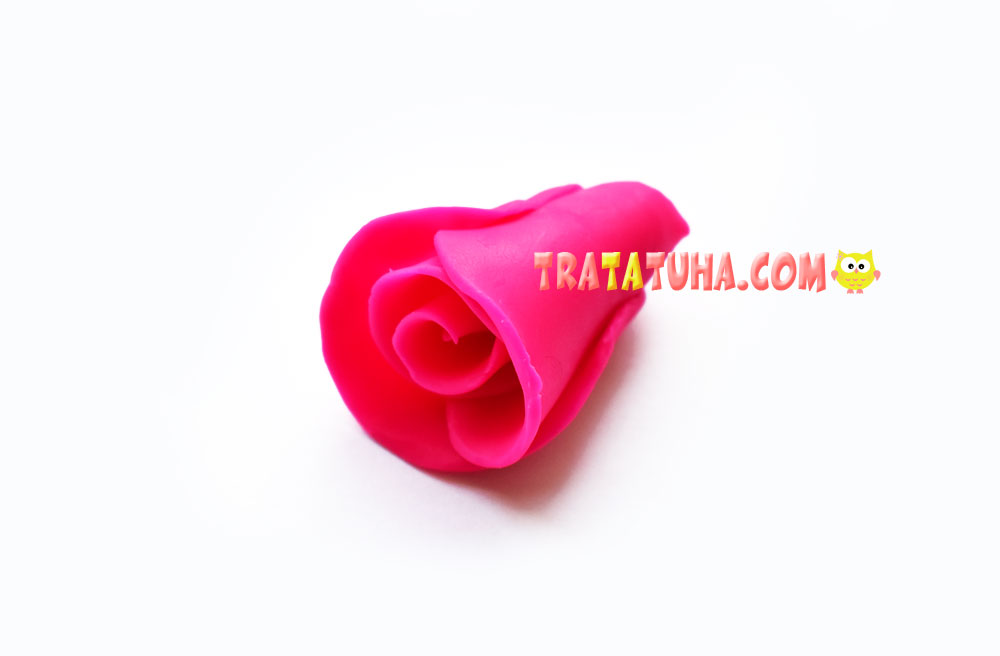
In the same way, stick in a circle all the other petals. Spread them a little to the sides, forming a beautiful flower.

The rose is ready, now we will sculpt a couple of leaves for it.
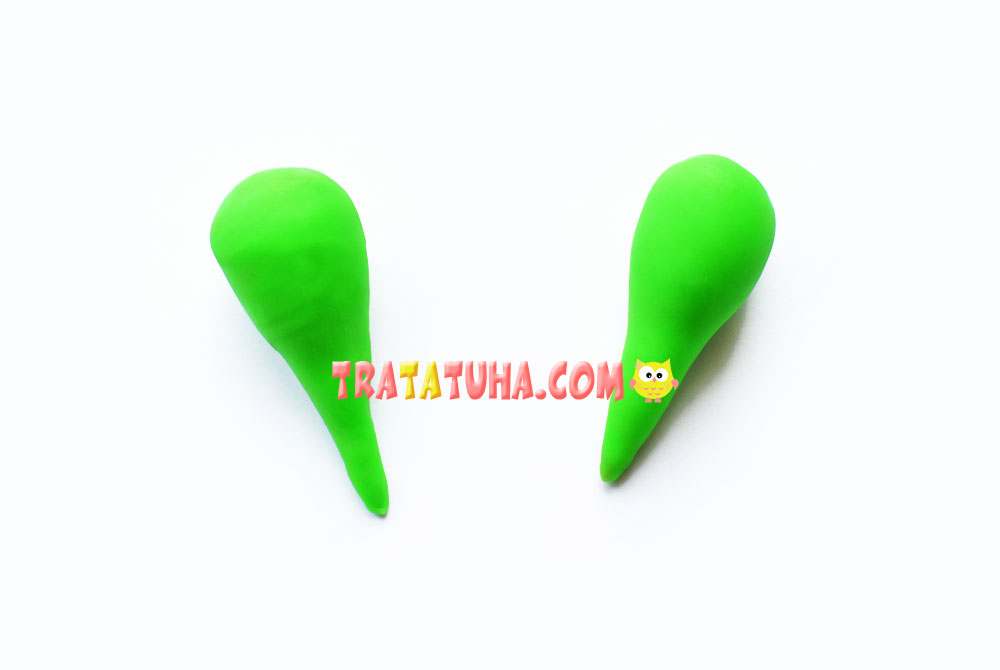
Roll green clay into two balls.

Give the balls a semblance of carrots or droplets.
Press on top with a flat object, such as a ruler, and form leaves. Draw streaks on top of the stack.
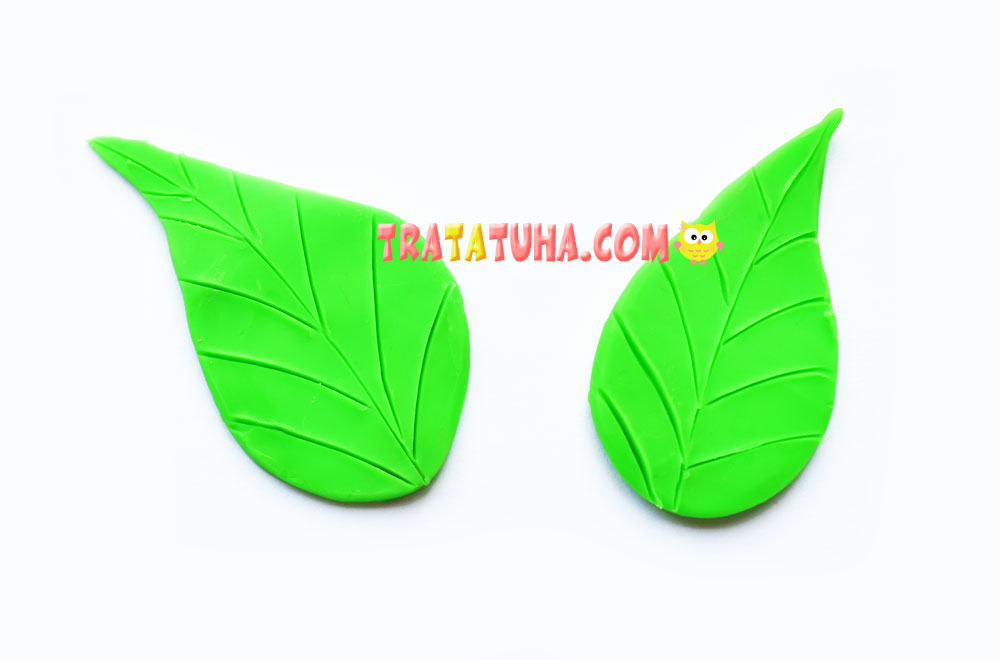
Stick the leaves to the flower and the clay rose flower is ready.
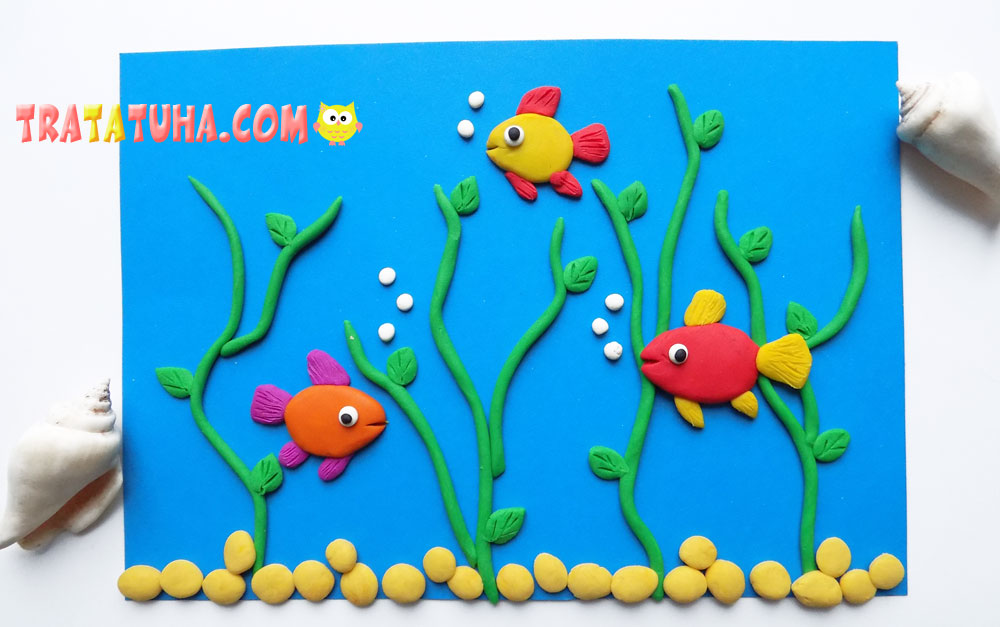
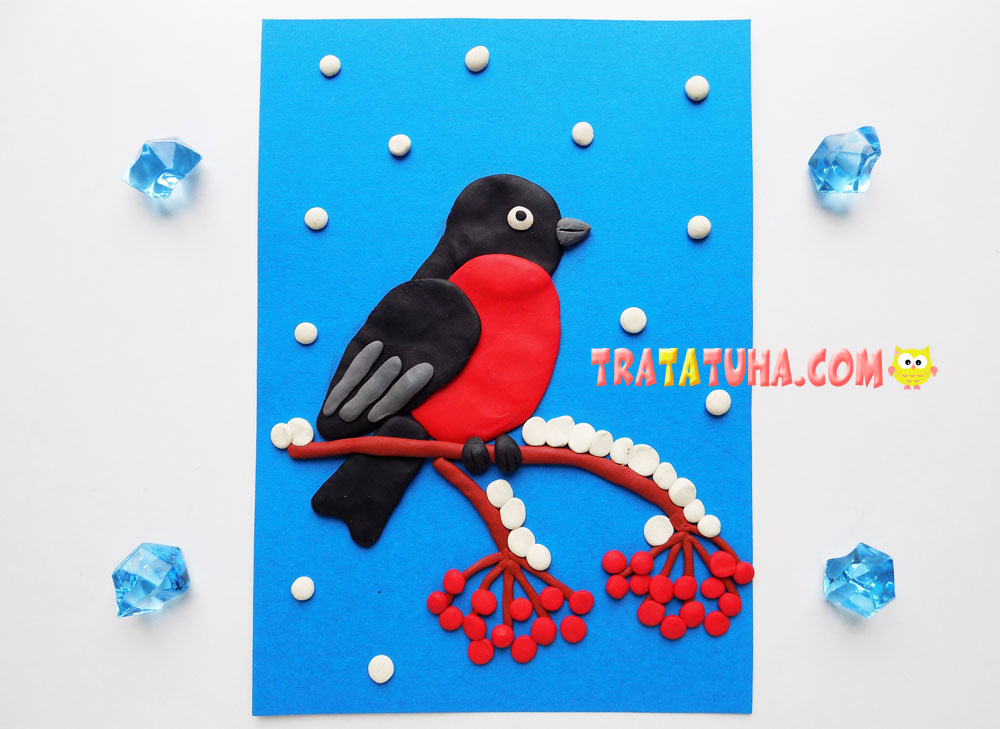
More collection ideas:
Related Post: