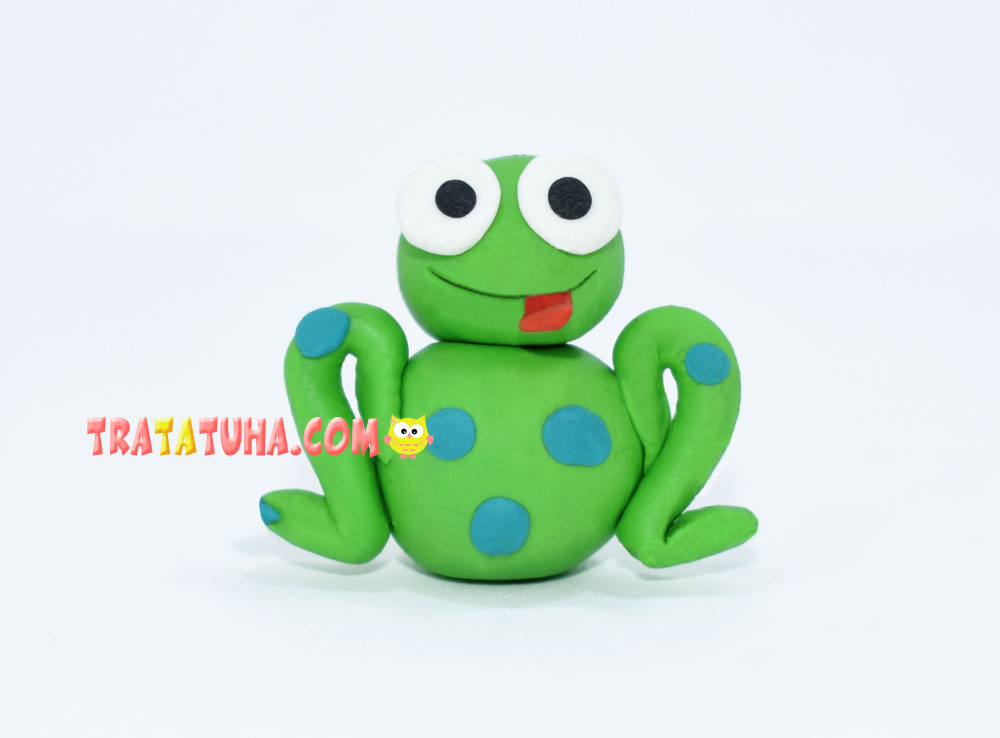
Interested in how to make a clay frog? I present a simple way to sculpt a frog with step-by-step photos and instructions. Great option for kids.
Prepare the following materials:
- Green clay;
- Clay white for the eyes;
- Some black clay to make the pupils of the frog;
- Red clay for the tongue;
- Green clay of a different shade for spots;
- Plastic or wooden knife (stack), which should be used to cut off clay. Also, with its help, you can designate the mouth of a frog;
- Rug for work.
How to Make a Clay Frog Step by Step
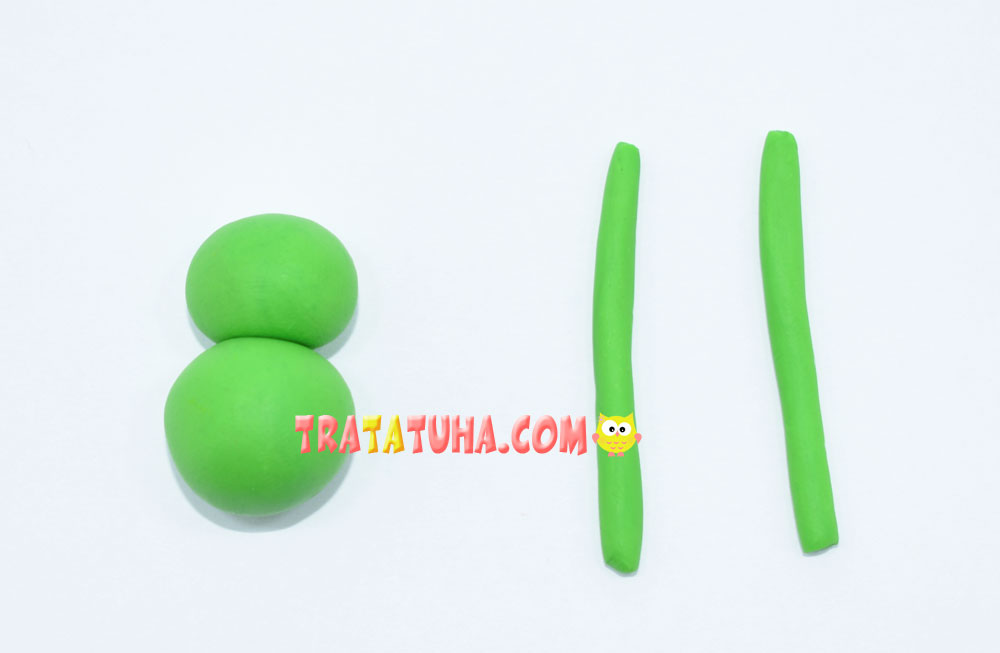
Roll two balls from green clay — one should be larger to distinguish the body from the head.

Blind the balls together. Roll out two long rocking chairs, from which there will be frog legs. It’s not scary if initially they are longer than necessary; in the process of work, they are not difficult to shorten.
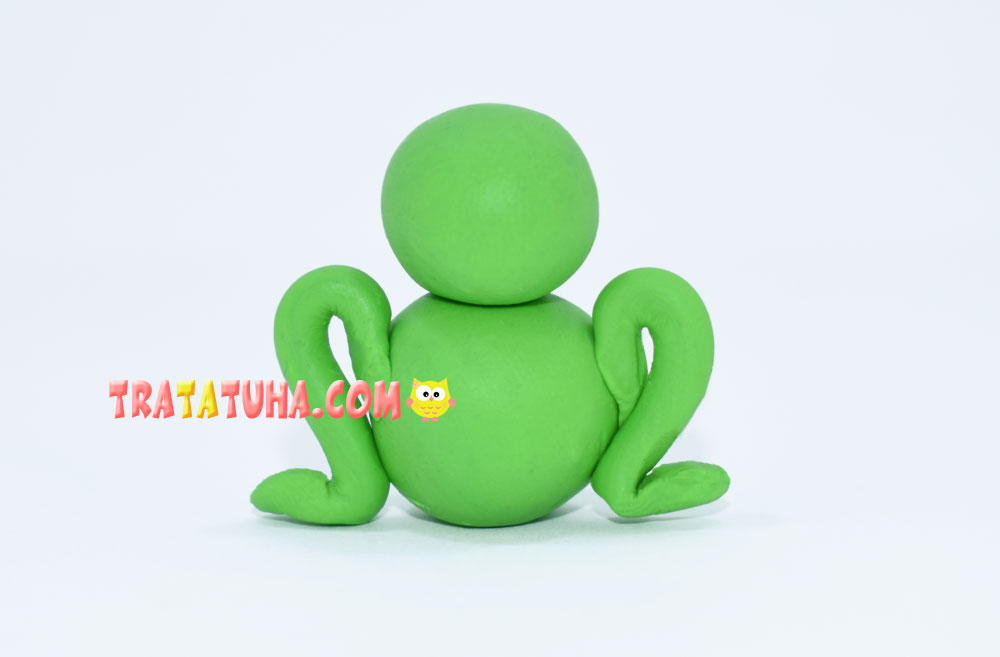
Make S-shaped shapes from the rocking chairs and glue the frog’s body on the sides.
At the final stage, make small and simple details that complement the character:
- Roll up two white balls and flatten them;
- Roll up very small black balls and glue them onto the white ones;
- Attach the eyes to the frog’s head;
- Make a semi-circular cut at the bottom of the head with a knife — this will be a smile. If desired, a red tongue can be glued in the smile area;
- Roll up small balls from green clay of a different shade and glue them on the body and paws of the amphibian.

Everything, the clay frog is ready in a simple way.
Many ideas in the collection:
Clay Animals for Kids
Clay Crafts for Kids
More super cute frog crafts for all age groups!

