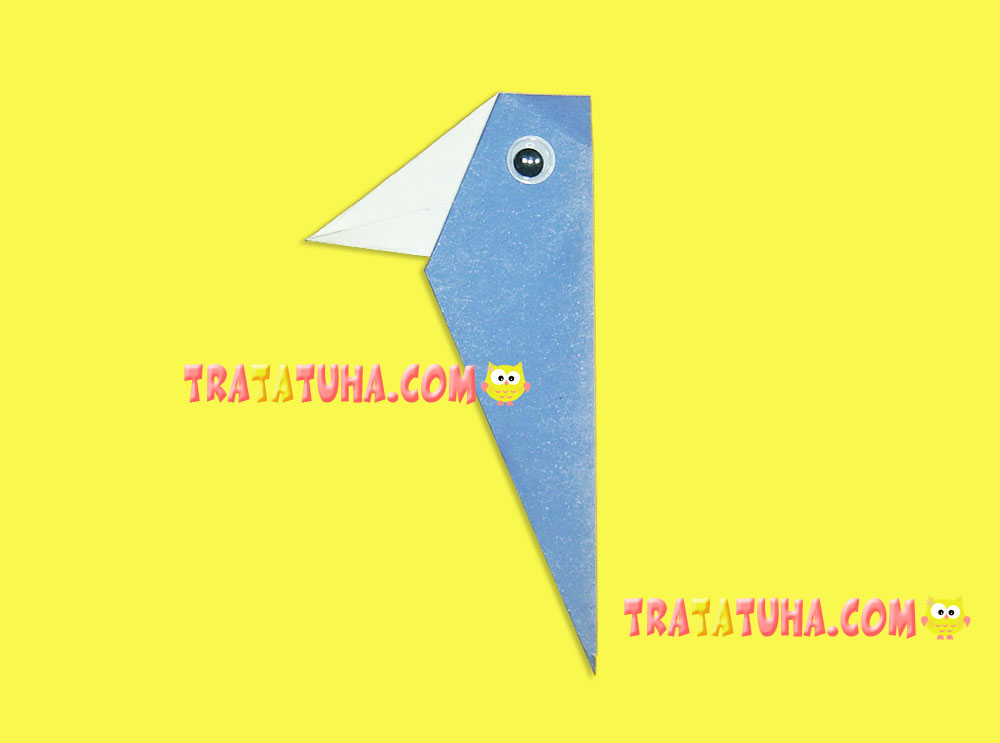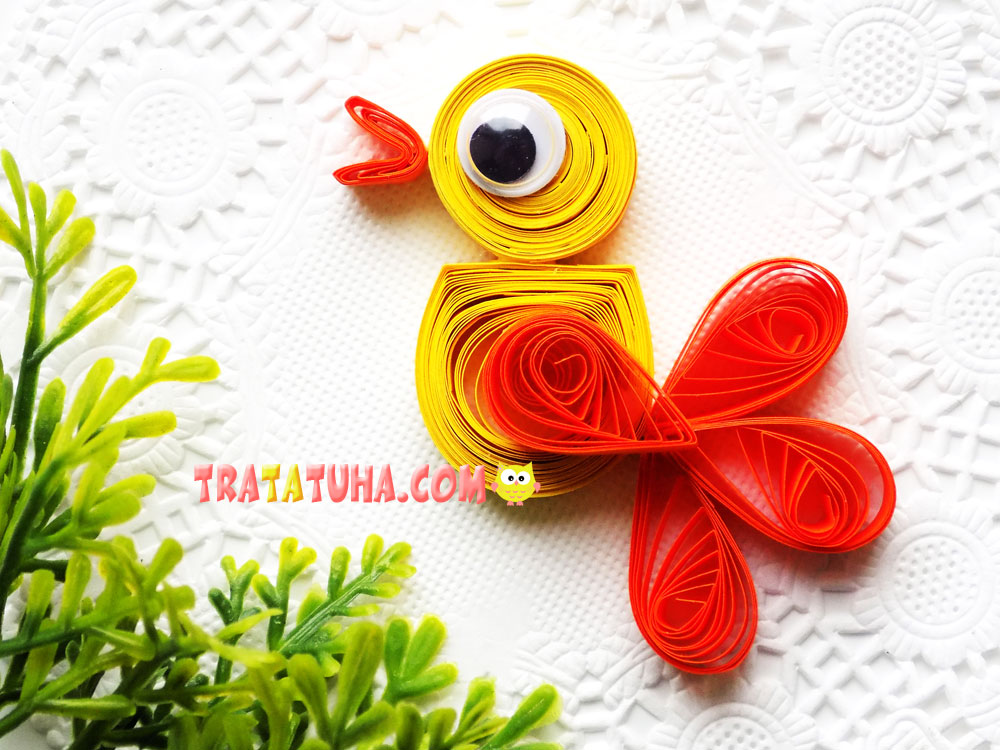
Quilling bird for kids and beginners. It consists of simple shapes: circles and droplets, which belong to the basic forms of quilling technique.
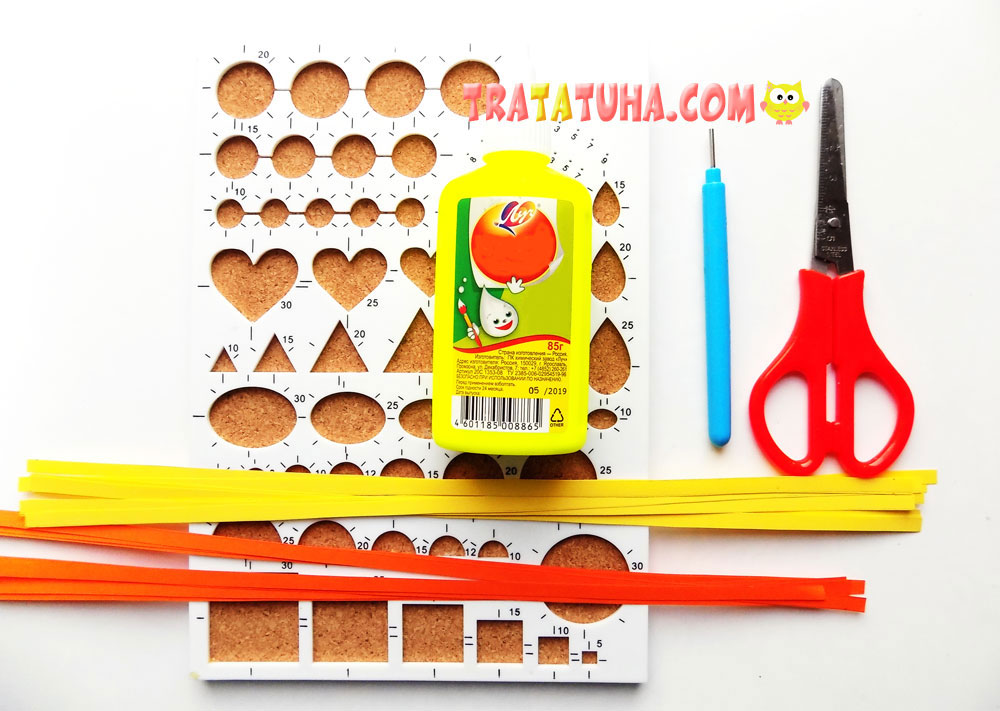
To create it you will need:
- paper strips of yellow and orange;
- strip twisting tool;
- white glue;
- decorative eye;
- template with recesses of various diameters;
- scissors.
Quilling Bird Step by Step
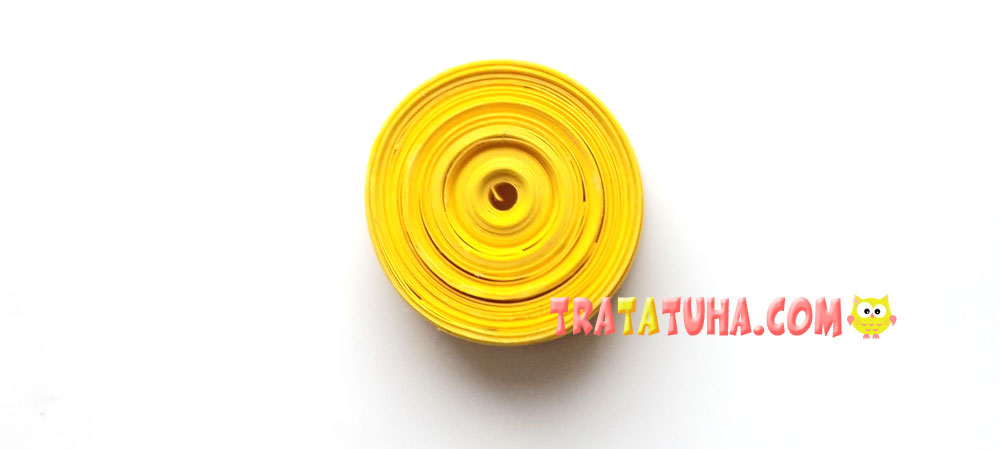
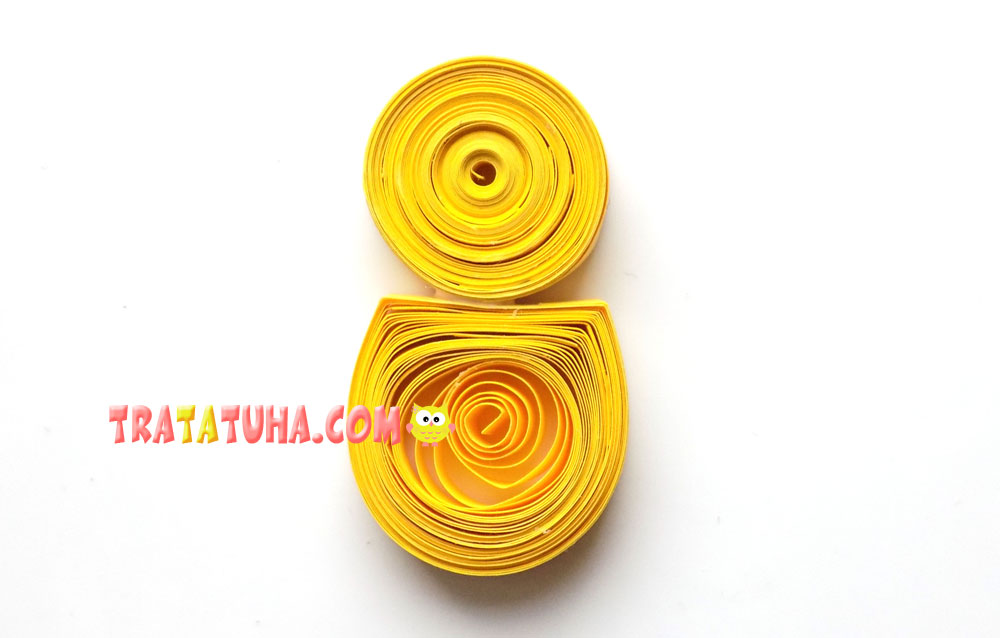
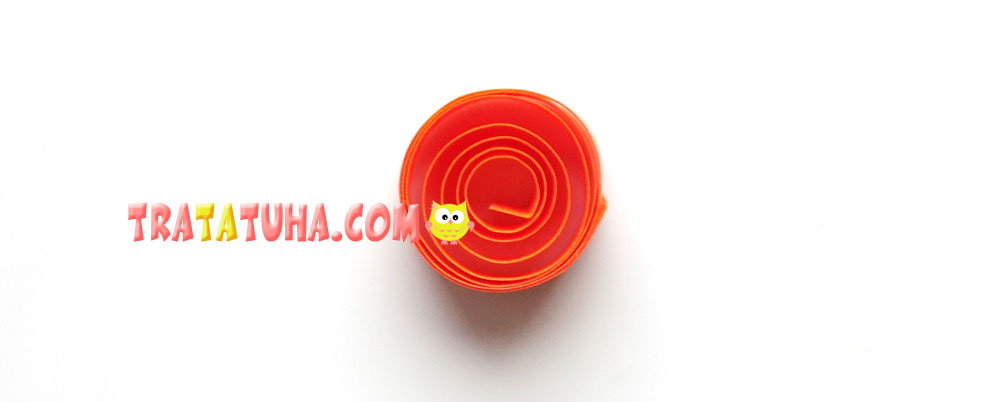
The bird itself will be made of yellow stripes. To create the head, we previously glued 6 such strips. Then they need to be twisted into a tight roll, and the tip is fixed with glue.
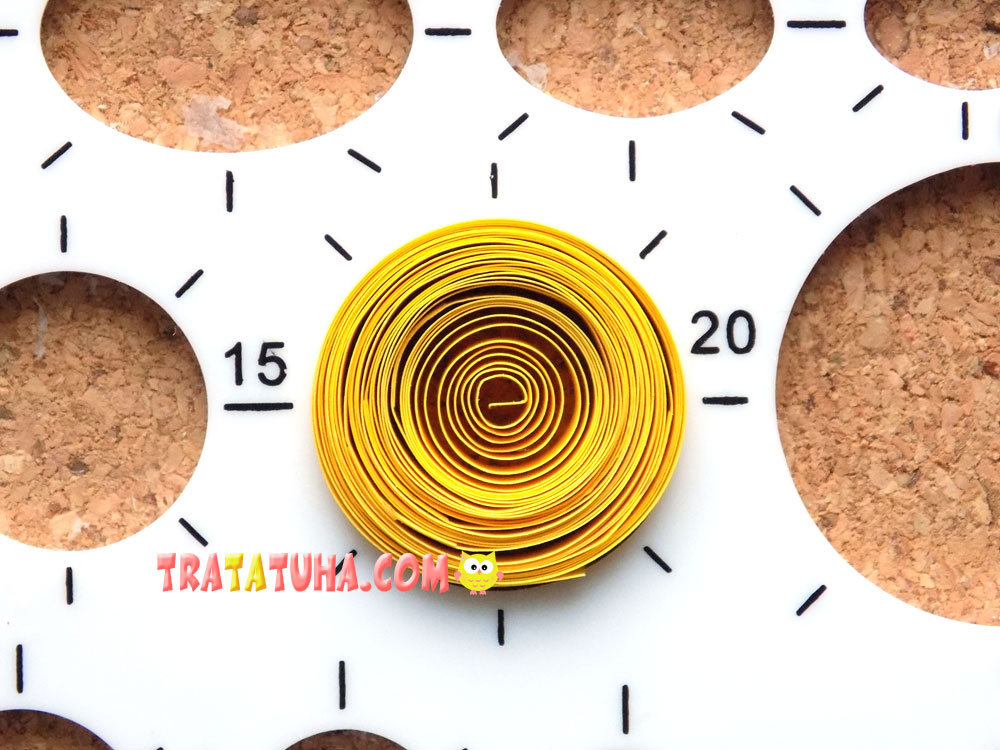
For the body of the bird, you need to glue 5 yellow stripes, twist them and place them in a template marked “20”.
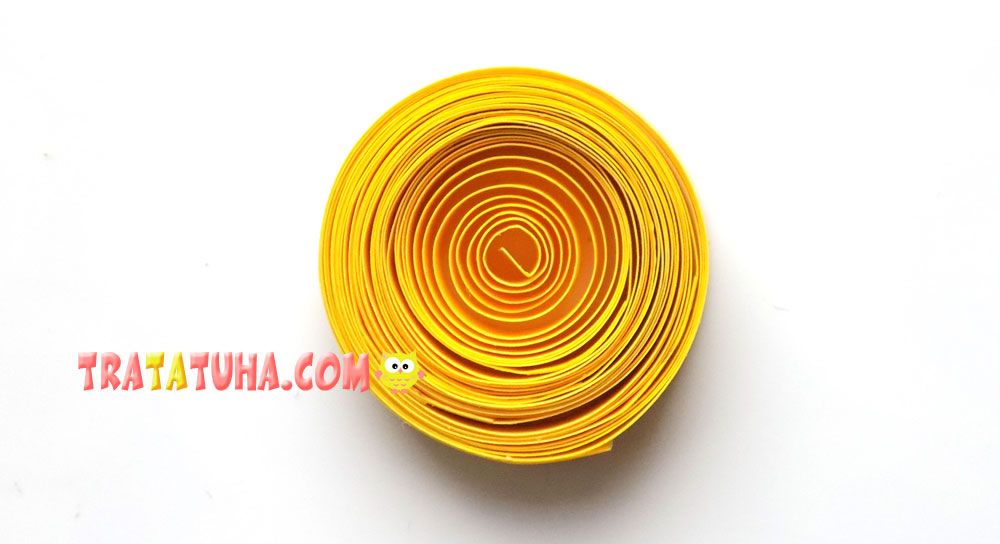
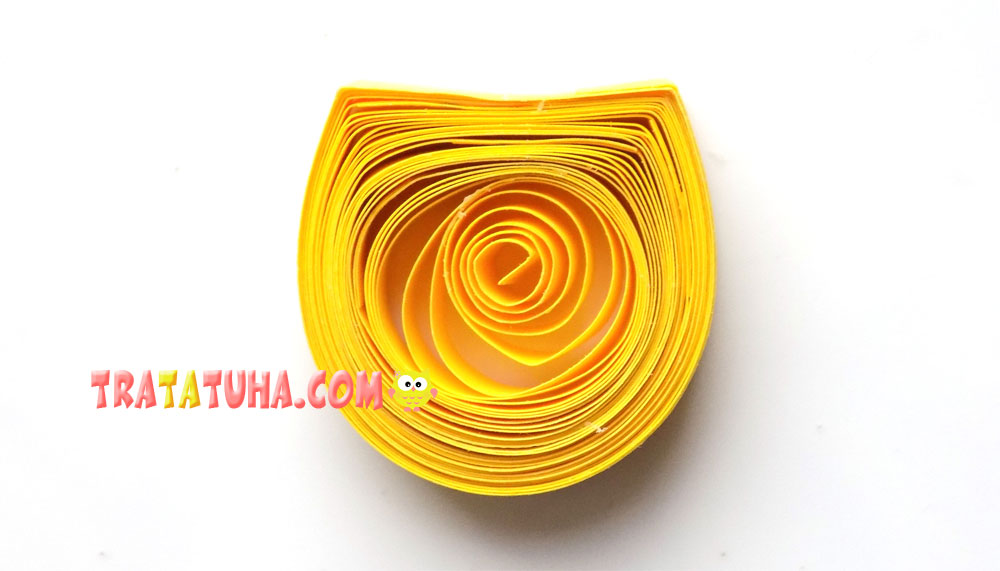
Then we take out this circle, fix the tip of the strip with glue. We give this blank the following form.
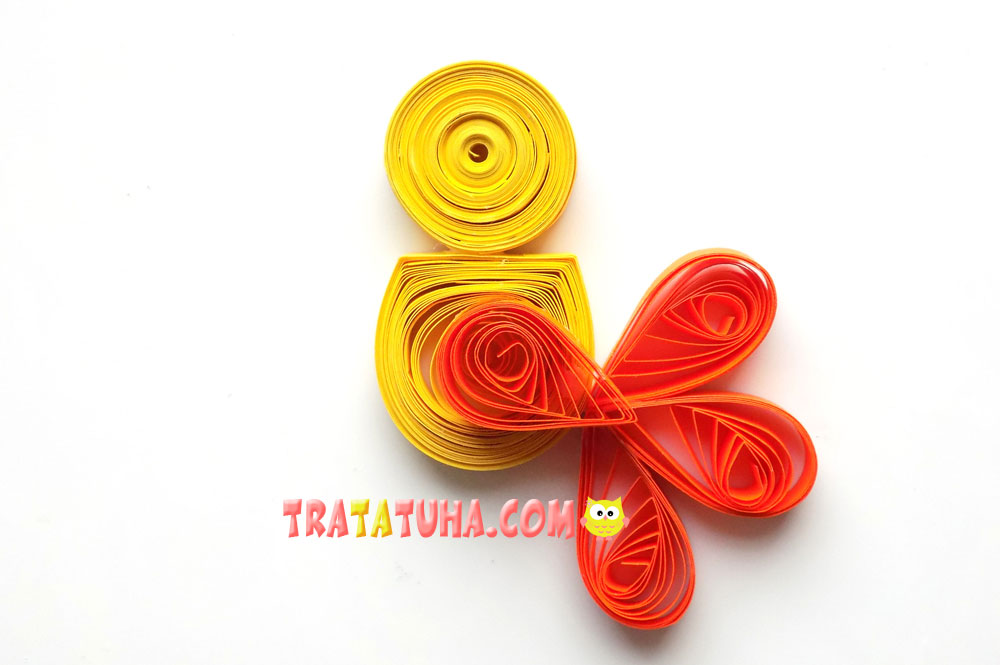
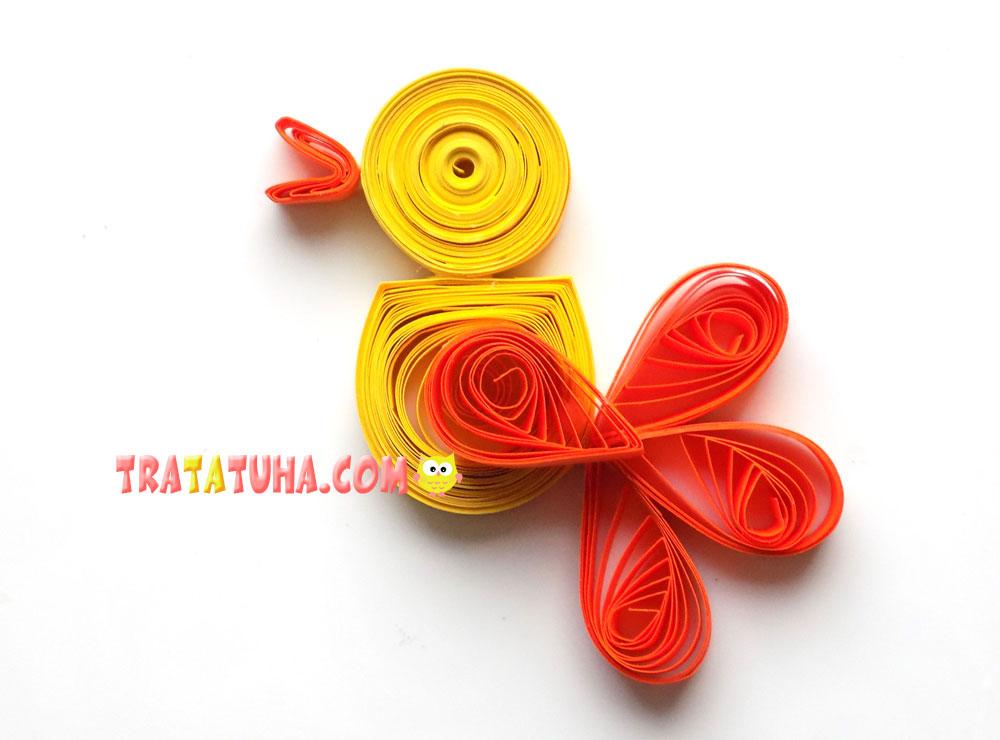
We glue together the head and body of the bird.
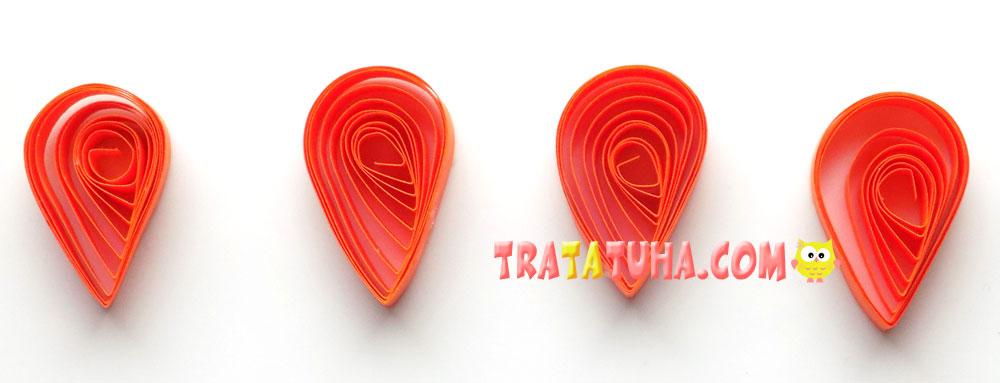
The wings and tail will be made of orange stripes. We take one of them and twist it, creating a workpiece with a diameter of 15 mm.
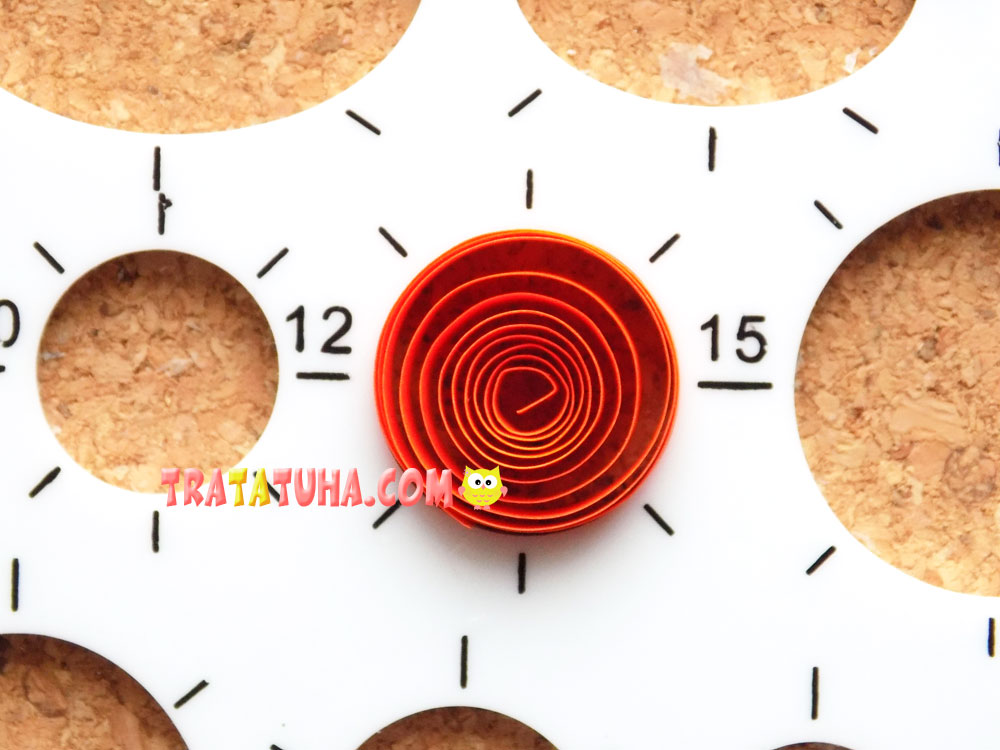
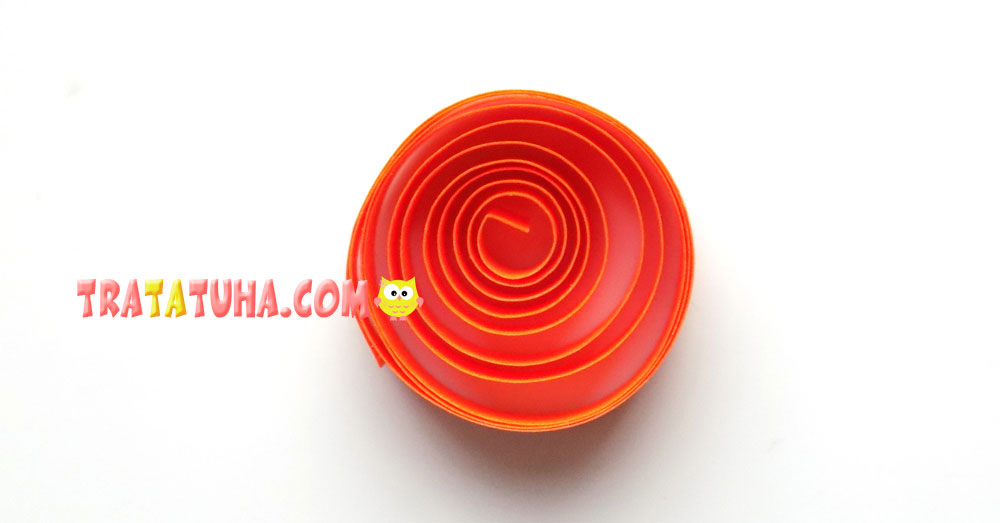
After removing from the template, fix the tip with glue.
Then we give the shape of a droplet.
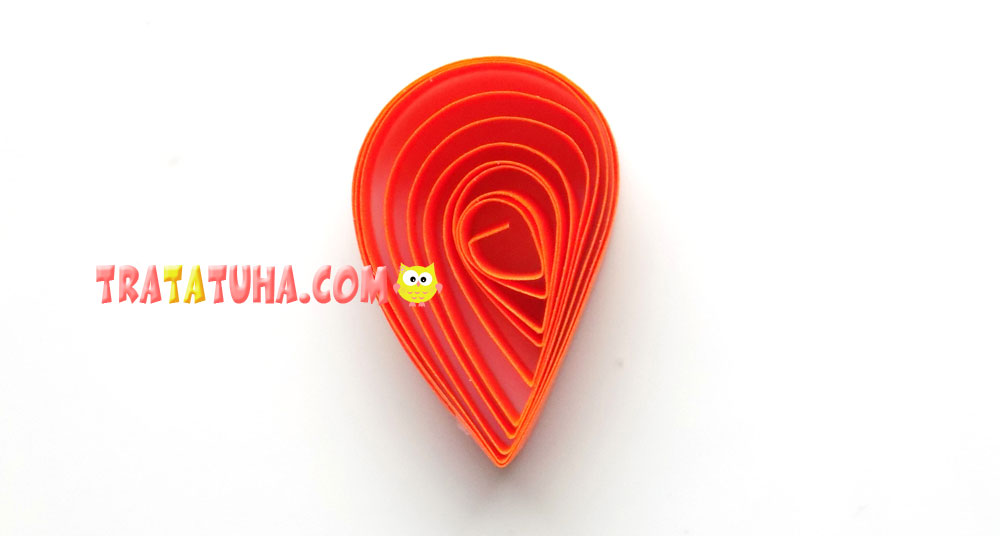
We need to make 3 more of these blanks from orange stripes.
To create the bird’s tail, we glue 3 blanks together. Then we glue this tail.
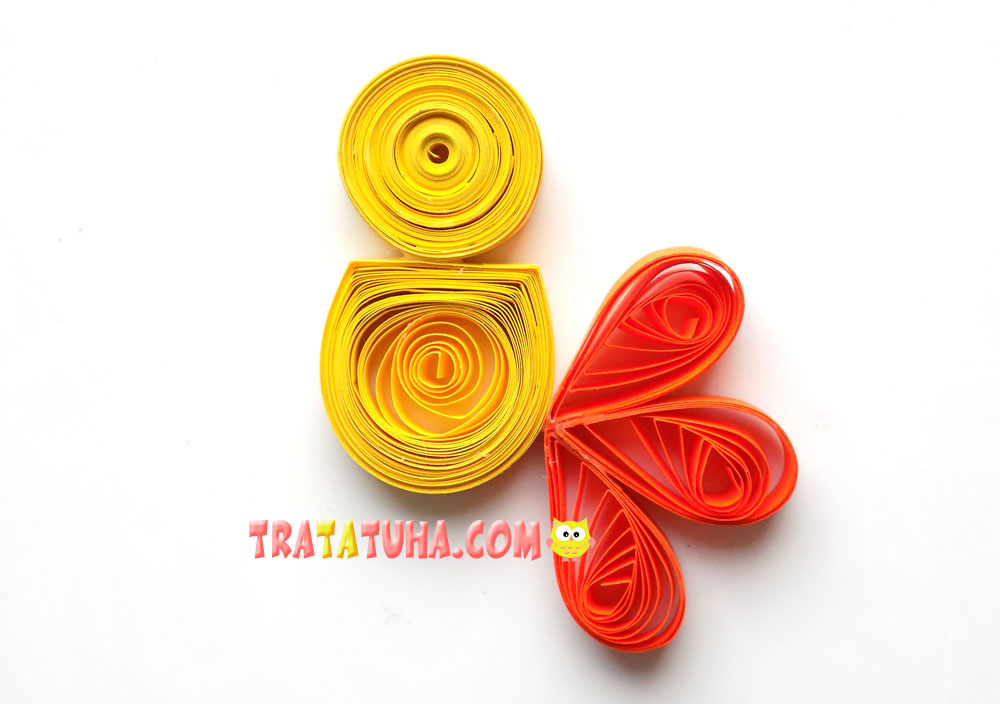
We fix the orange wing separately.
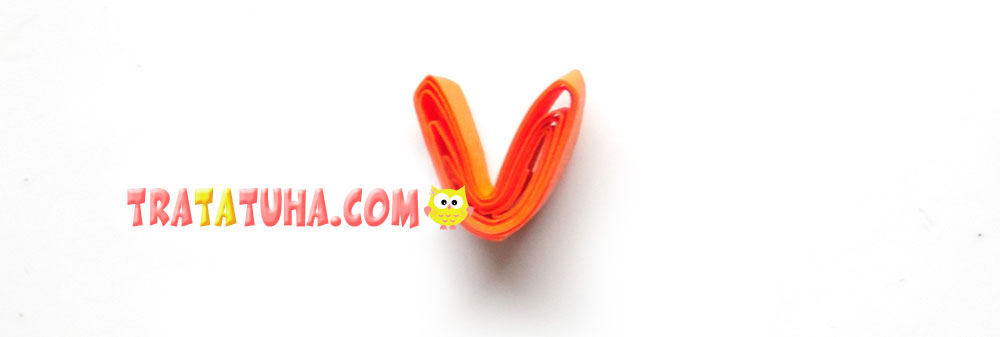
Next, we make a beak. For it, we twist the half of the orange strip and place it in the recess of the template marked “10”.
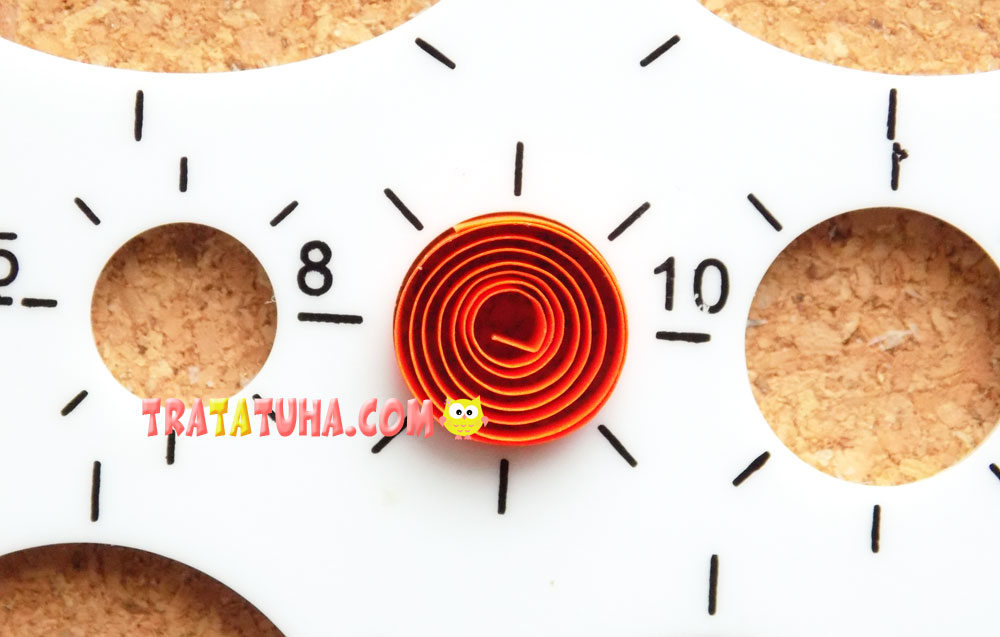
We take out and fix the tip with glue.
We compress this circle.

Then we fold the workpiece in half.
Glue the beak to the bird’s head.
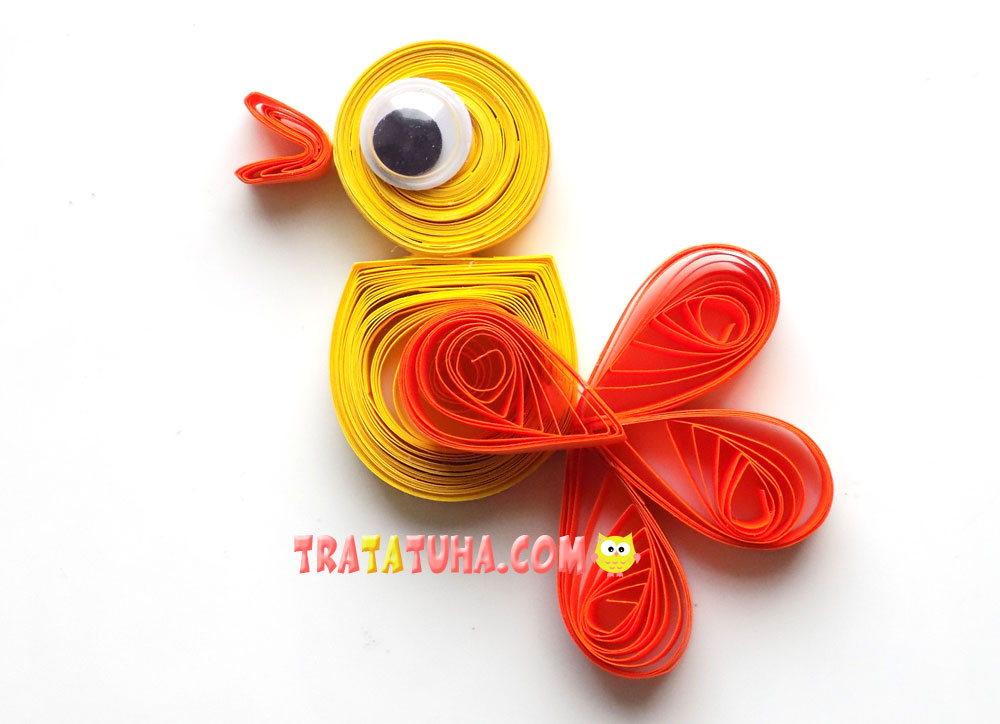
It remains to add a plastic eye. The quilling bird is ready.
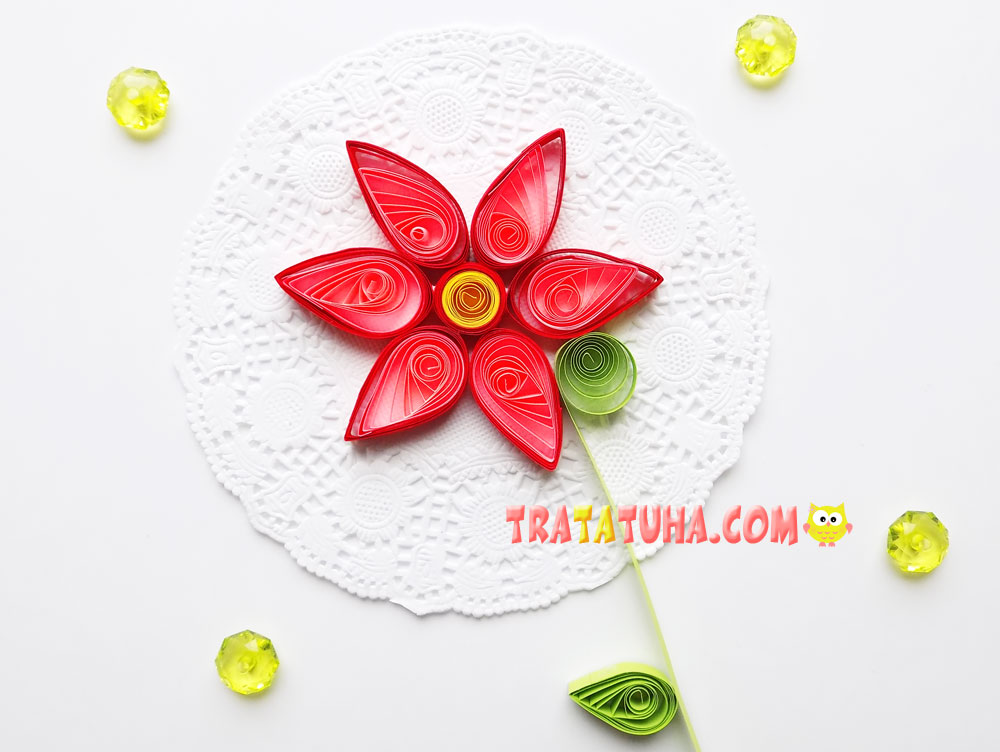
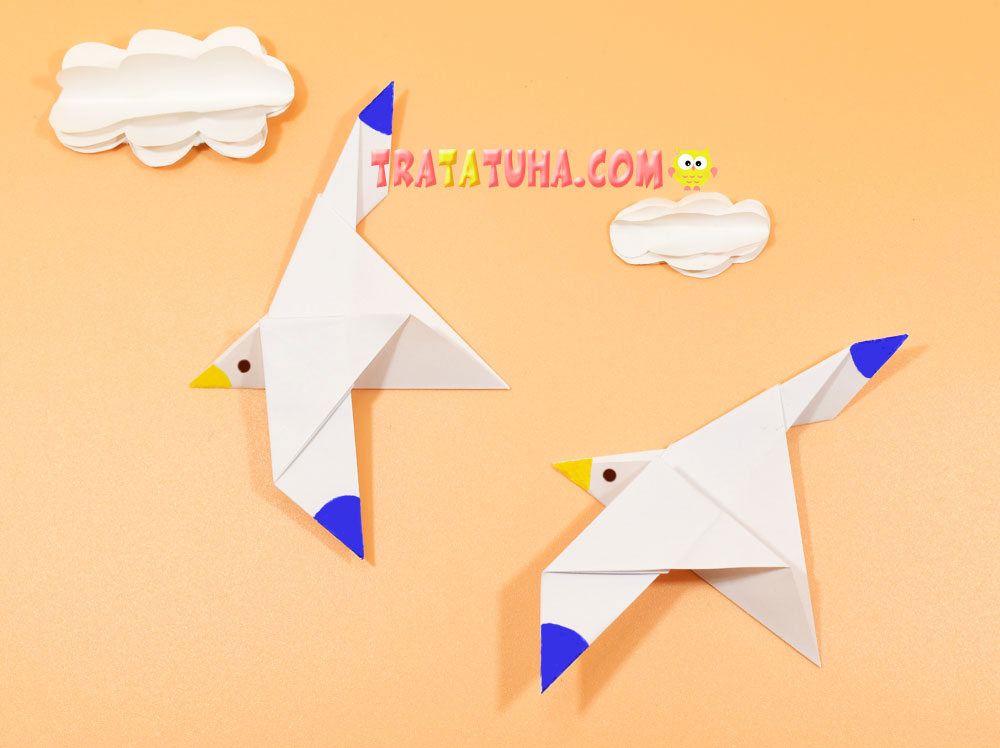
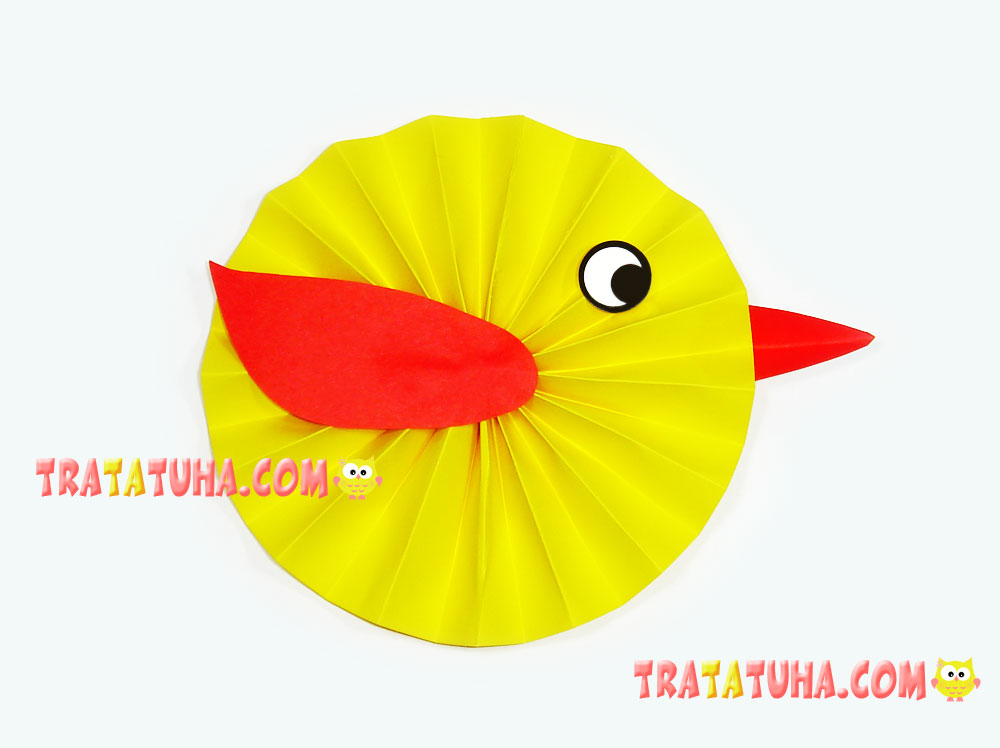
Birds Paper – art and craft ideas for all ages.
See more ideas about Easy Paper Quilling.
Crafts for Kids – learn how to make craft at home! Super cute crafts for all age groups!
Related Post: