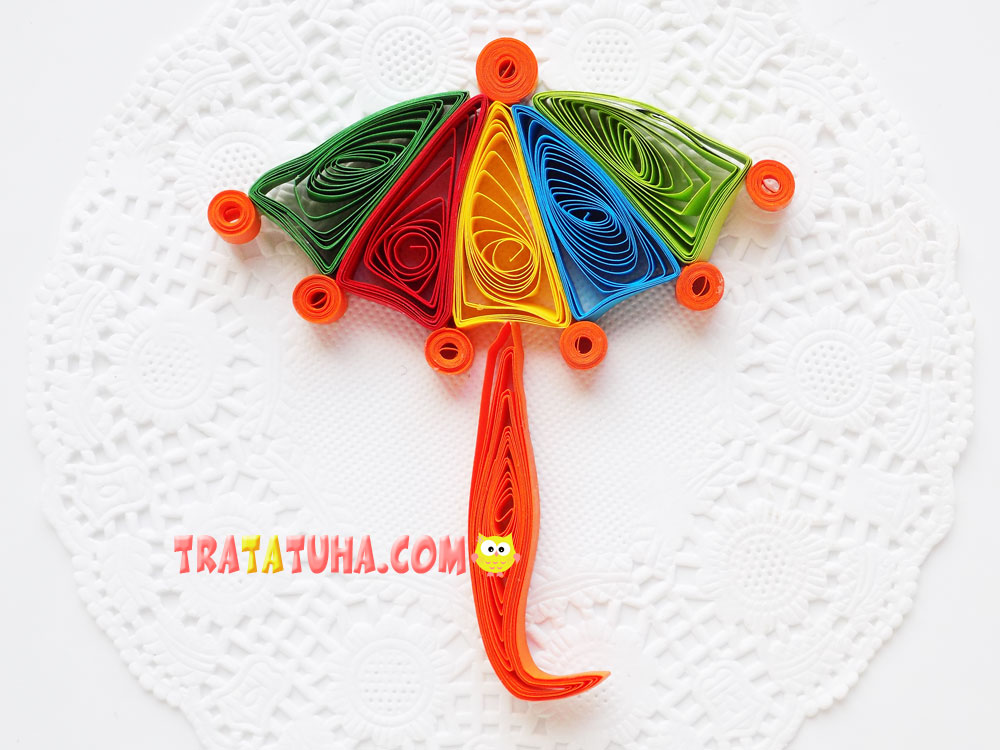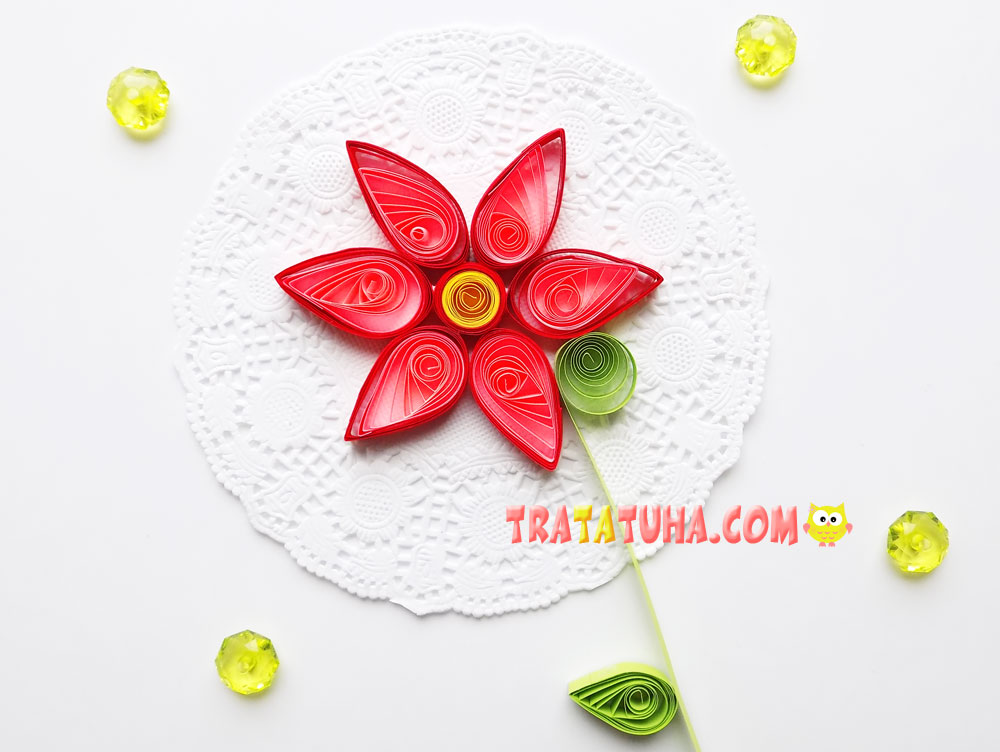
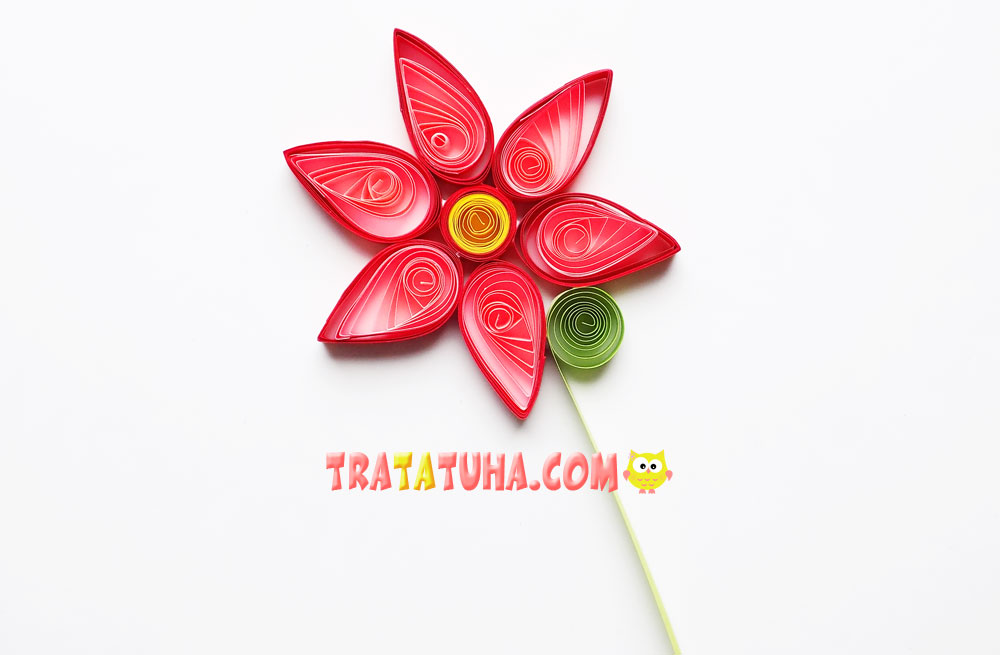
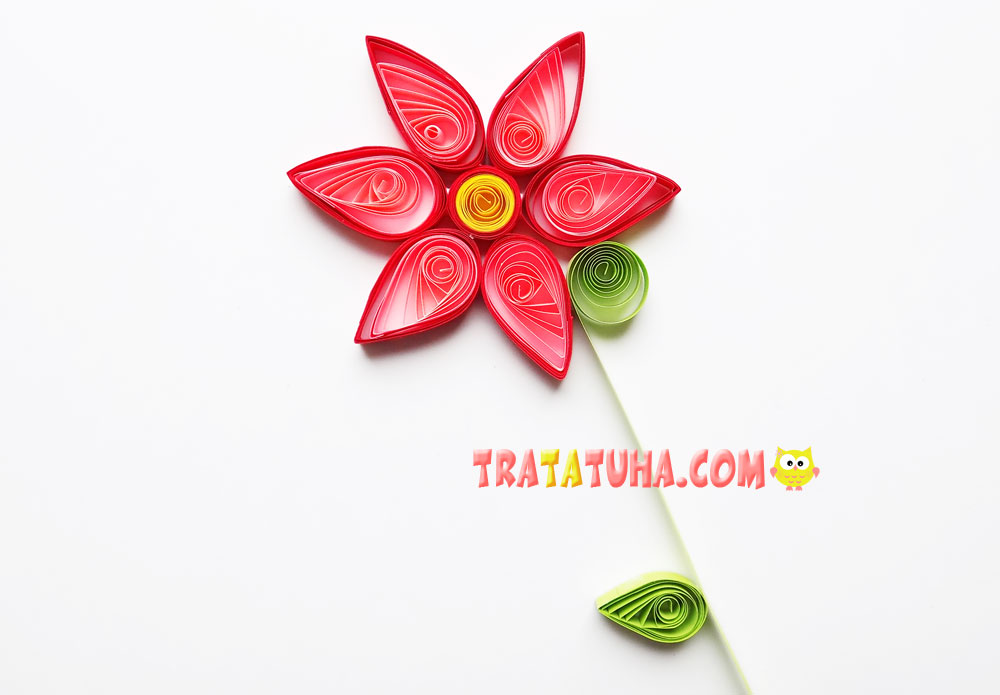
An openwork quilling flower made of paper stripes can become a decoration for a postcard. This creative work is displayed in a detailed master class.
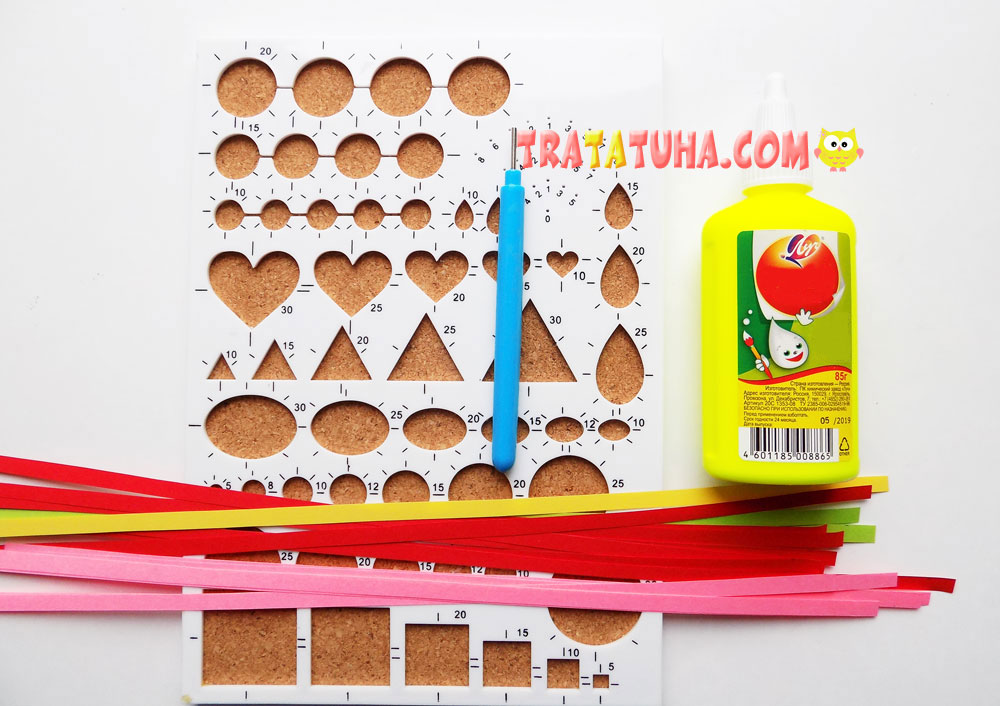
To make such a flower, take:
- strips of paper in red, yellow, pink and green;
- white glue;
- twisting tool;
- quilling template.
Quilling Flower Step by Step
Our flower will have 6 petals, they should all be the same. To create them, we use stripes of red and pink. Glue them together first.

Then we twist it into a roll, starting with a pink strip (it should be inside the petal). For work, we will use a cell that allows you to make blanks with a diameter of 20 mm.
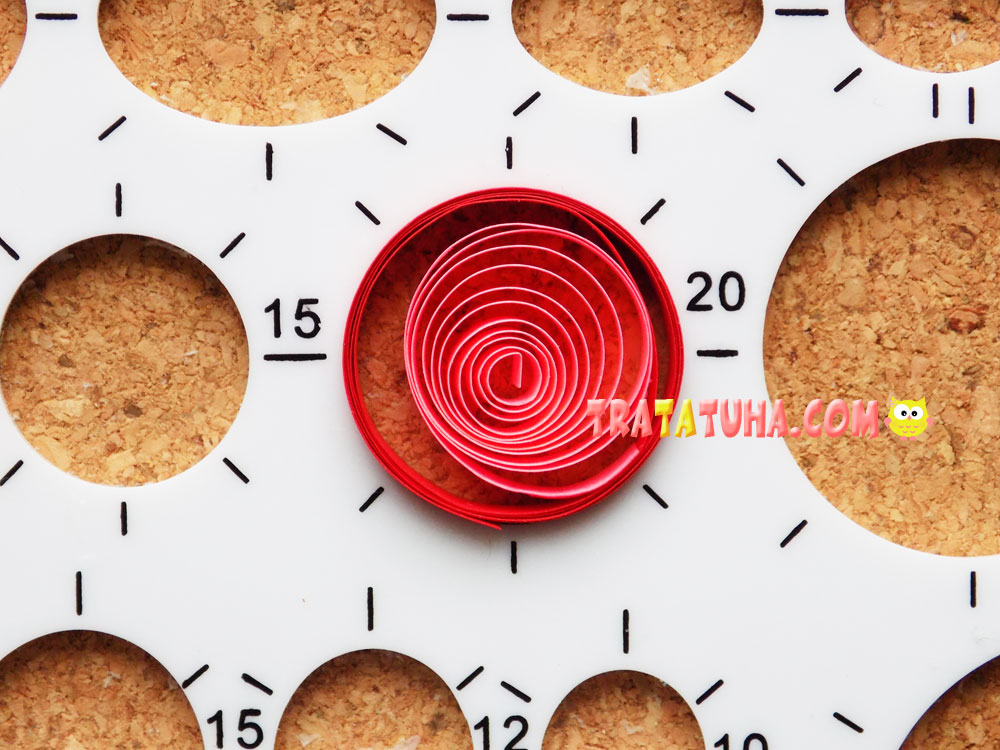
We take out the finished circle, glue the tip of the strip.
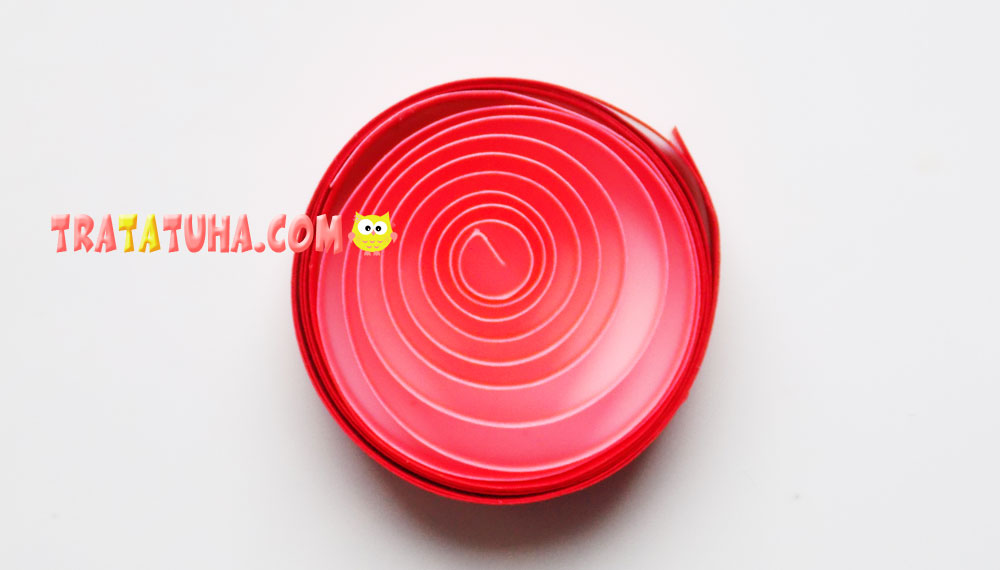
To give the workpiece the shape of a petal, you need to gently squeeze this circle on one side. It turned out here is such a petal, made of stripes of red and pink.
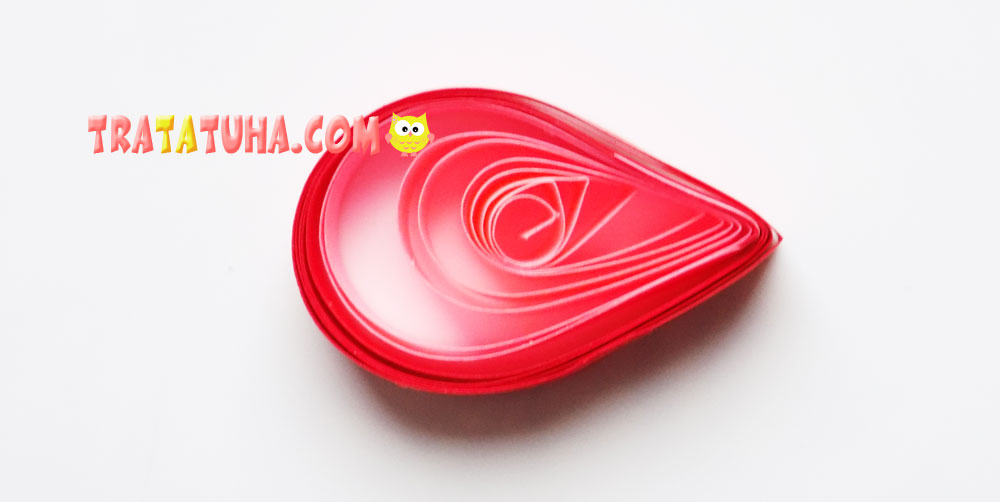
We make 5 more of the same petals.

To create the middle of the flower, we first need to glue the strips of yellow and red together, and then twist them into a blank with a diameter of 12 mm.
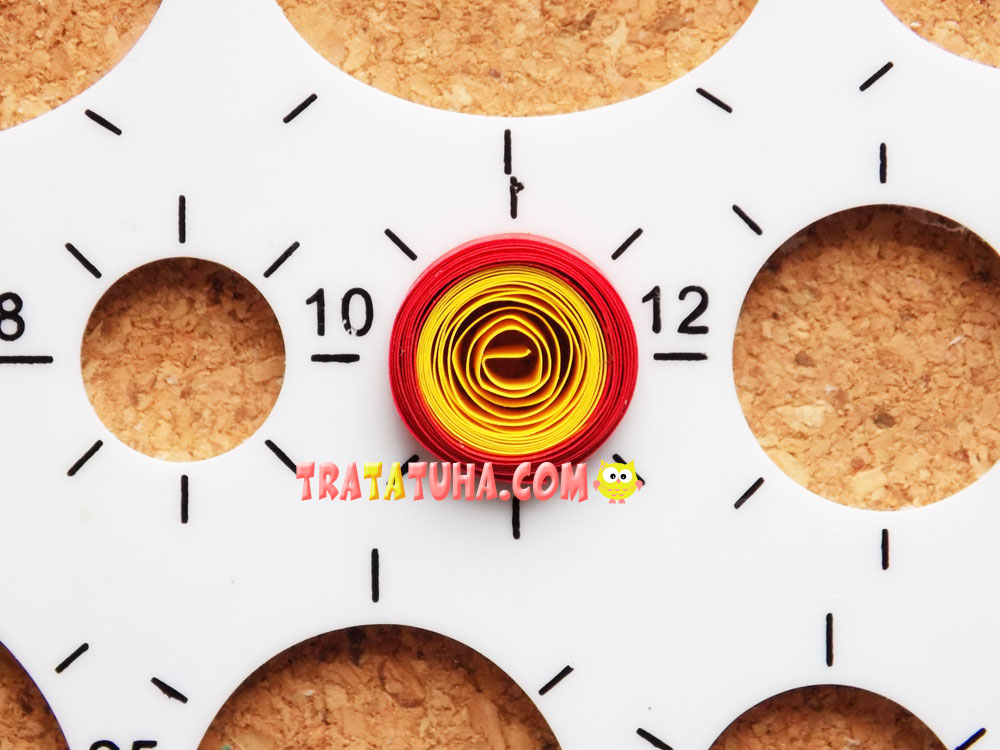
The center for the flower is ready.
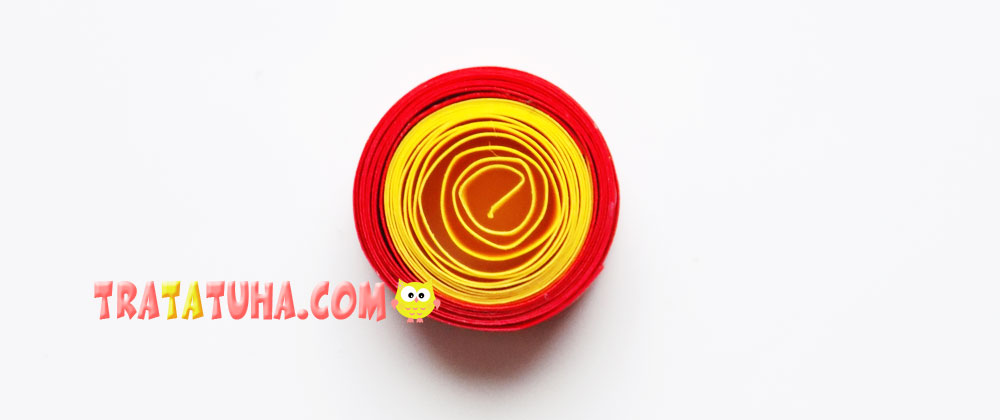
Let’s start assembling. We glue the first petal first so that its sharp tip is directed to the side.
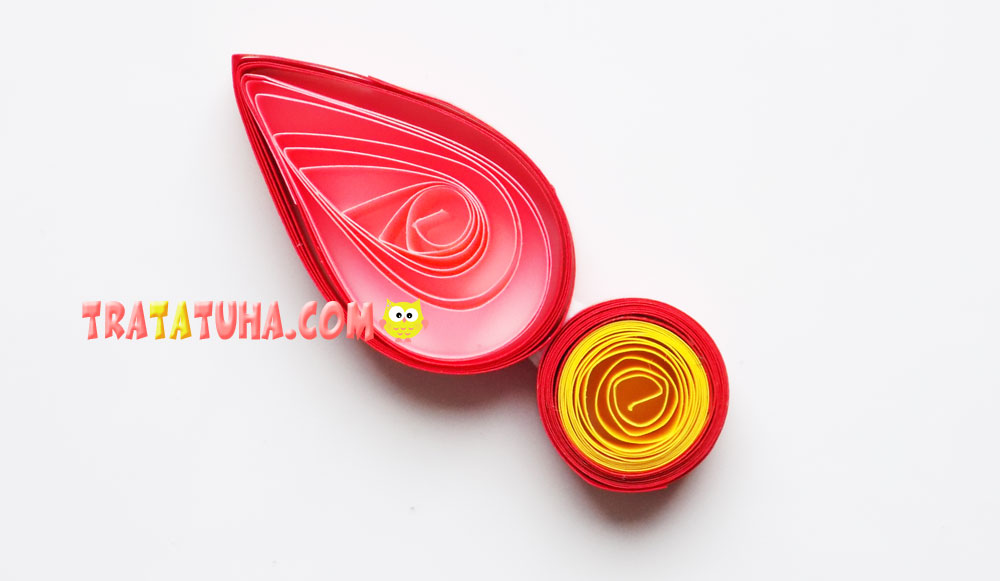
Next we fix the second petal with glue.
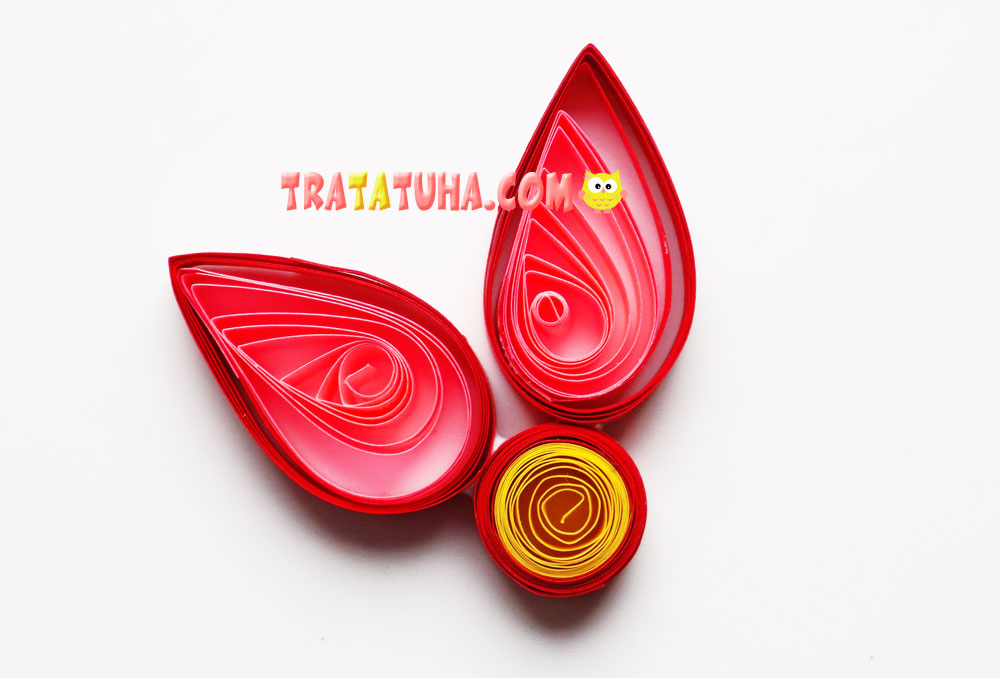
The flower is complete.
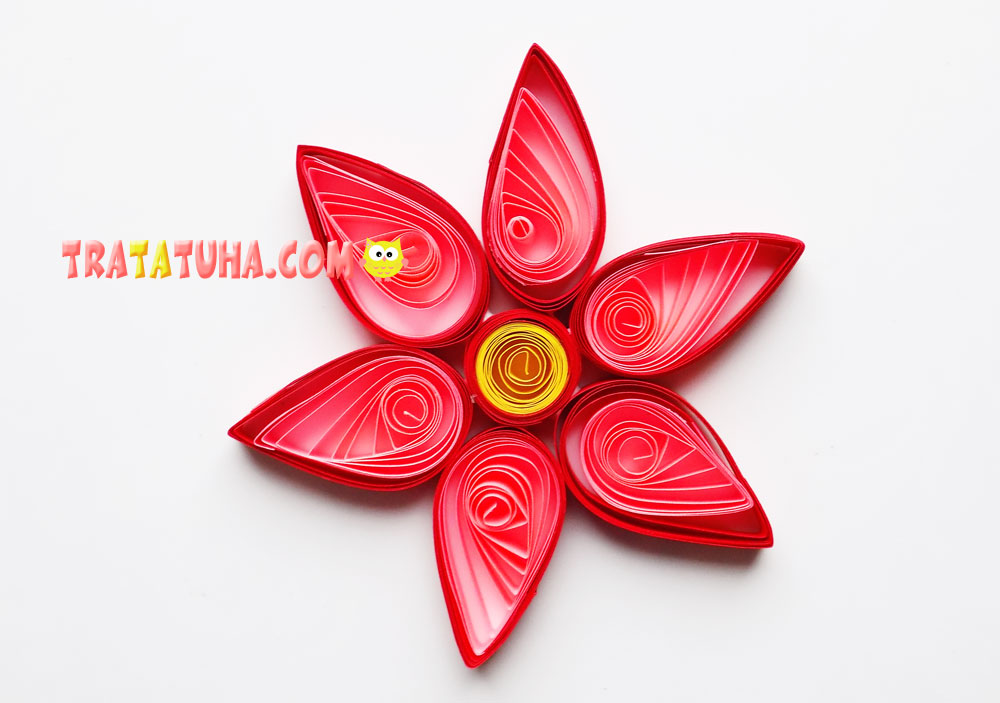
For the stalk, we will use one green strip, which needs to be slightly twisted from one end. Then glue the stem to the base of the flower.
We will make a leaflet from a blank with a diameter of 15 mm.
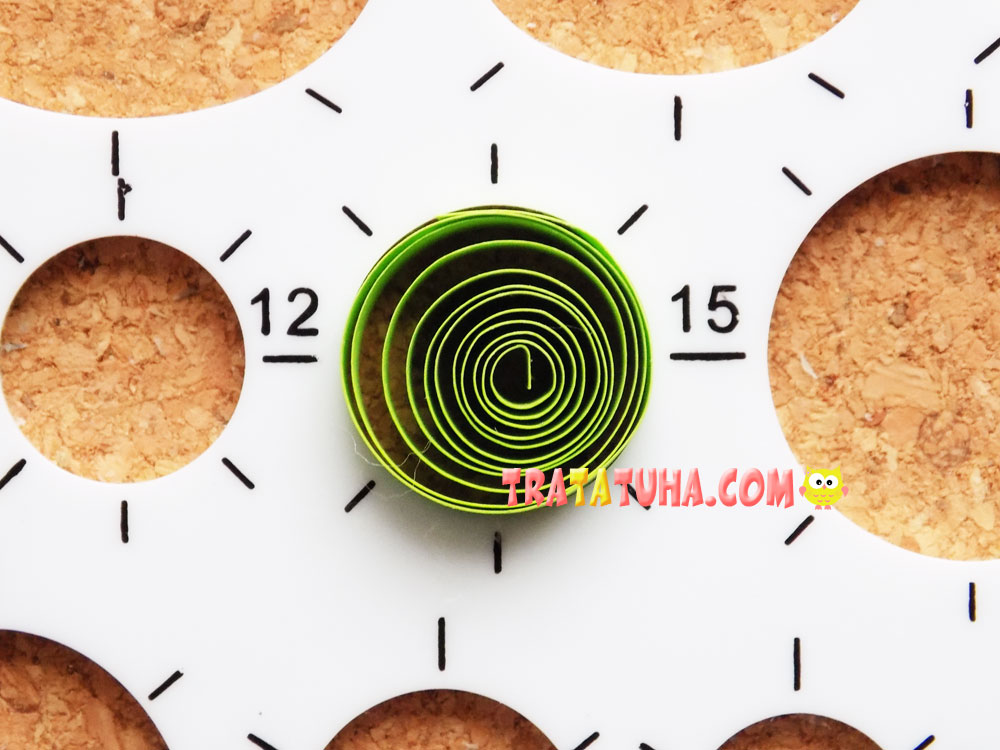
We take out the circle from the template, fix its edge with glue.
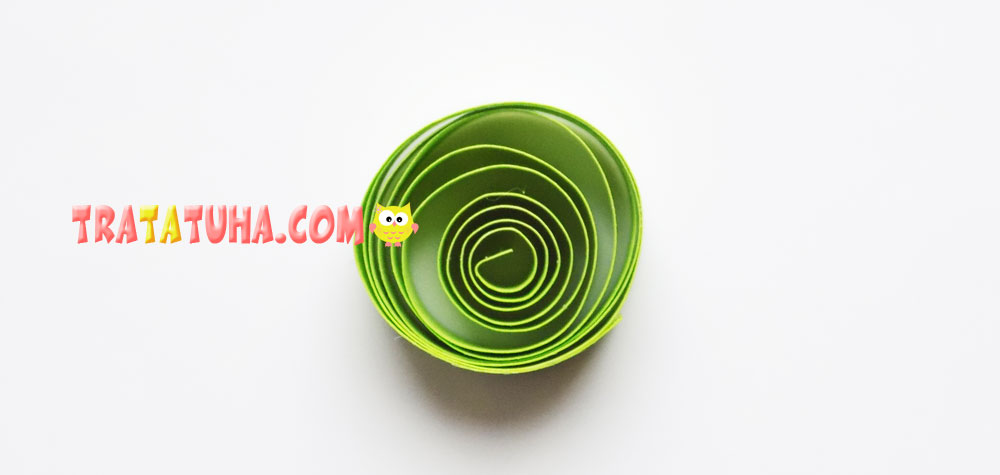
Gently change its shape with your fingers.
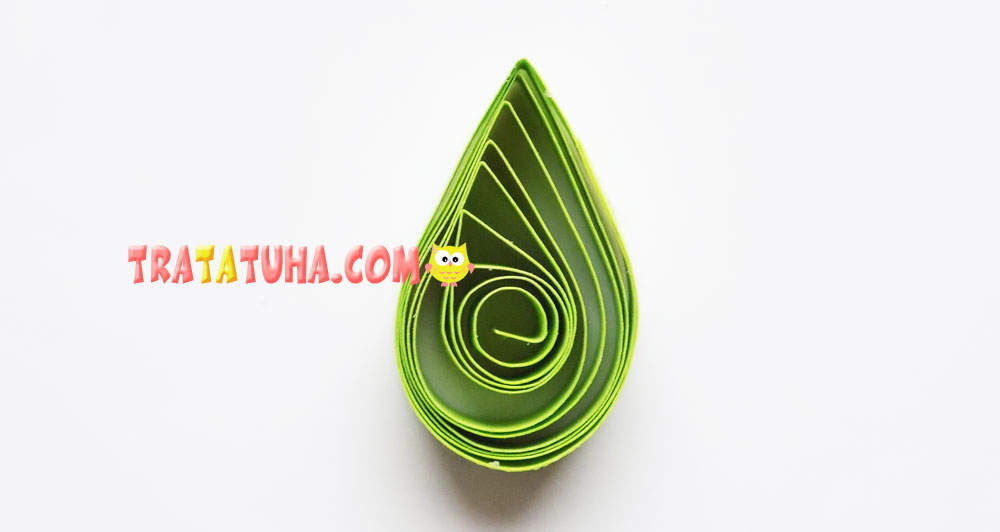
Glue the finished leaf to the stem. Quilling flower for beginners is completely ready.
See more ideas about Easy Paper Quilling.
Crafts for Kids – learn how to make craft at home! Super cute crafts for all age groups!
