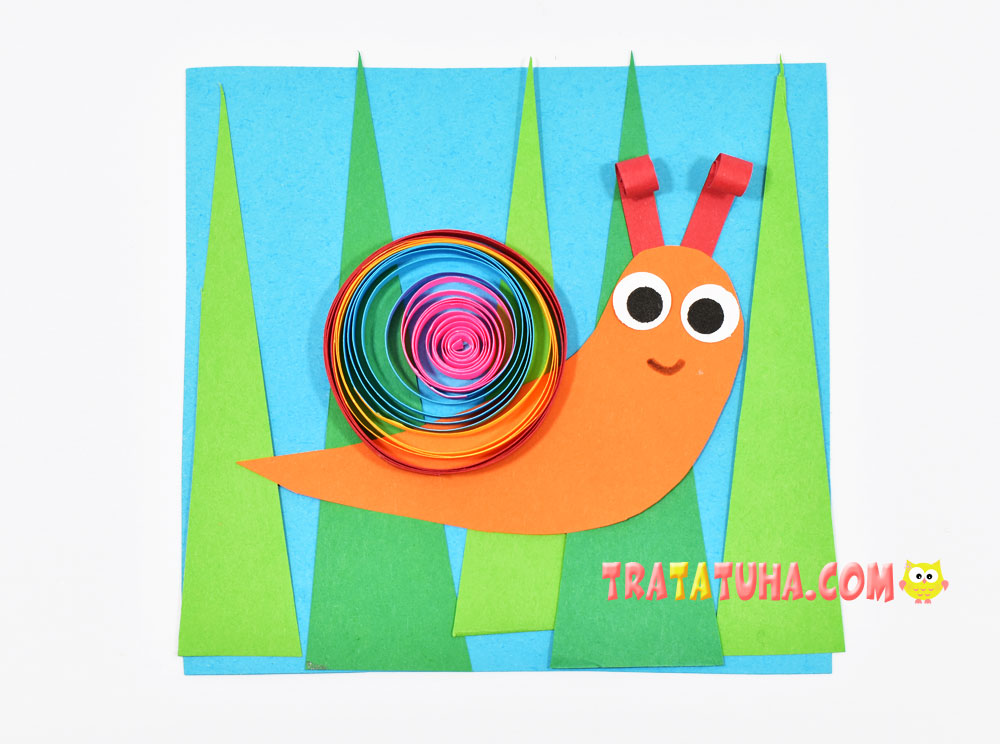
A simple quilling craft for kid’s creativity, or rather with its elements, because the characteristic stripes for quilling, twisted into a circle, are only in the snail shell.
Materials:
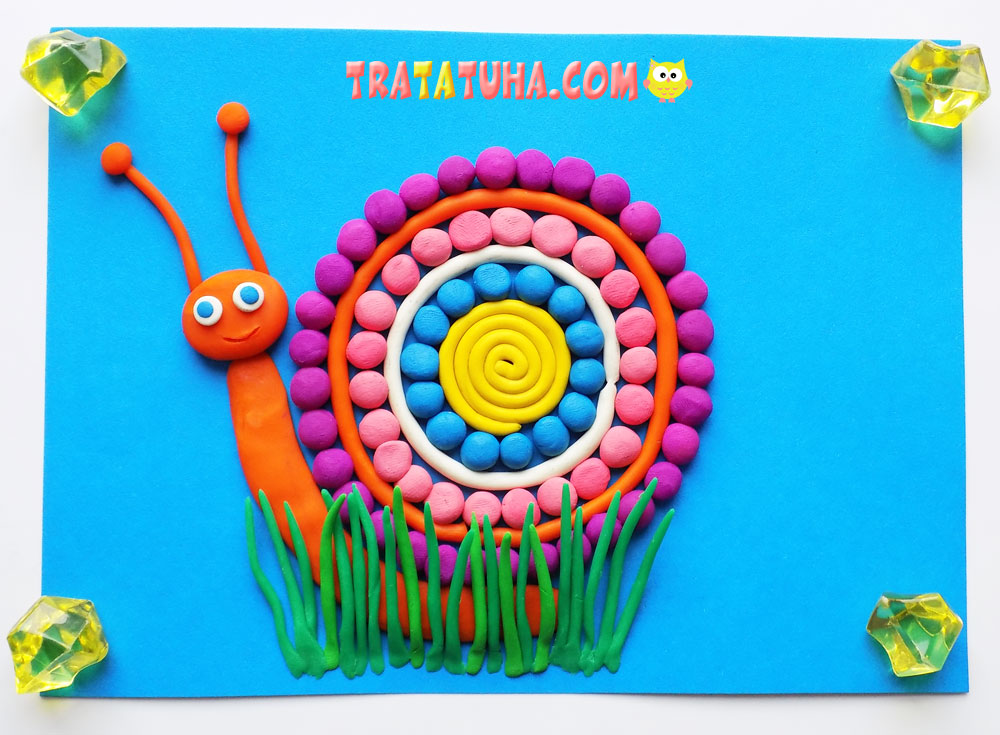
- Blue cardboard for the base;
- Green paper in two shades for grass;
- Orange paper for the body of the snail;
- White and black paper for the eyes;
- Thin strips of quilling paper in yellow, red, blue, pink;
- A simple pencil, scissors, a tool for twisting strips, glue.
Quilling Snail Step by Step
Prepare a cardboard base on which the craft will be presented. Here it is square in shape, but you can make absolutely anything: rectangular, oval, with wavy edges. However, the choice of color is also at your own discretion. From green and light green paper, cut several long triangles. It is not necessary to make them too symmetrical, because the grass on the lawn also does not differ in the same shape.

Glue the grass onto the blue base.
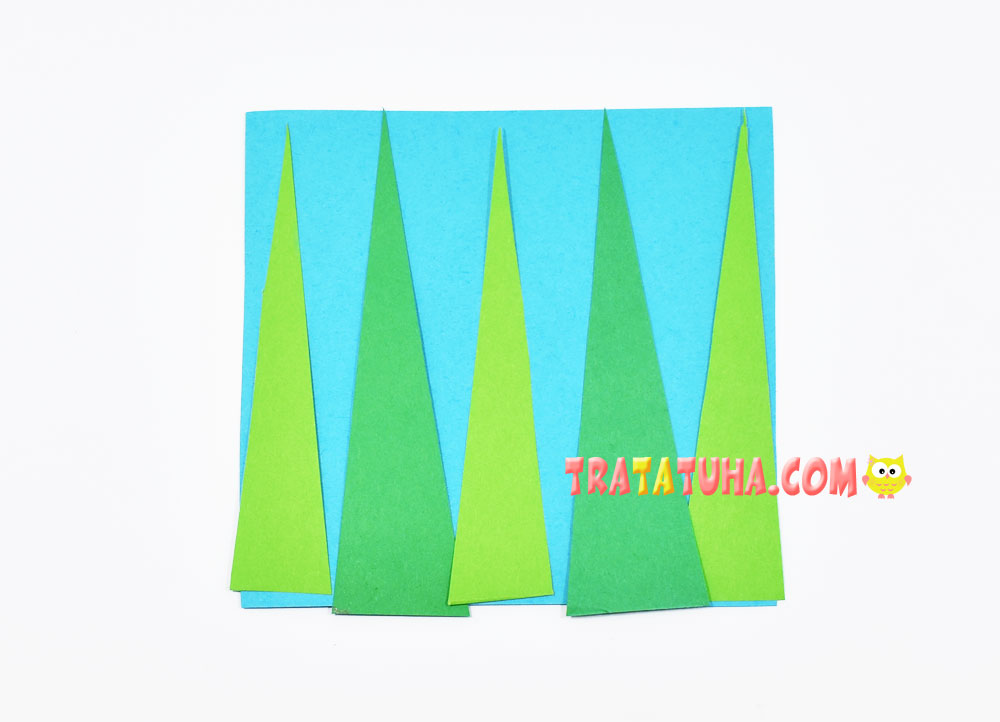
The environment is ready, now we will make the snail. Cut out a simple body, with a thickened head on one side and a sharp tail. From the red quilling stripes, cut off a small part for the antennae. You also need to prepare eyes from circles of white and black paper.

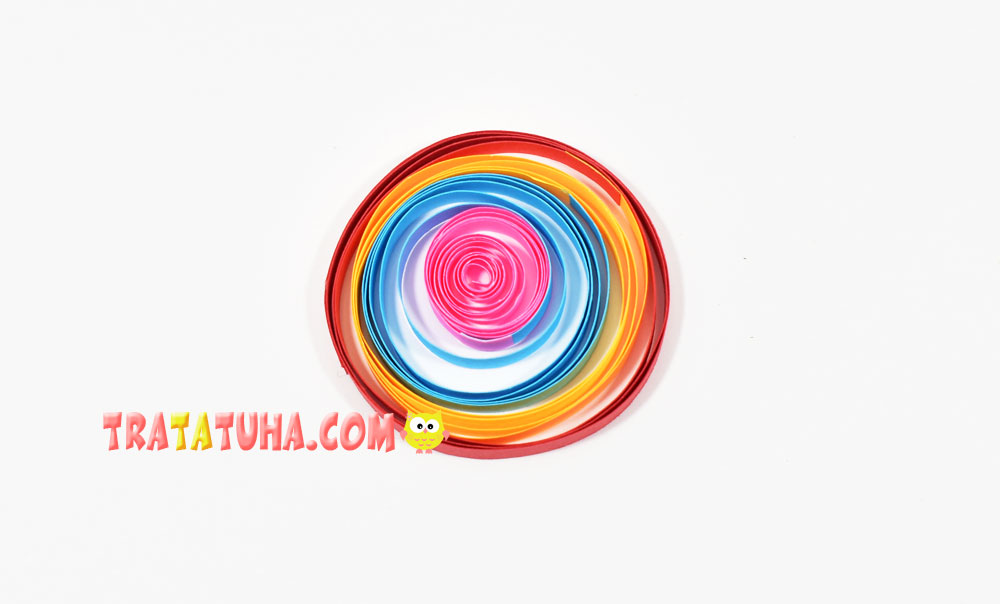
For the shell, you will need strips of paper of different colors. The more stripes, the brighter and richer the snail shell.
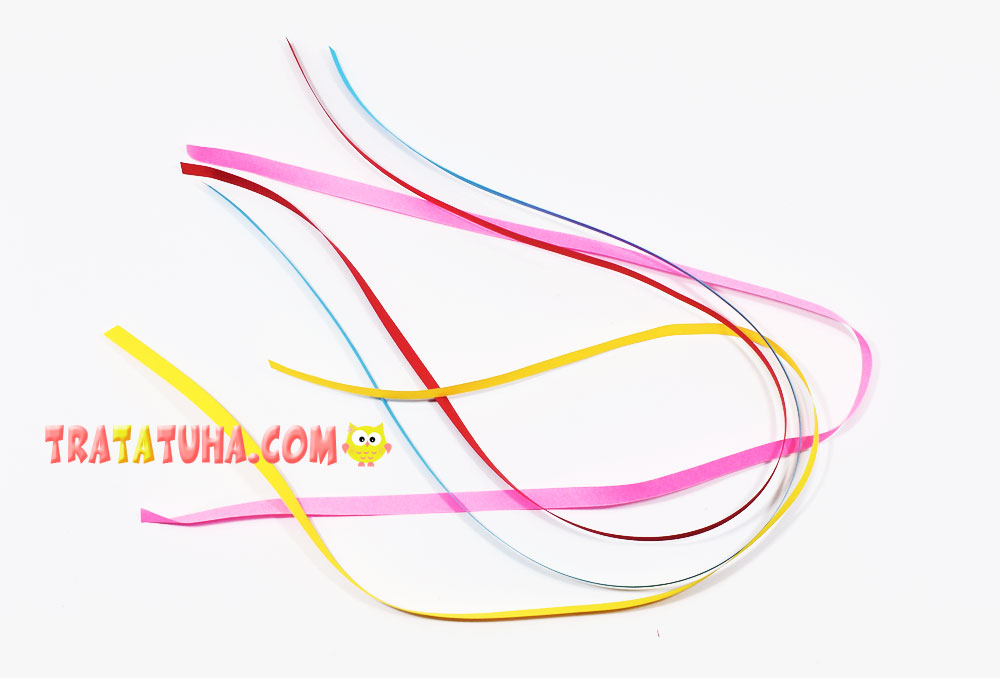
Glue all the strips into one long one, carefully fastening the ends.
Twist all stripes into a circle. The bright shell is ready.
Glue the body of the snail, eyes, antennae on the grass. The tips of the antennae must also be rolled into rings. Finish off with a multi-colored shell, gluing it in the back area.

Everything, the quilling snail is ready.
Even more ideas in the section — Easy Paper Quilling for Kids and Beginners
