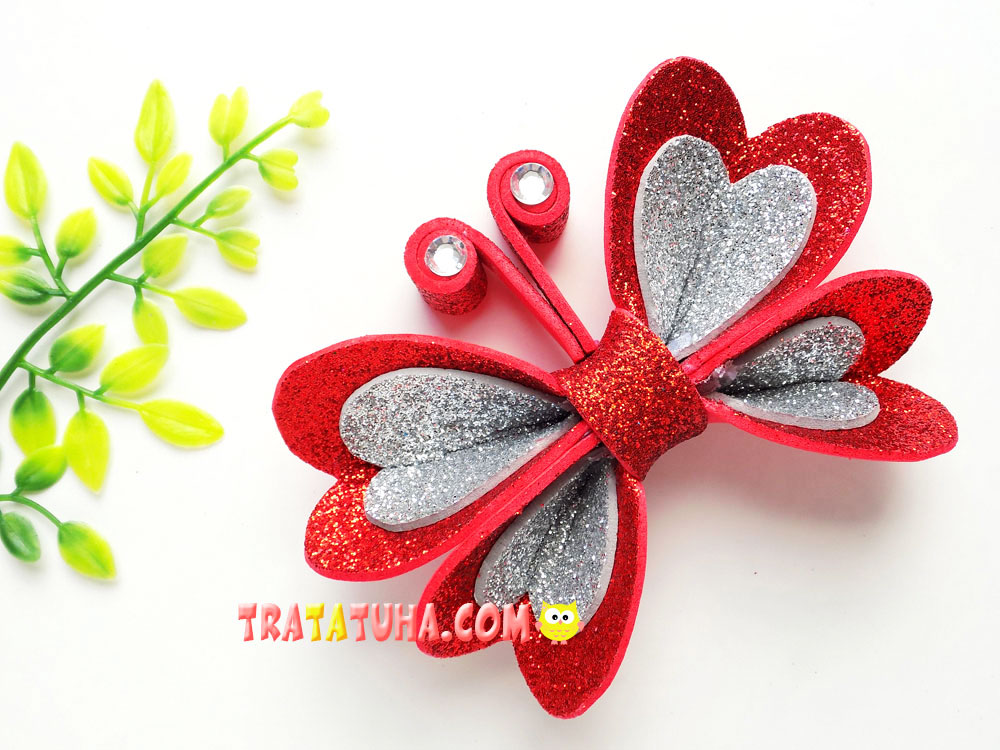
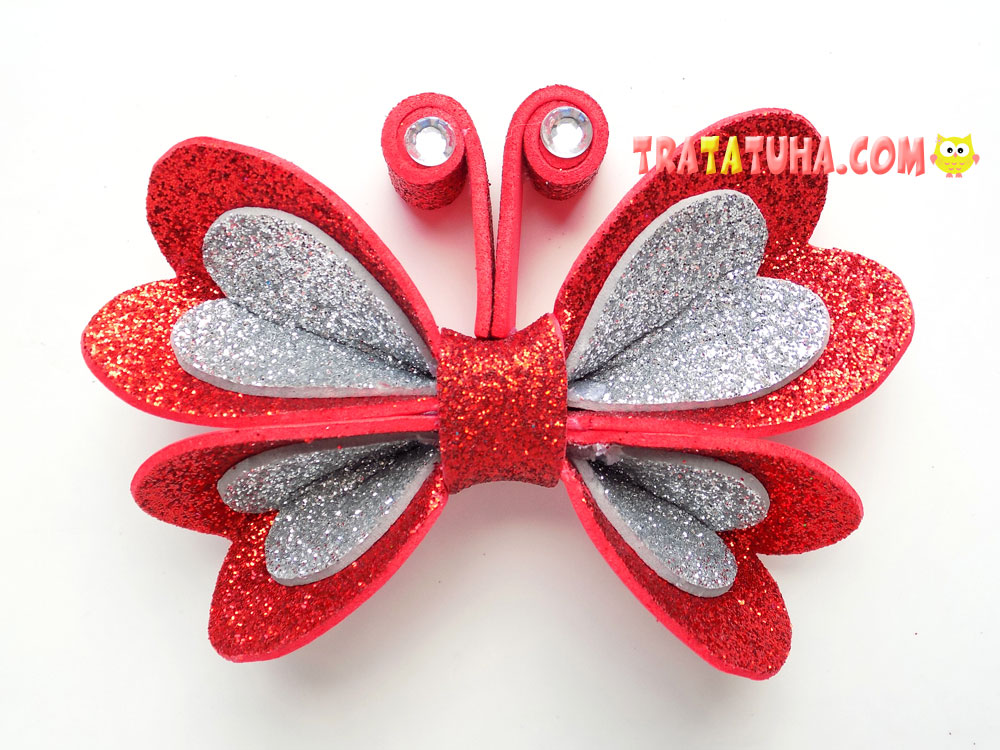
A shiny foam butterfly that can become part of any decoration. And all the steps to create it are given in this tutorial.
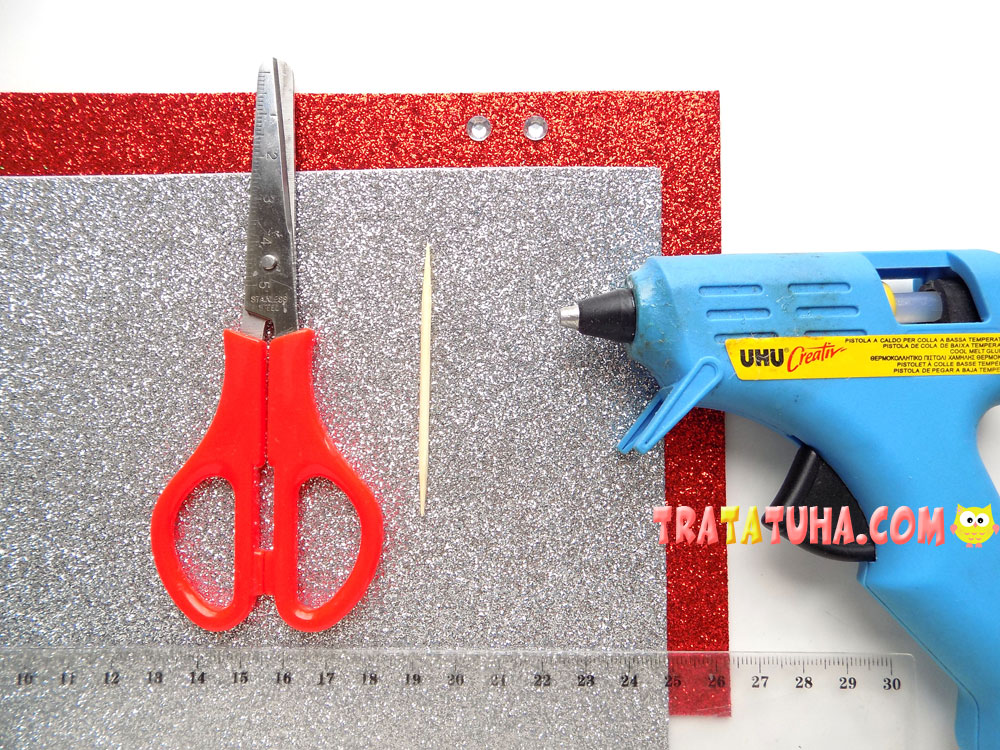
To make such a butterfly we will prepare:
- red and silver glitter foam;
- scissors with a glue gun;
- toothpick;
- ruler;
- rhinestones;
- some white paper.
Foam Butterfly Step by Step
First, let’s prepare templates according to which we will make wings from shiny foam. To do this, first cut out a couple of rectangles measuring 5×4 and 4×3 cm from white paper. Then we cut out such blanks from them.
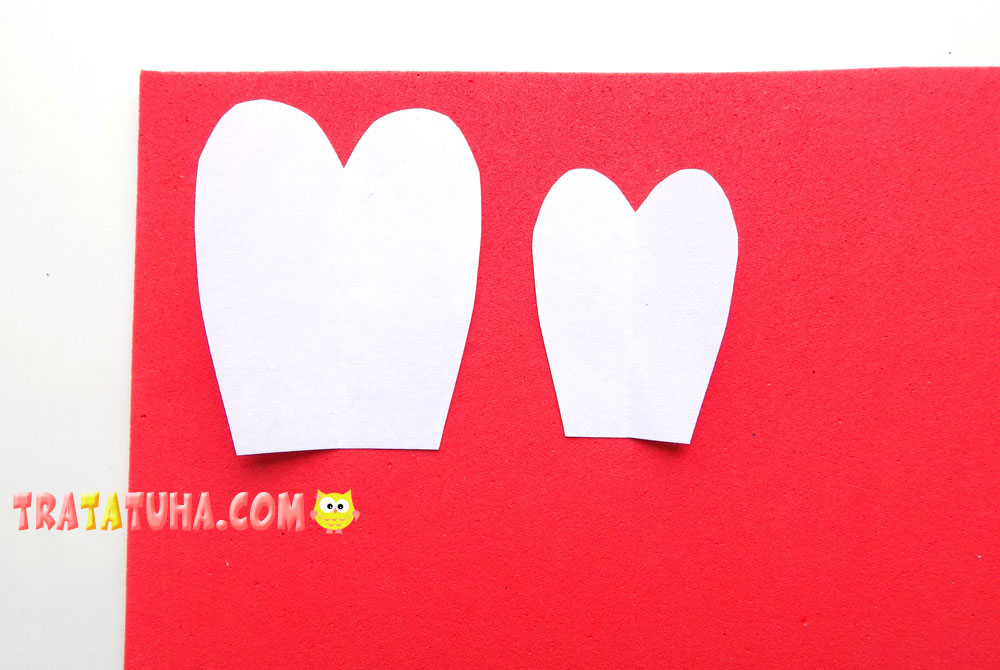
Using large templates, we cut out 4 blanks from red glitter foam.
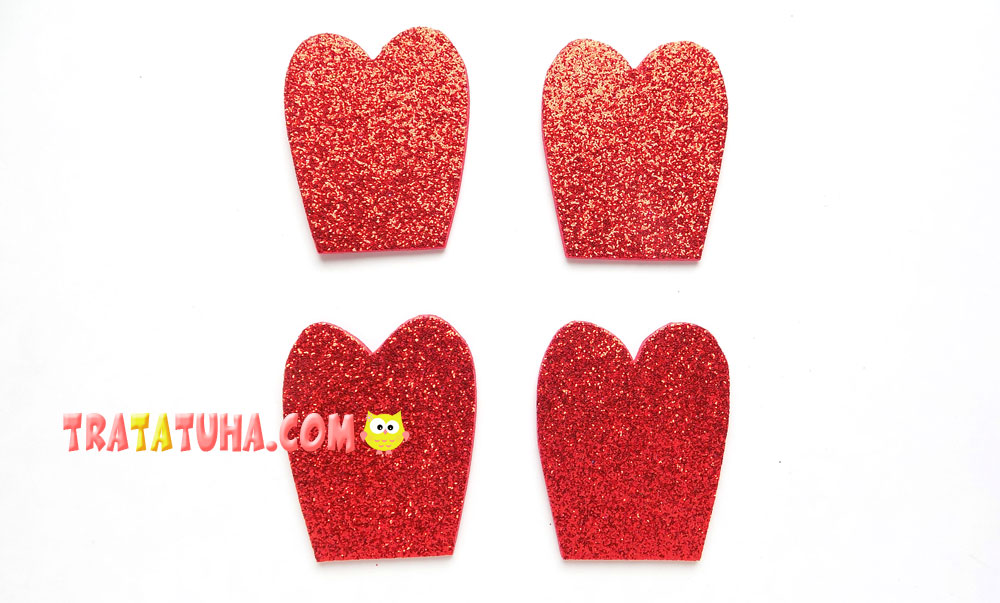
Then you need to cut 4 blanks from silver foam. We glue a couple of these blanks onto the red parts. These will be the large (upper) wings of the butterfly.
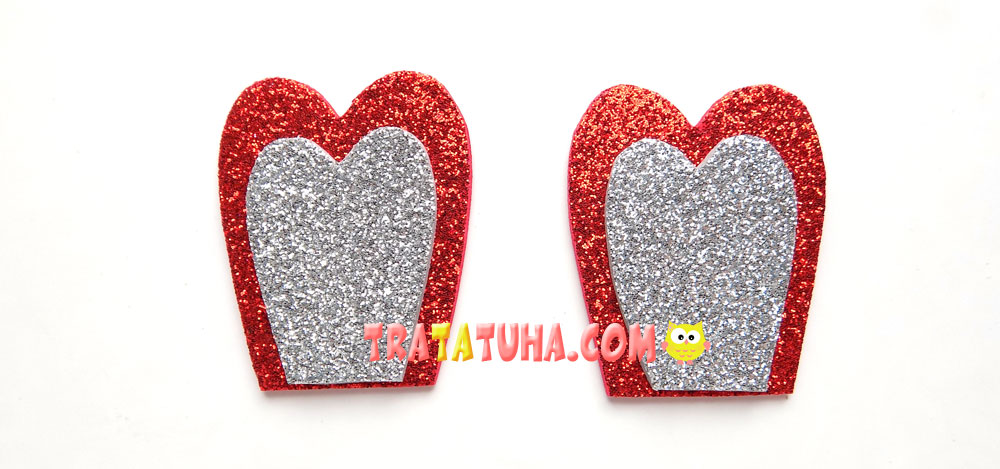
To create the lower wings, we must shorten the remaining blanks by 5 mm, cutting off a thin strip from the bottom.
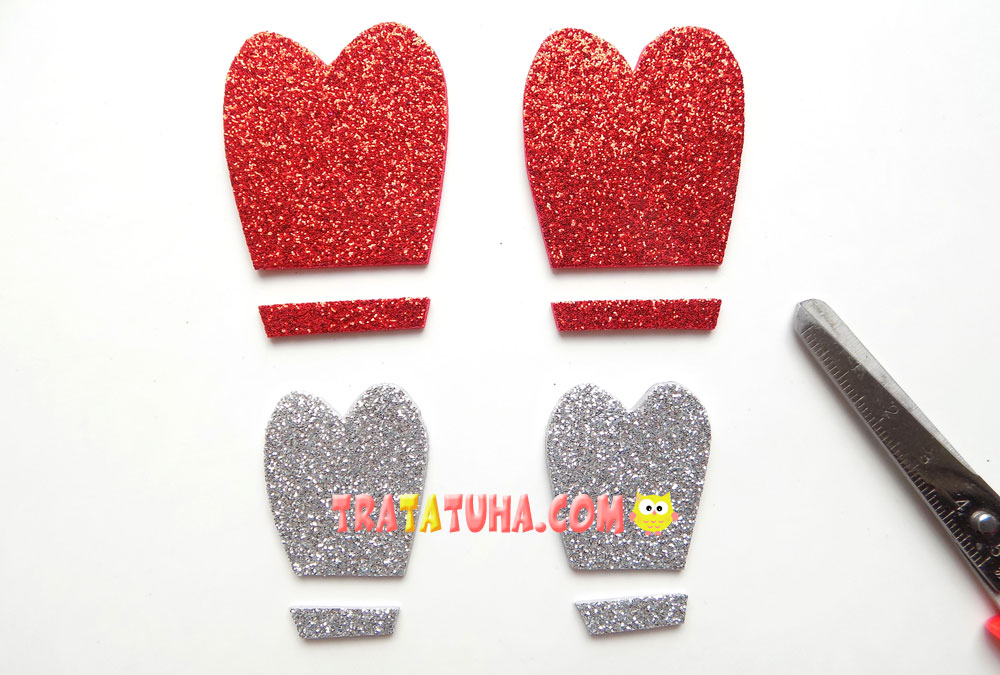
Then we glue the silver parts onto the red ones using a glue gun.
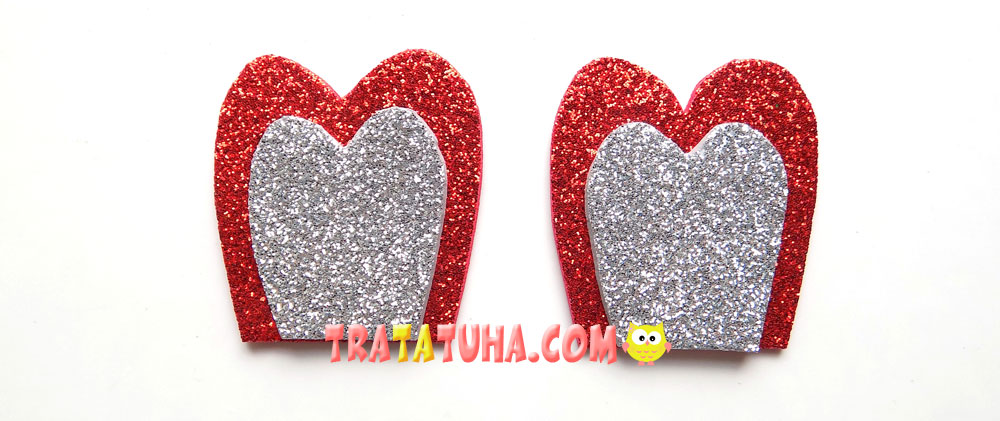
We must have such details ready.
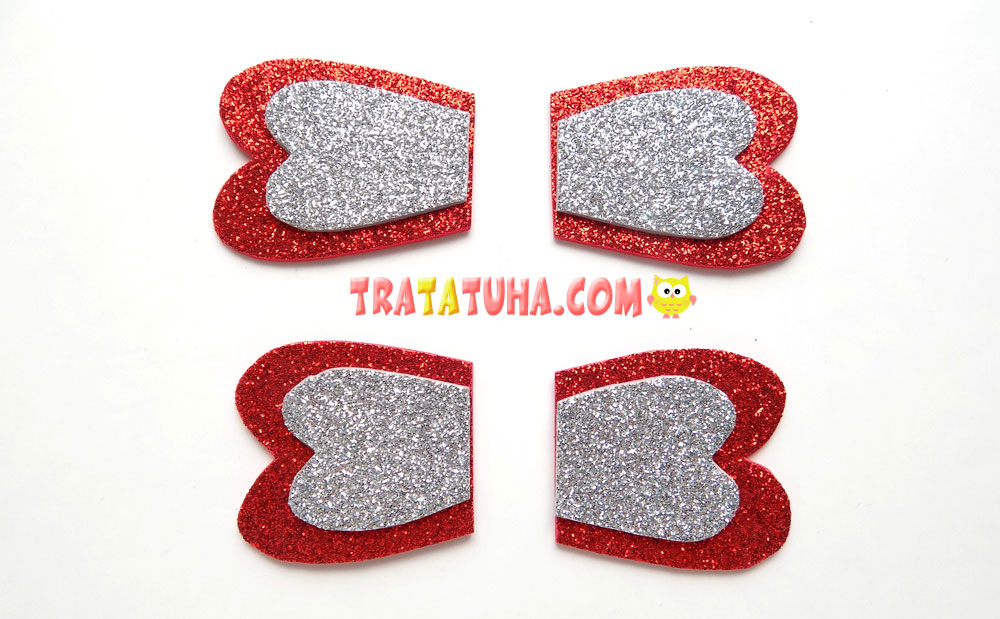
To finally form the butterfly wings, apply a thin strip of hot glue at the bottom and connect.

Then we glue the large and small wings in pairs.
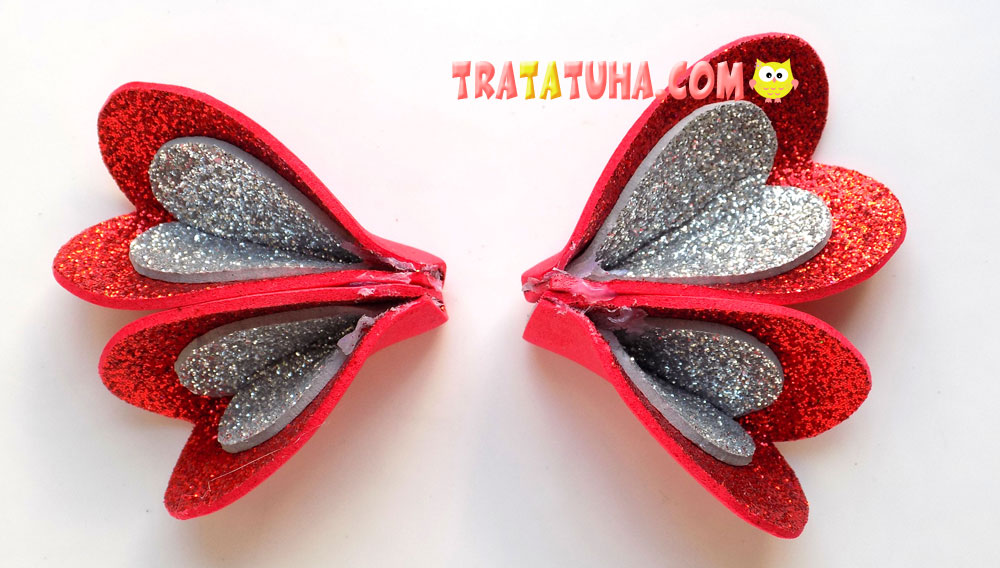
Now we connect them together.
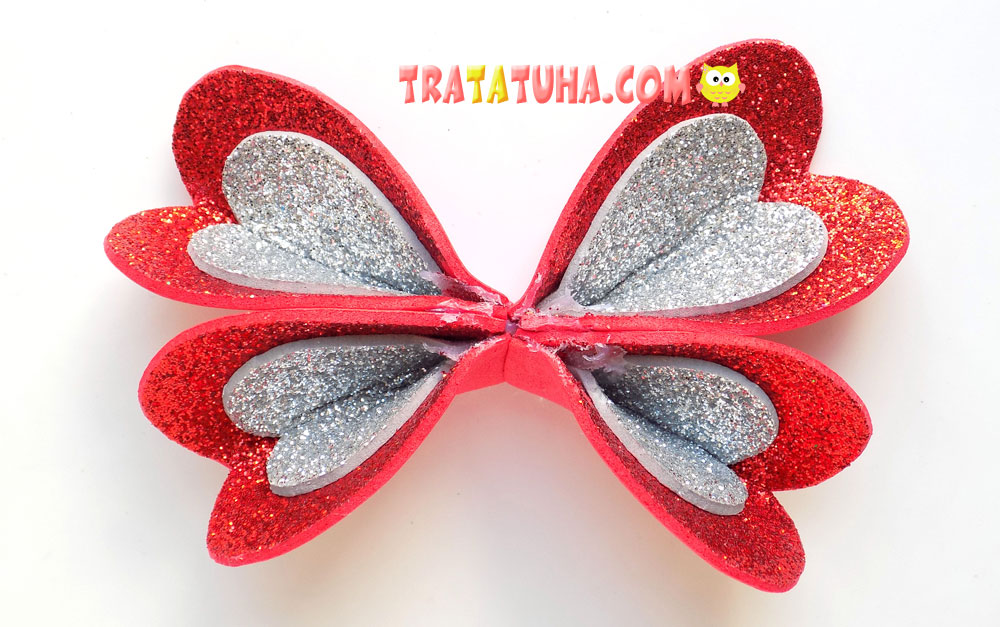
We will make the body of the butterfly from a strip of red foam; we fix it in the middle, fixing it with hot glue on the back side.
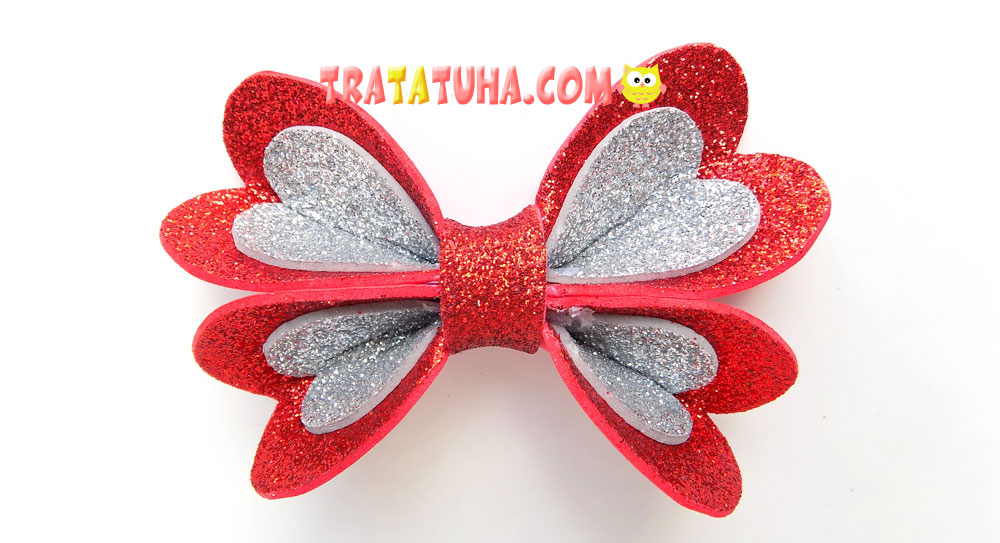
All that remains is to make the antennae. For them we cut out 2 strips of 1×8 cm.
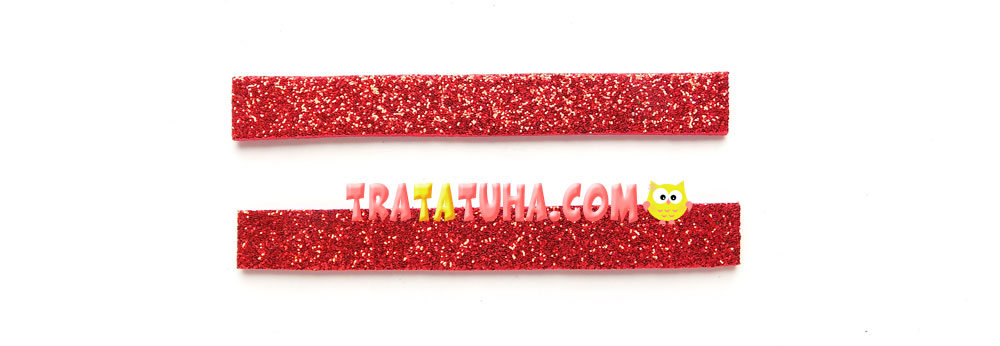
We twist part of the strip and lightly fix it with a glue gun.
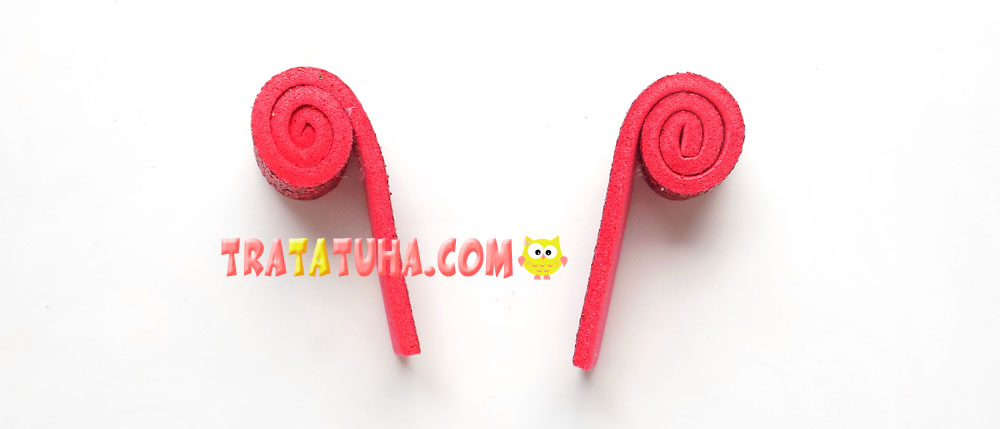
Decorate with rhinestones and glue the antennae together from below.
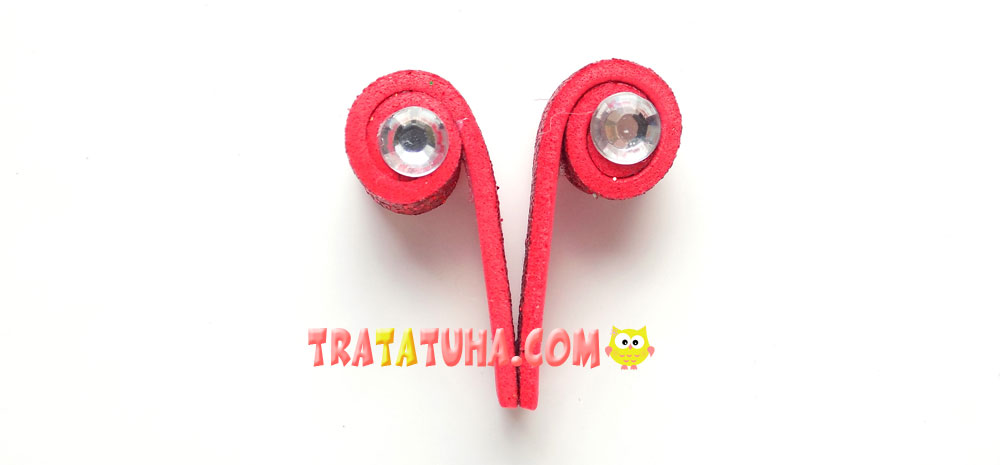
We attach them to our craft. The foam butterfly is ready.
More ideas in the review — EVA Foam Crafts for Kids
