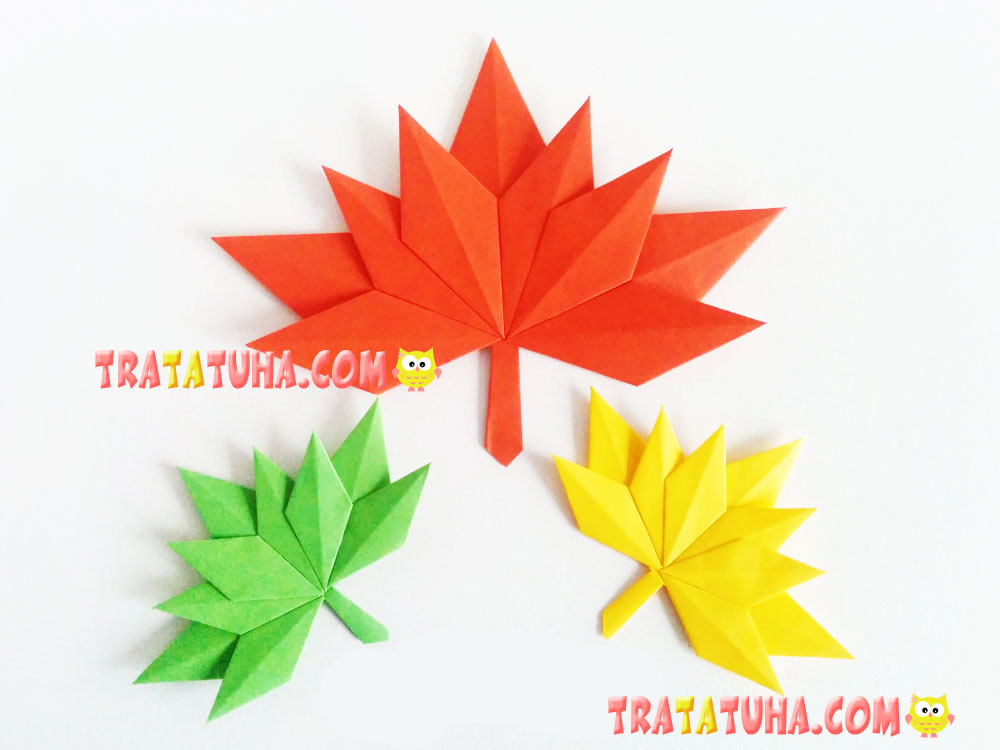
Here, I offer you a step by step instruction of the simplest way to make an origami maple leaf. Don’t be scared that it includes numerous details; anyway, the process is not difficult at all, unlike the options to make a leaf of a single sheet of paper.
You Will Need
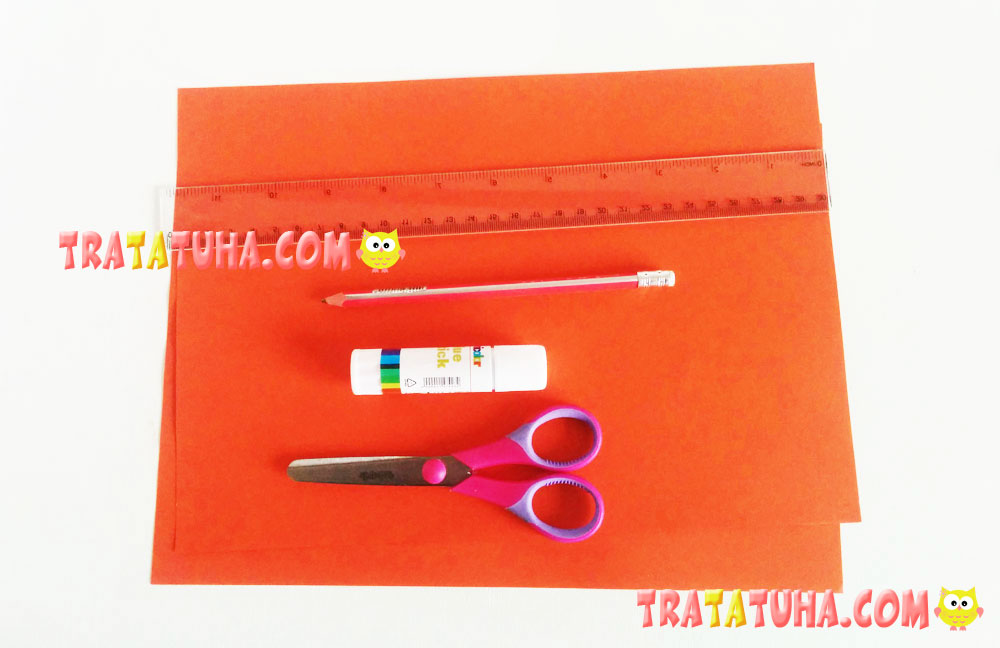
- Colored paper of a color suitable for maple leaves. Also, your choice may depend on which leaf you need. If it’s an autumn leaf, then it can be yellow, red, and orange. In spring-summer version it is green.
- A ruler, scissors, a writing pencil, a glue stick.
Origami Maple Leaf Step by Step
Preparing the parts
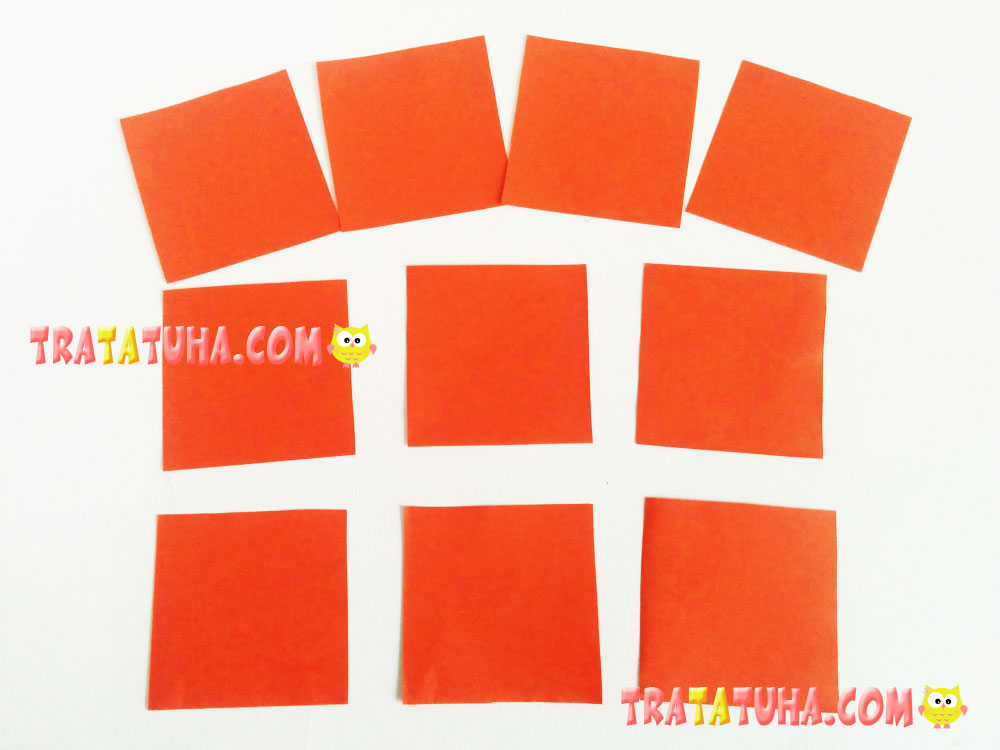
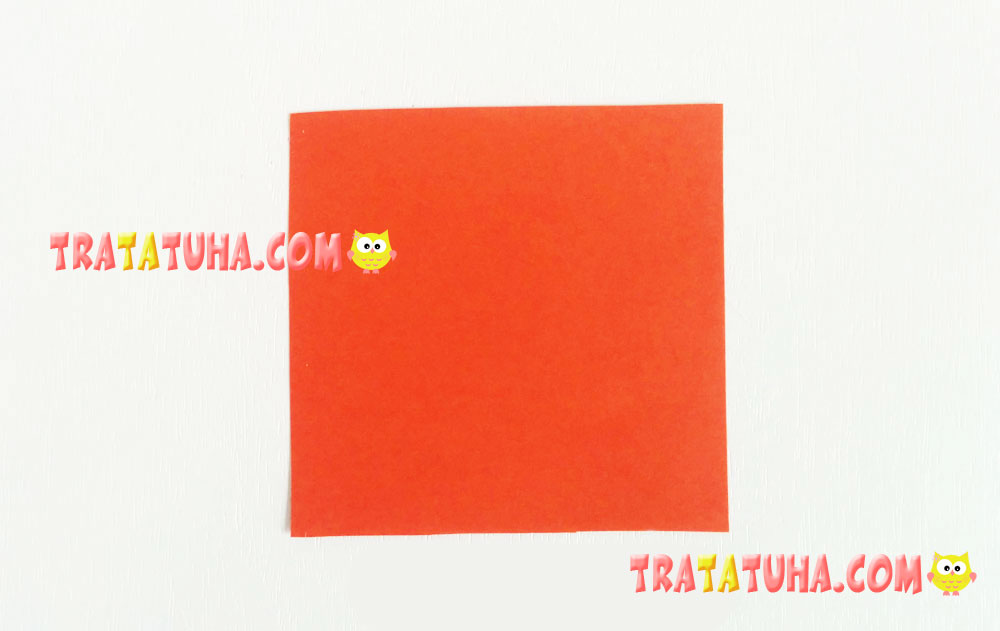
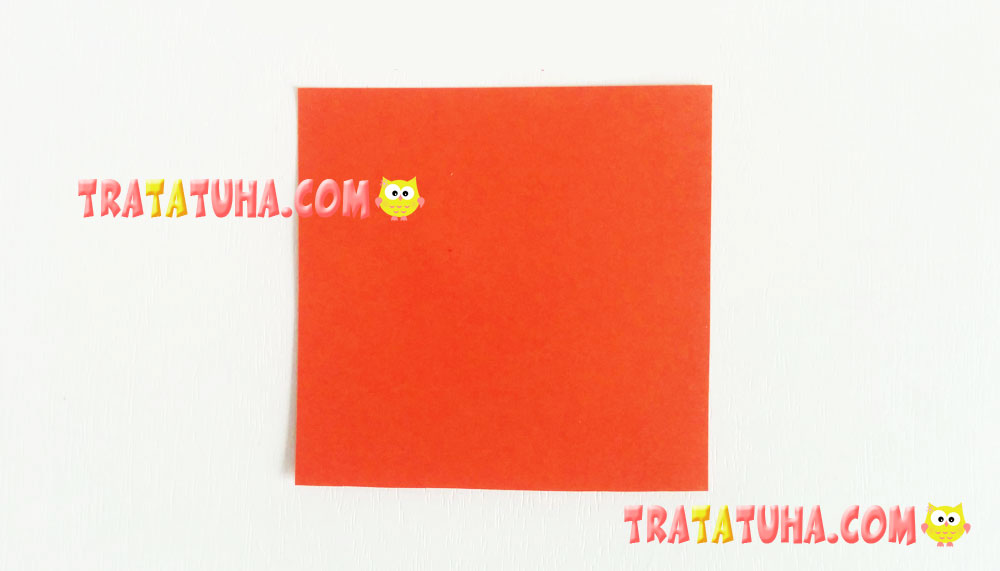
The leaf consists of 10 square parts. Therefore, measure off and cut 10 squares out of the colored paper. 9 are for the leaf and 1 for the stalk. They can be of any size. My red is quite large; the squares sides are 8 cm long. The smaller leaves have sides of 5 cm long.
Place one square in front of you.
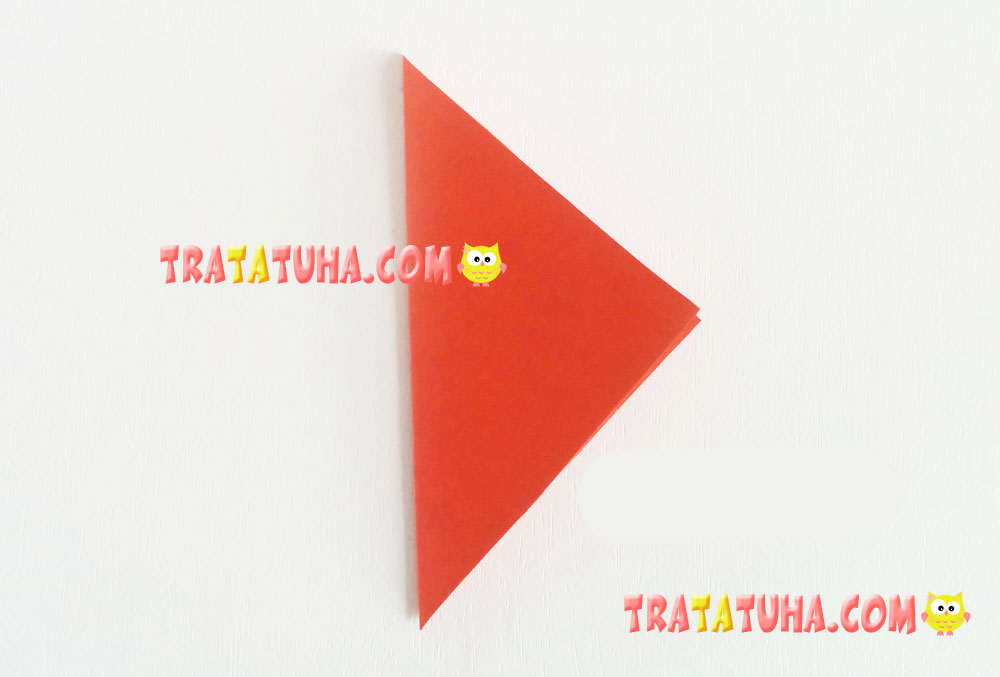
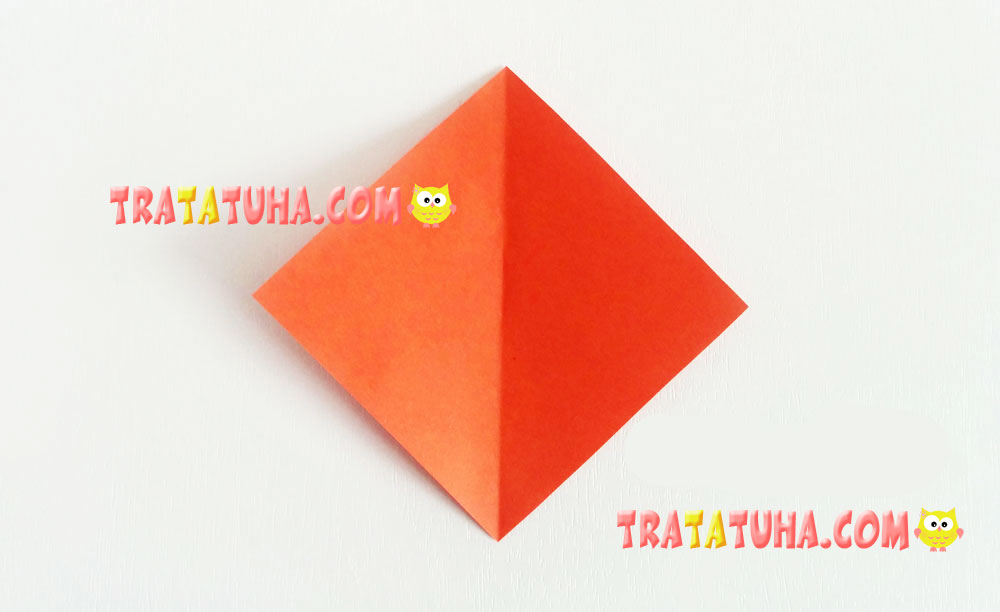
Fold it in half by connecting the opposite corners. You should get a triangle. Press the folded side thoroughly.
Unfold the triangle; a dotted line in the photo indicates the fold line.
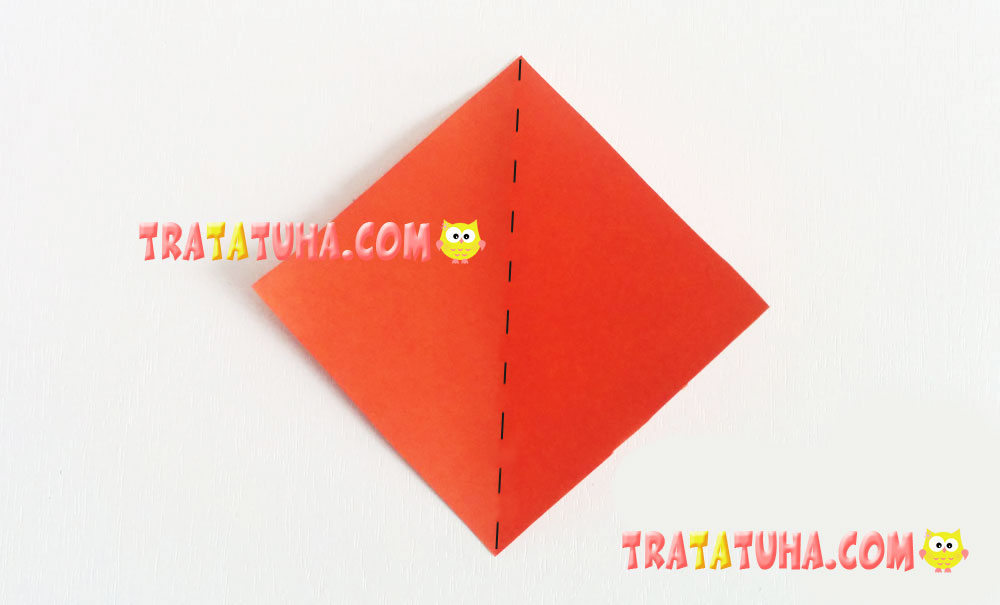
First, fold one side of the square, aligning it along the fold line.
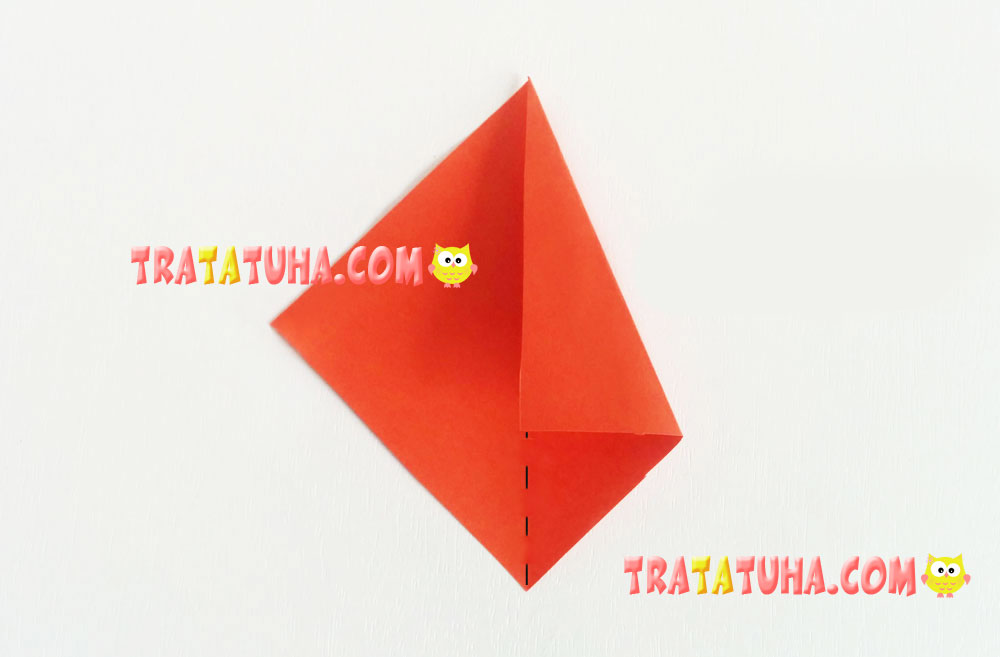
Then, repeat it with the second side. You should get this kind of a part.
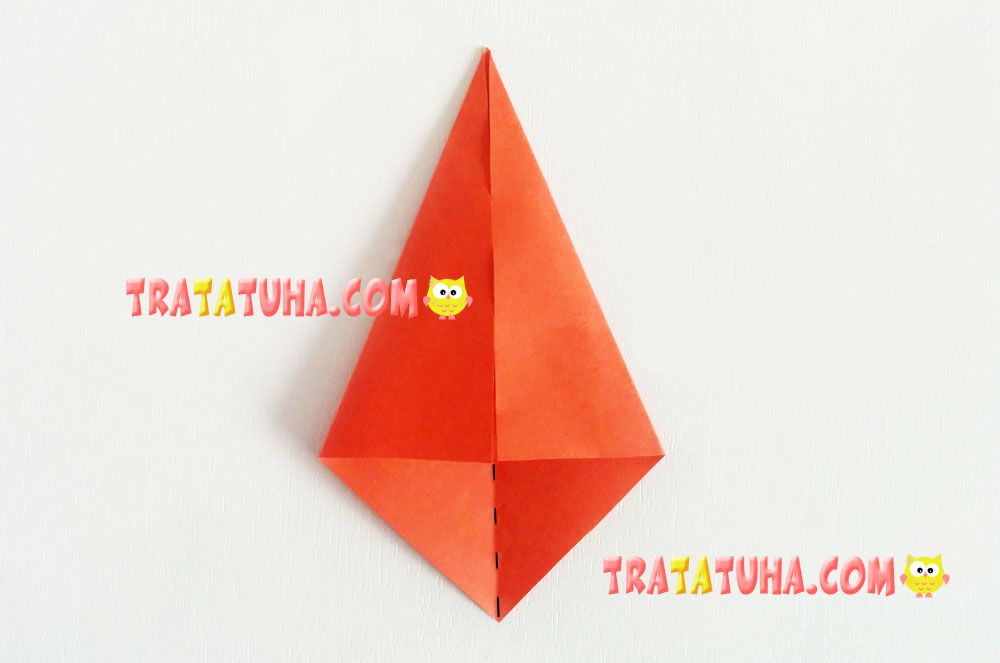
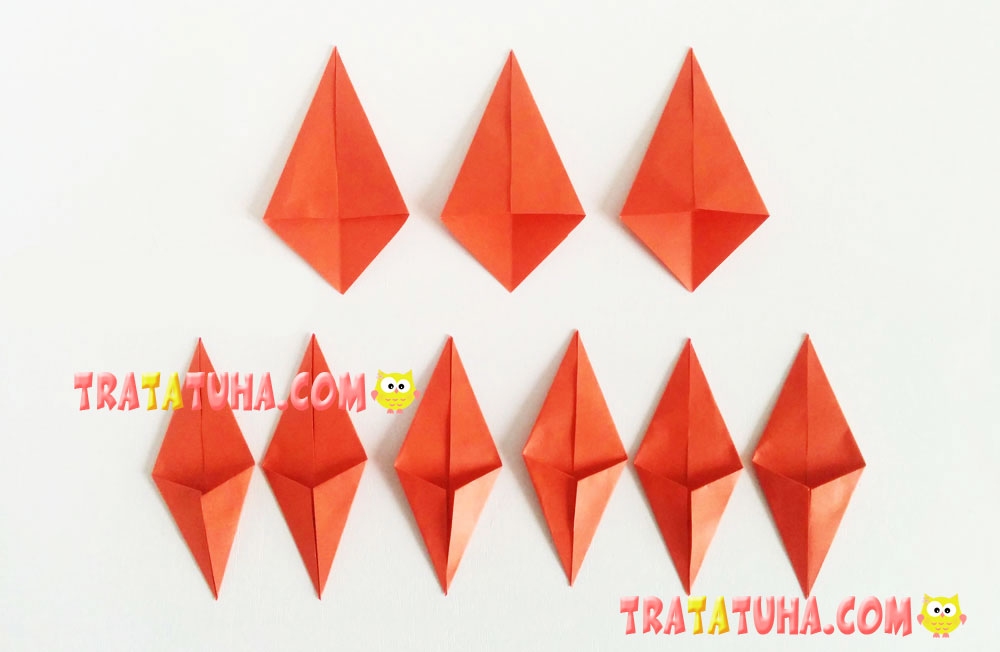
For a maple leaf, you will need 3 similar parts and 6 more complex ones.
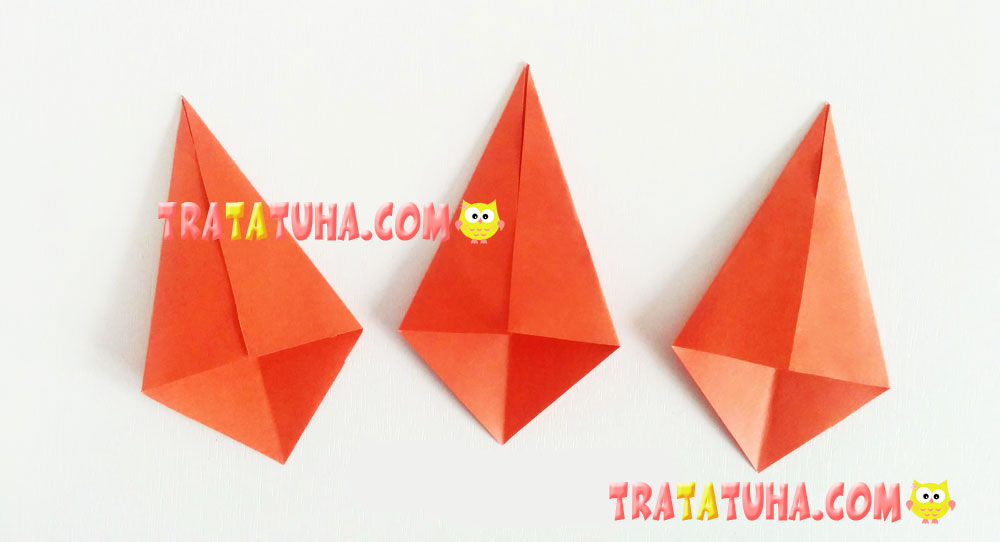
Let’s proceed to a more complex part. You should start with repeating all the actions, as with the previous three details. We’ll work on one of the squares.
Fold it in half, indicating the fold line, which will be used to align the sides.
Fold both sides towards the middle.
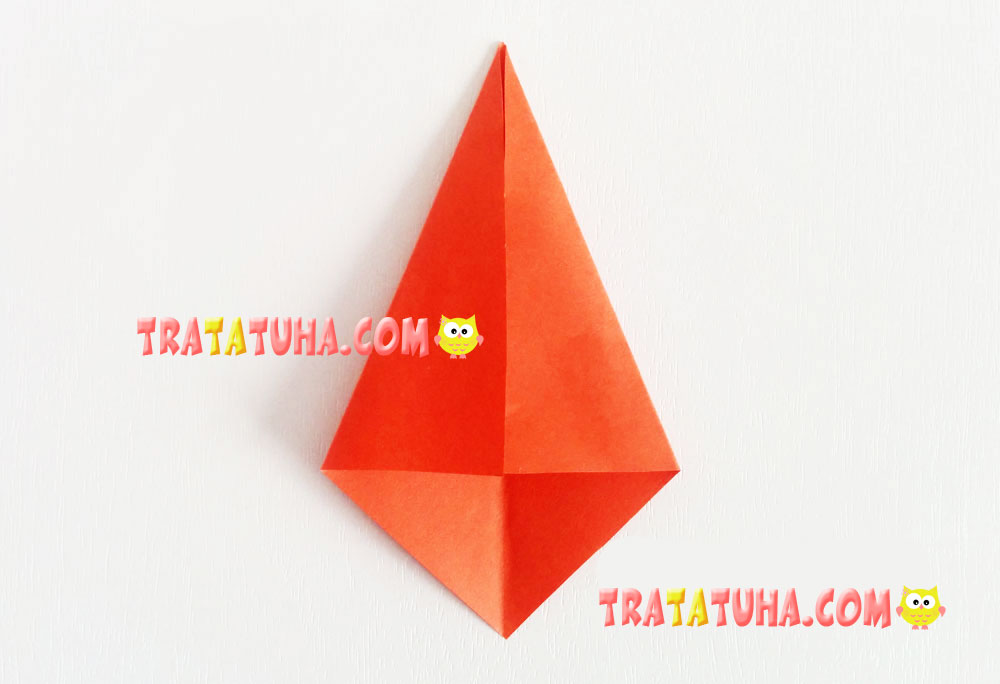
Then, turn the part around and fold one side in the similar way, aligning it with the center.
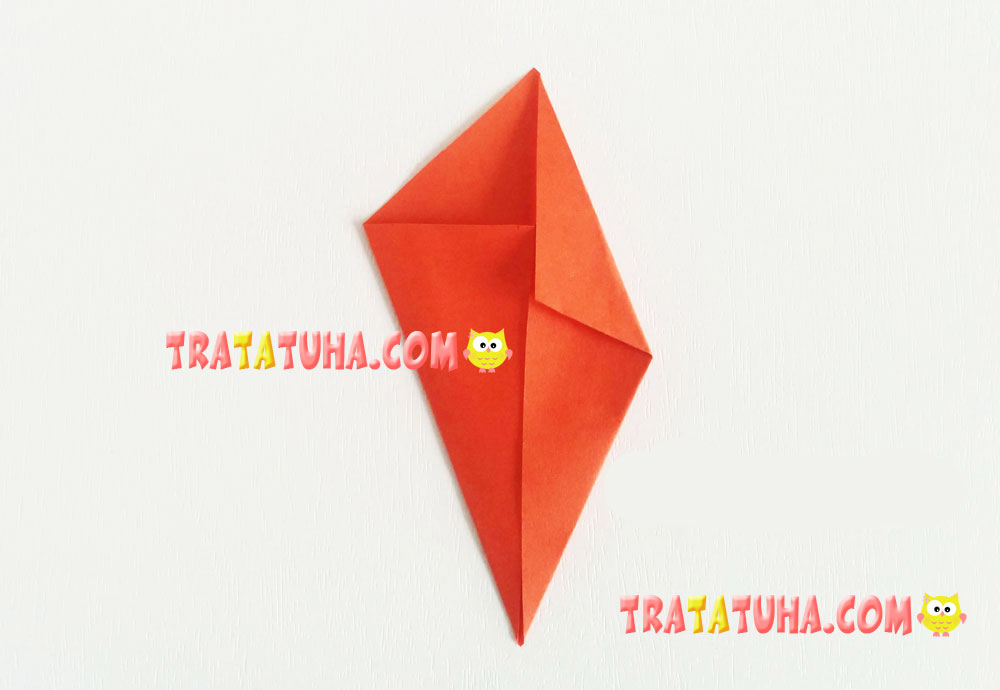
And then, the second one.
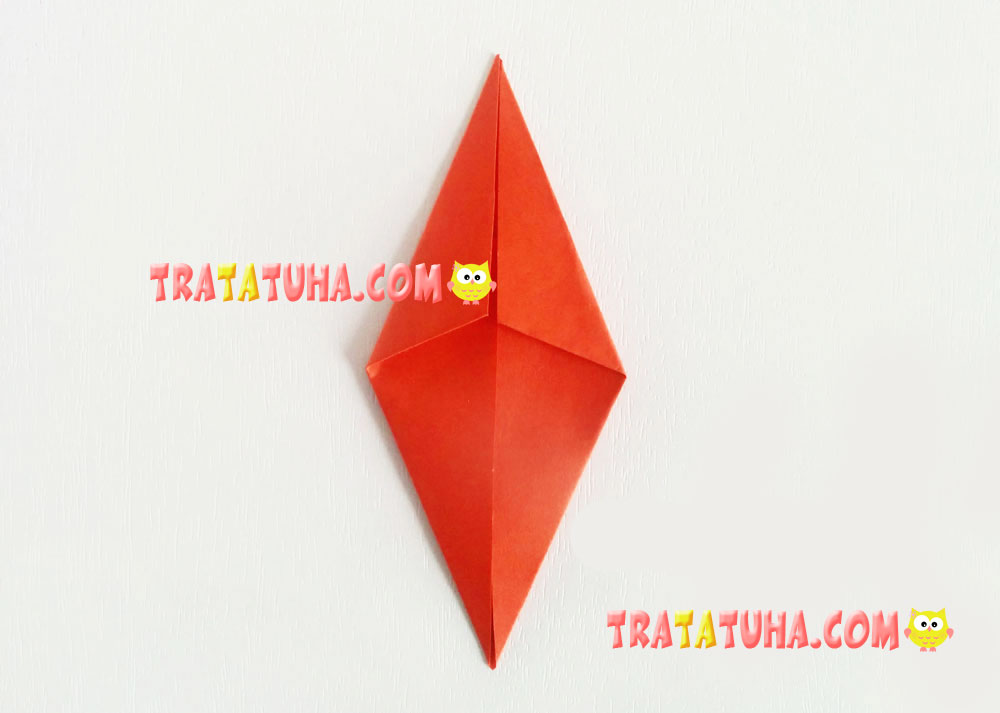
We will need 6 such parts.
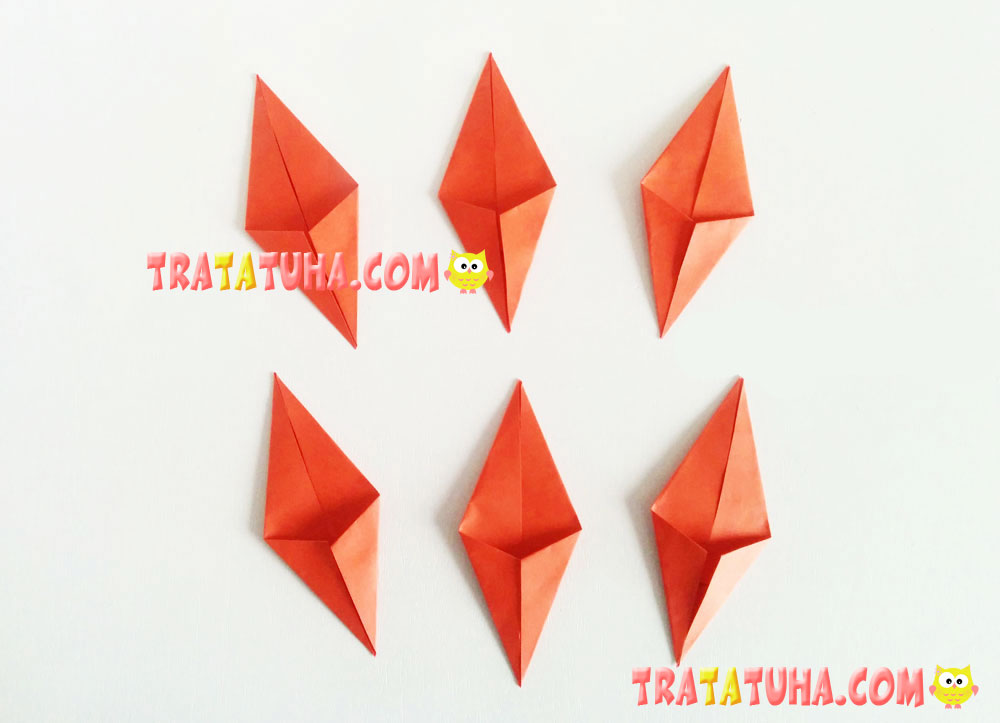
Thus, we now have 3 simple parts with two edges folded on one side and 6 more complex ones with both sides and 4 edges folded.
Assembling an Origami Maple Leaf
Now, let’s get down to assembly. At this stage, the leaf will consist of 3 parts. Each of them will consist of 3 folded parts.
Take 1 simple part and two complex ones.
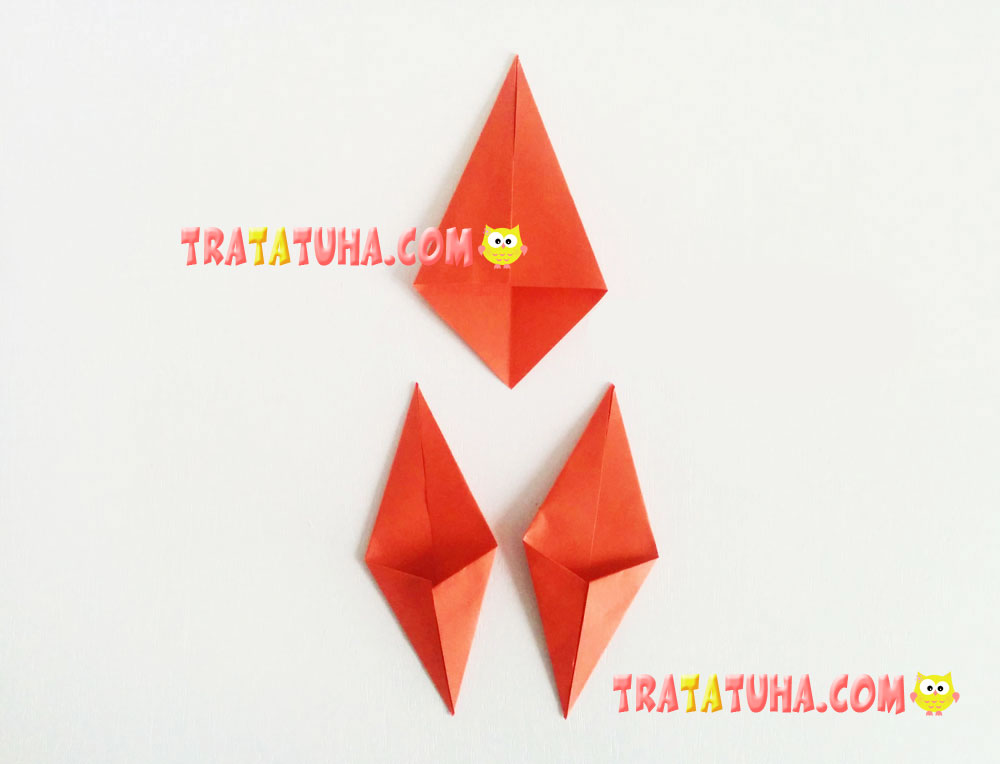
Connect two complex parts in the sides area. Apply glue as shown in the photo. Pay attention to the fact that these parts are not glued together yet; they will be connected by the third simple part.
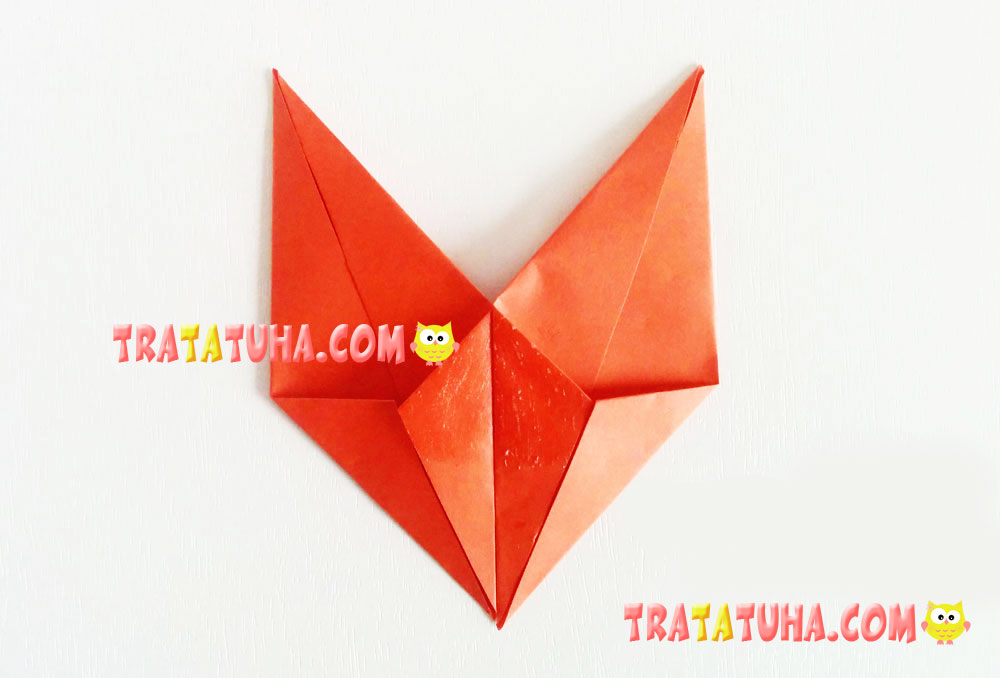
Glue it atop.
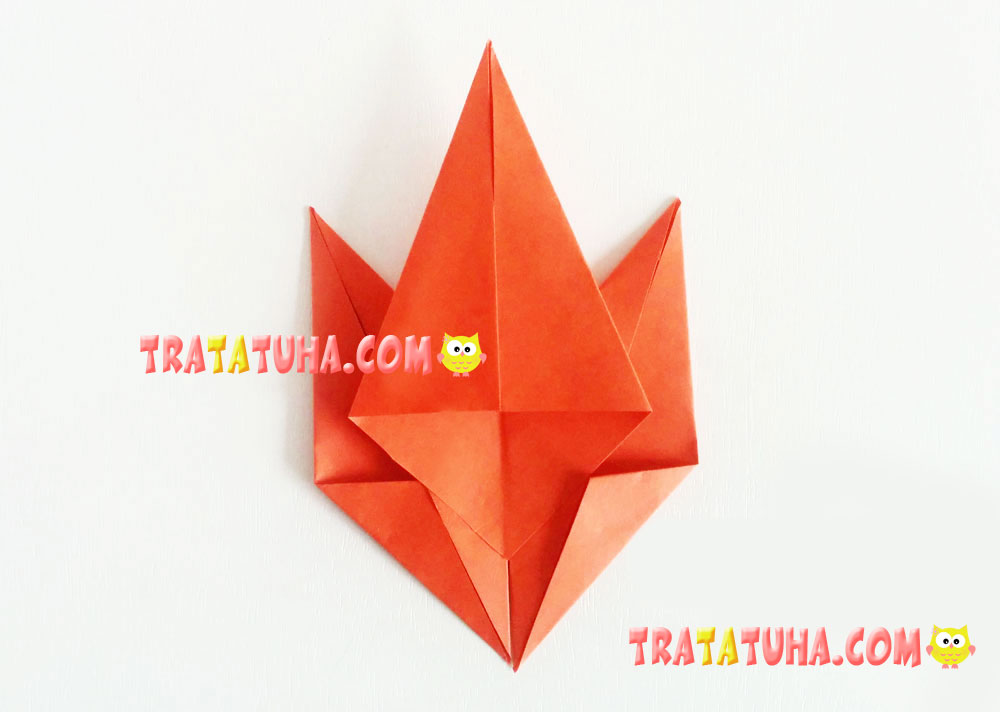
Make 3 of such leaf parts. The photo shows as they look like from the reverse and from the front sides.
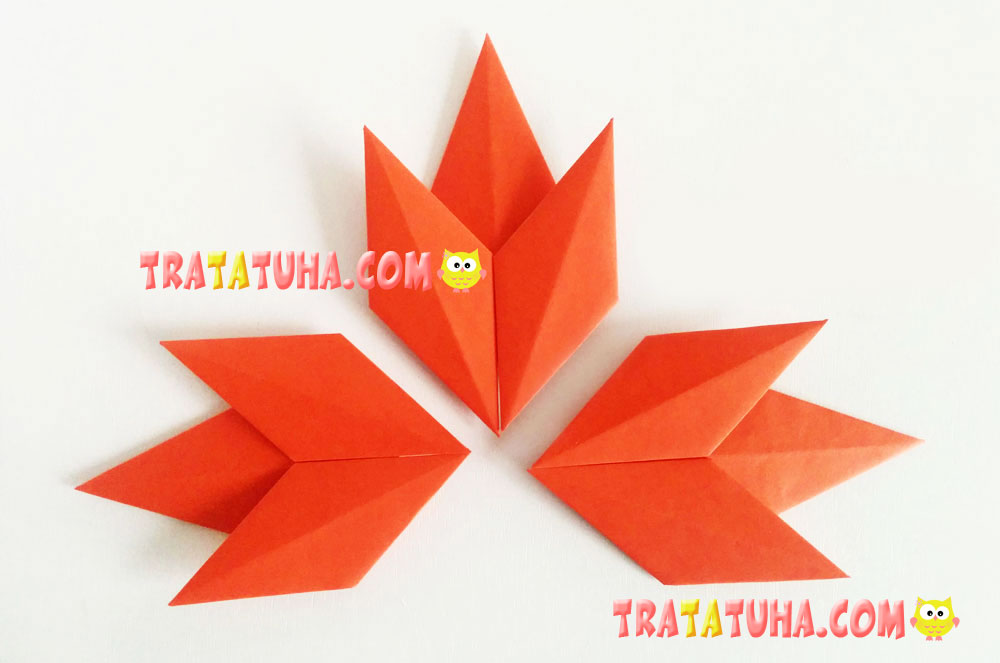
Then, you need to glue together these 3 parts; however, they should be a little overlapping. Study the photo carefully – every subsequent part is glued to the previous one, aligning along the fold area of the part.
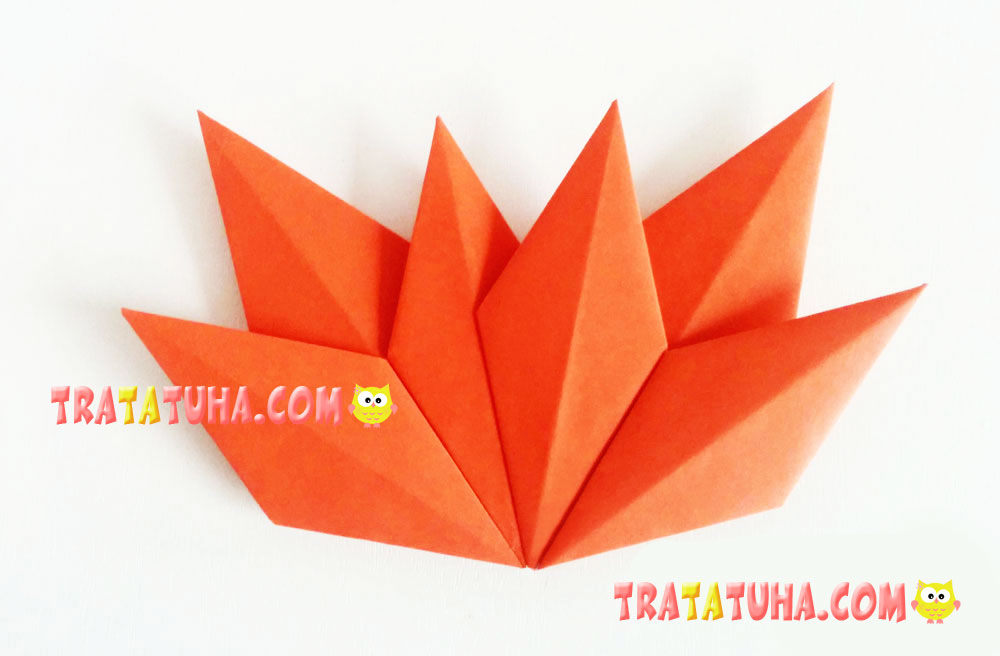
Glue the third part in the similar way, making it to overlap the second part.
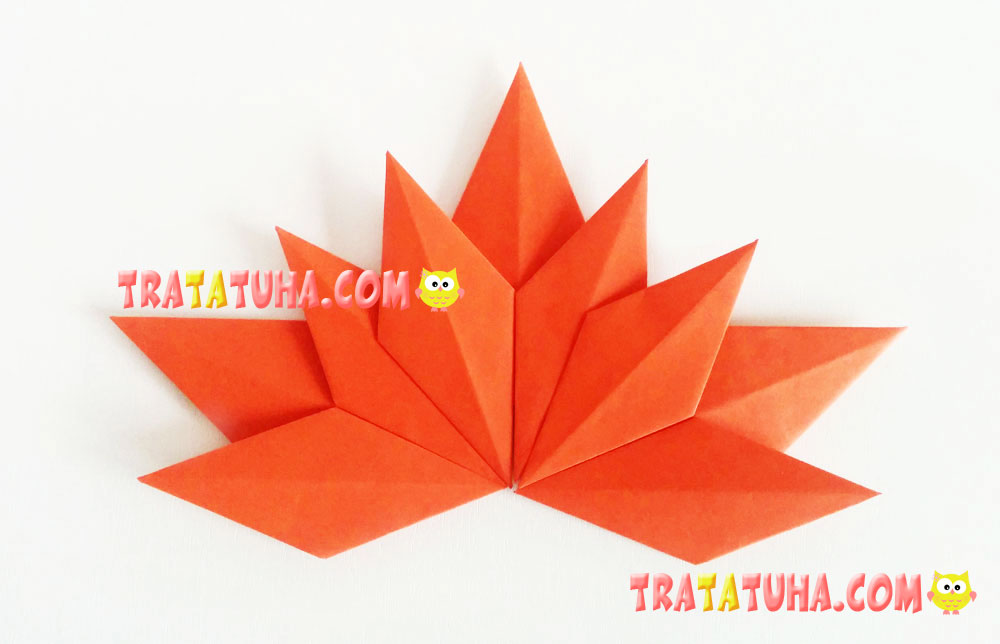
The maple leaf is almost complete, but we still need to make a stalk for it.
To make it, take the remaining colored paper square and apply glue to its half.
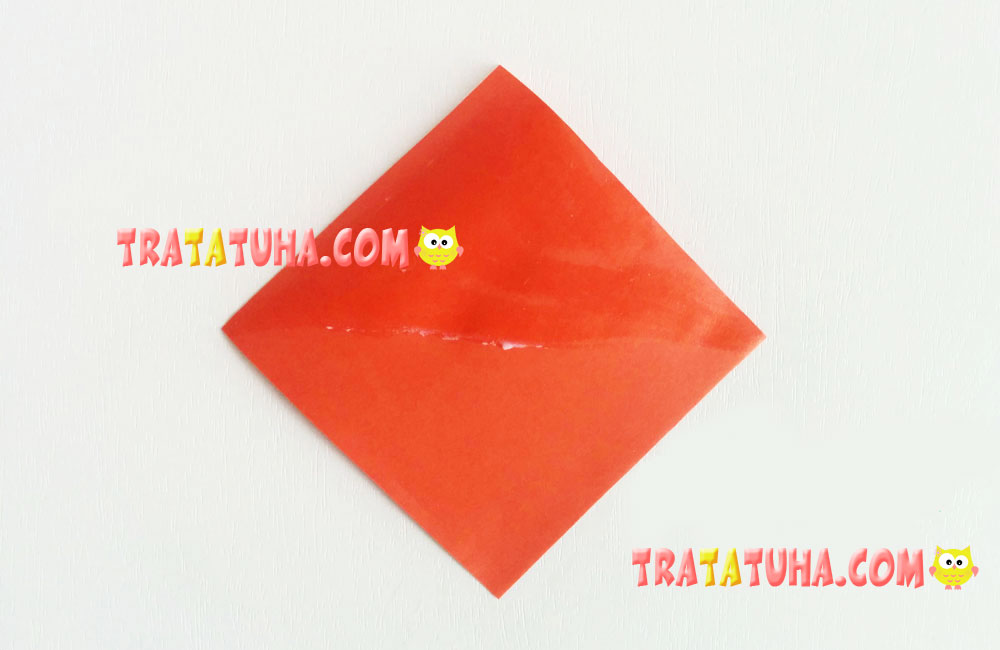
Glue it to the back of the leaf, creating even a stronger connection between all 3 parts.
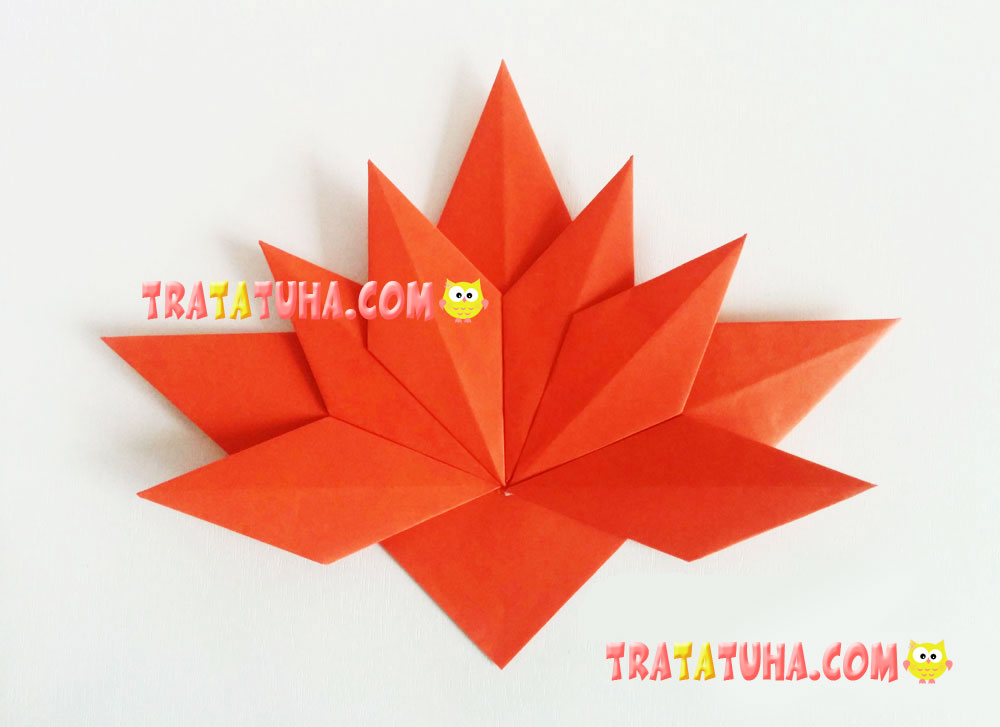
It will look like this from the reverse.
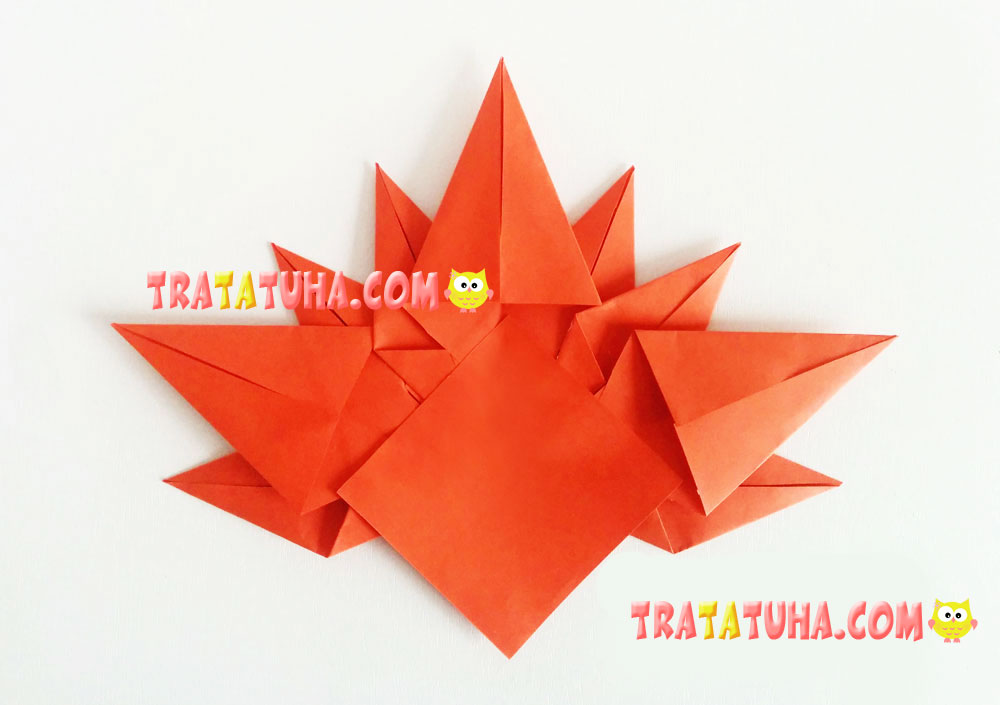
Cut the triangle you see, but not to the very end of it. You should leave an area of about 7 mm between the side cuts. It will make up a stalk.
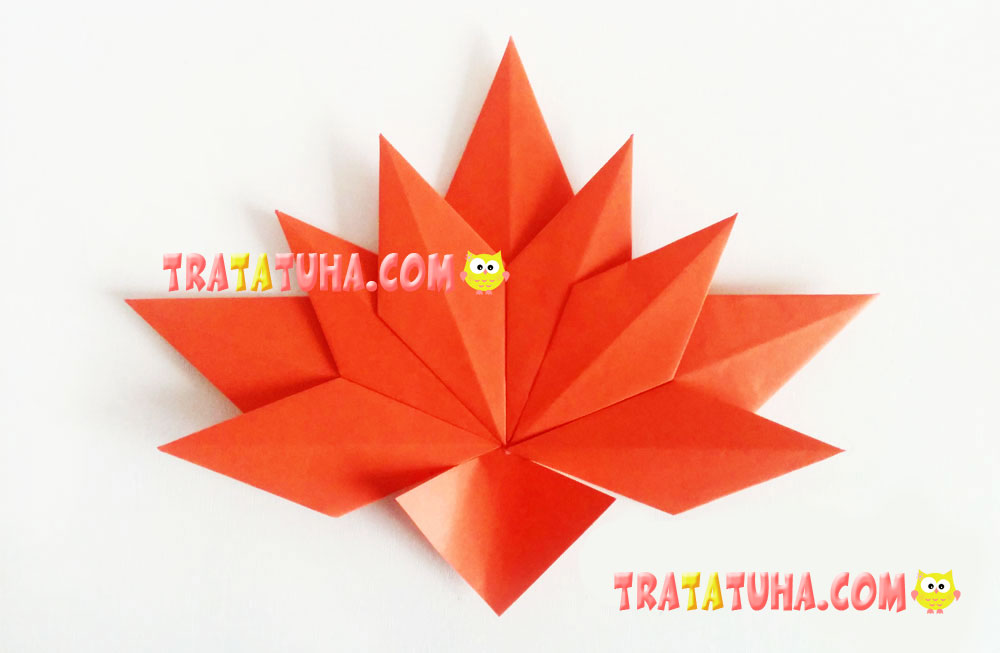
Fold the future stalk in one direction.
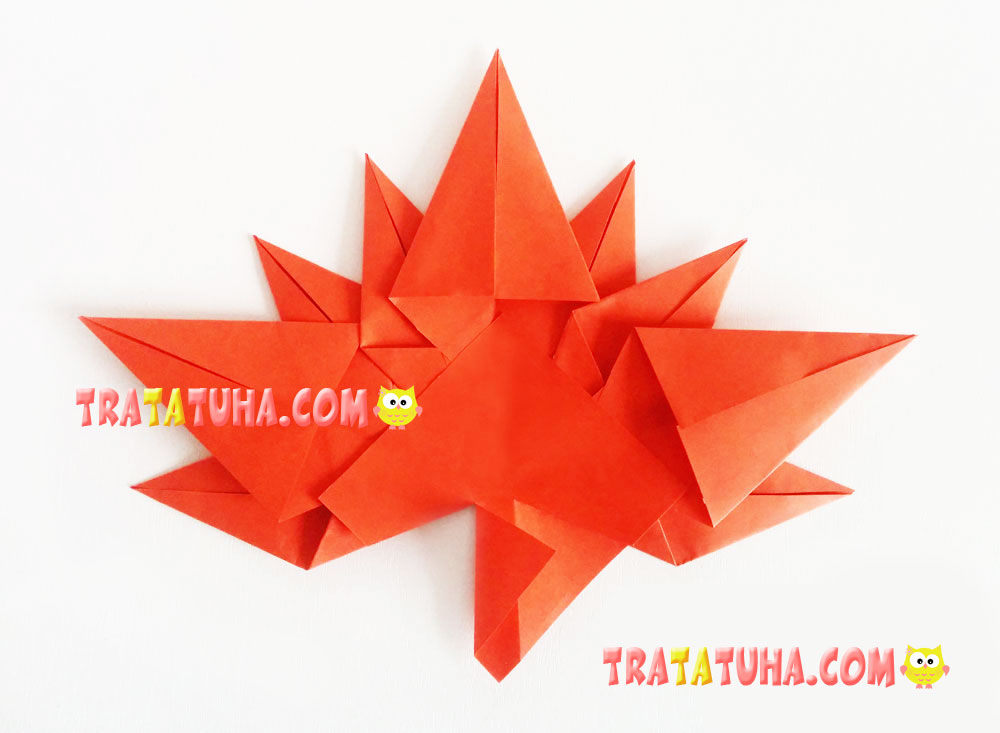
Then, in the other one.
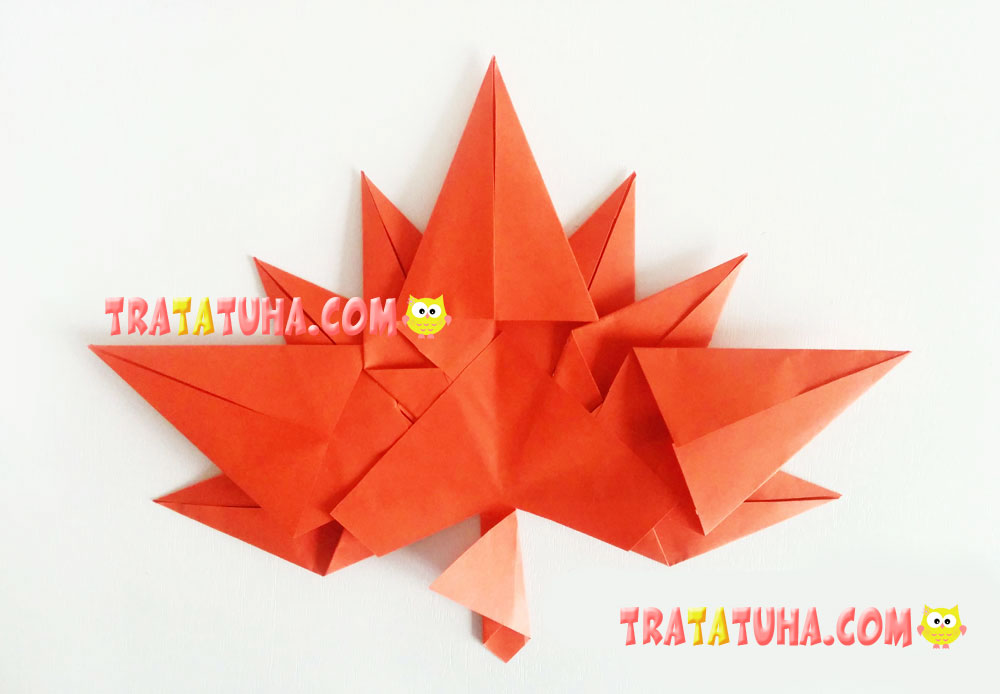
Cut off the excessing paper and glue together the splitting parts of the stalk.
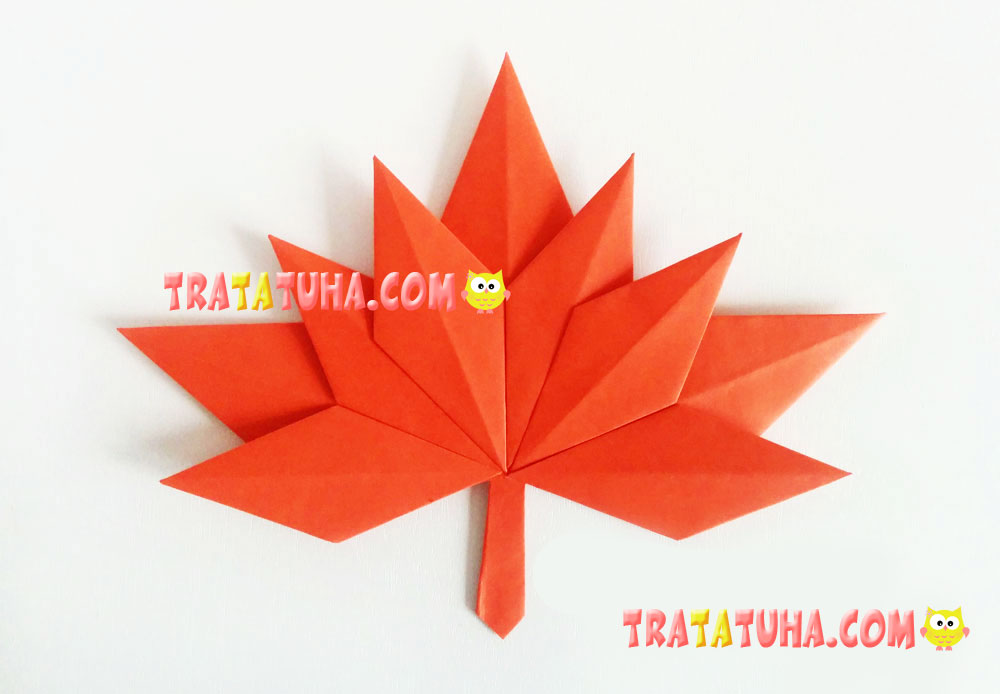
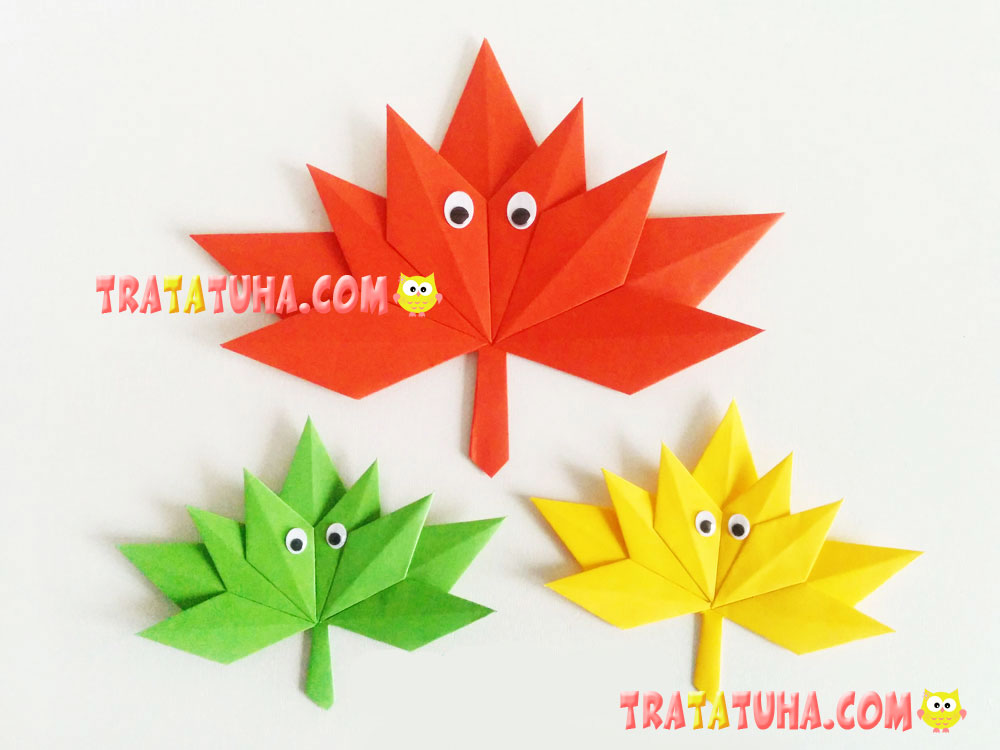
That’s it, the origami maple leaf is complete.
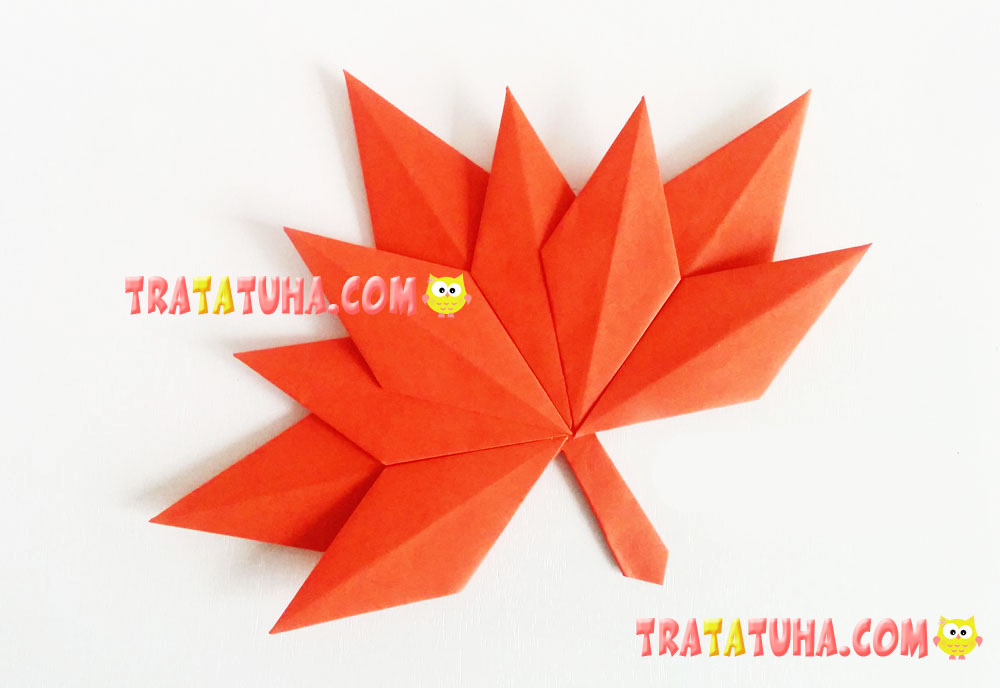
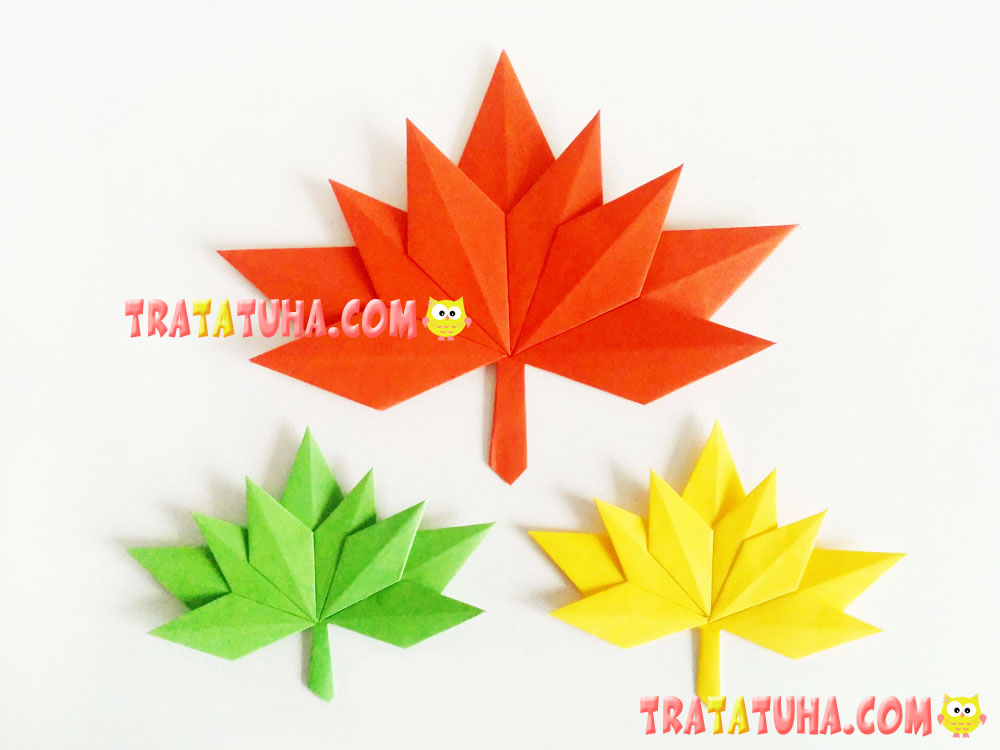
It looks great when made in different colors.
It looks interesting with eyes.
You can also make a Accordion Paper Leaves.
Crafts for Kids – learn how to make craft at home! Super cute crafts for all age groups!
